
Get Started with Identity Data
On this page
This tutorial shows how to get connected to data sources and understand the identity data schema of the Curity Identity Server. In addition, the content explains some initial design considerations that relate to user accounts and user identities in access tokens.
Connect a Database
The Curity Identity Server includes an HSQLDB as a convenient file-based data source for testing purposes. Use that for initial development to store identity data. You can, for example, run a Docker container.
docker run --name idsvr -it -e PASSWORD=Password1 -p 6749:6749 -p 8443:8443 curity.azurecr.io/curity/idsvr
Then connect to the Docker container from another terminal.
docker exec -it idsvr bash
Then make a connection to the database.
java -jar /opt/idsvr/lib/hsqldb-cli/sqltool-2.7.2.jar \--inlineRc=url=jdbc:hsqldb:file:/opt/idsvr/var/db/db;ifexists=true;hsqldb.lock_file=false;shutdown=true,user=sa,password=
Finally, you can run SQL commands to query identity data.
SELECT * FROM "accounts";
Usually though, you have a preferred database technology, like PostgreSQL, Microsoft SQL Server, Oracle or MongoDB. Therefore, stop the current deployment and redeploy the Curity Identity Server with an instance of your database server. The SQL Data Sources or NoSQL Data Sources tutorials explain how to use Docker database deployments with scripts to initialize the schema.
Multi-Character Support
The Curity Identity Server operates on text using CHAR and VARCHAR field types. If your database server supports UTF-8 encoding you can use any Unicode character in user account text fields, such as usernames.
Understand Logical Tables
The schema stores the following user-related data. This data is permanent unless you delete user accounts:
| Identity Table Name | Description |
|---|---|
| accounts | The main user accounts, including personal data and custom user attributes. |
| credentials | Stores hashed user passwords or you can use a separate credential data source. |
| devices | Stores information about third party devices, including the public keys from Passkeys registrations. |
| linked_accounts | Stores alternative identities such as subject claims from external identity providers. |
Most Configuration Data in the Curity Identity Server is text-based to reduce duplication and simplify deployments. However, the following database tables can permanently store OAuth configuration information:
| Configuration Table Name | Description |
|---|---|
| dynamically_registered_clients | Clients created from Dynamic Client Registration flows use database storage since the data typically differs per stage of the pipeline. |
| database_clients | When there are many OAuth clients they can be easier to manage with database storage. You can then use GraphQL APIs to automate pipeline updates. |
The following tables store operational data that you should logically assign a time to live. In some cases the database may support auto-removal of records older than a particular time period, such as 1 week. In other cases you might need to periodically run a background job that removes old entries.
| Operational Table Name | Description |
|---|---|
| delegations | Every grant except for token refresh creates a record here with the scopes, claims and other properties. |
| tokens | This includes every access token and refresh token issued, for use in flows like introspection. |
| nonces | Nonces are temporary secrets that can only be used once, like authorization codes. |
| audit | The Curity Identity Server can write audit events to a database instance and also to log files. |
Create Identity Data
Once you have a database in place, populate tables with steps such as the following:
- Configure a Simple Authenticator.
- Configure OAuth Tools as an OAuth Client and run a code flow to authenticate users.
- Manage test users with the DevOps Dashboard.
- Add the Passkeys Authenticator and run a more secure login flow.
Take some time to study the data generated by OAuth flows. For example, every record in the tokens table has a delegations_id column that links to a delegations record with the permissions and lifetimes of the grant.
Design User Accounts
It is possible to integrate APIs and applications with the Curity Identity Server without creating user accounts. For example, you might solely use attributes from an external identity provider, an LDAP data source or even a legacy data source. In the longer term though, you usually store personal user attributes in the authorization server. Start with built-in fields like those in the following table.
| Built-in Field | Description |
|---|---|
| subject | A stable user identifier received by APIs. |
| tenant_id | A tenant identifier to partition users in multi-tenant deployments. |
| username | The username that the user enters in login screens. |
| names | Other name fields like given_name and family_name, used for presentation. |
| emails | The user's email(s), used to contact the user outside of applications. |
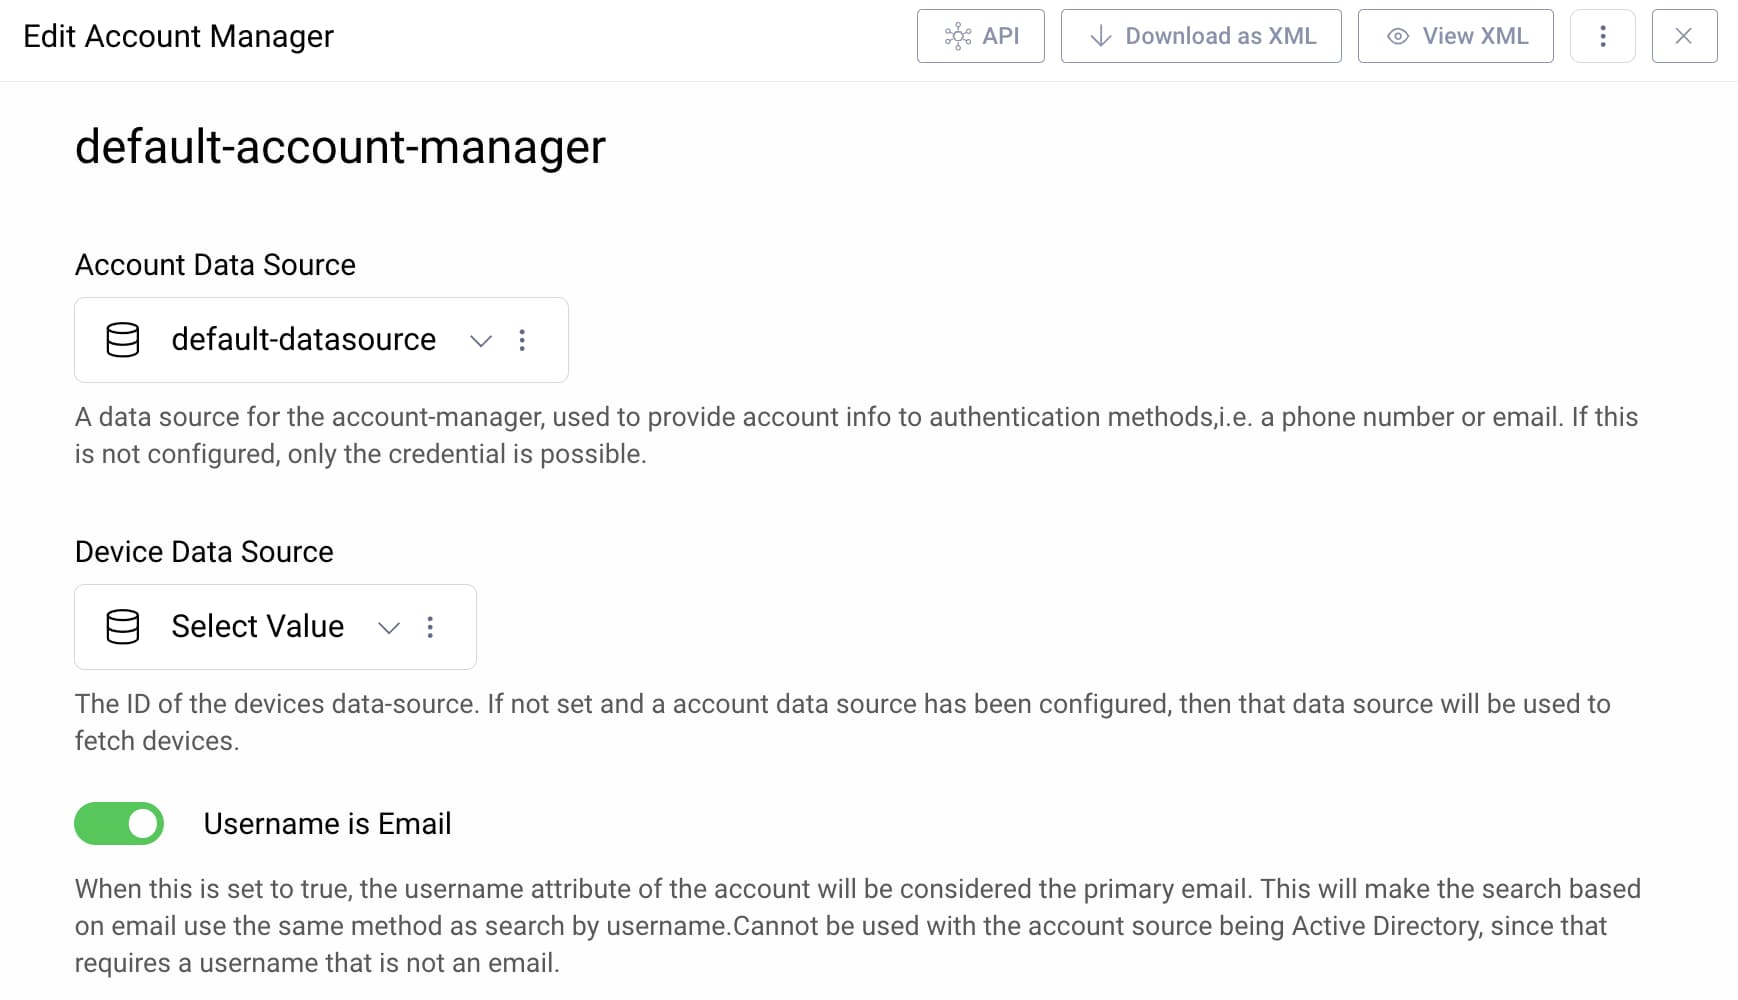
Aim to make the username field a value that users won't forget, such as their work or personal email. To do so, activate the Username is Email setting when you configure an Account Manager.
Typically you also need to add custom fields that are central to a user's identity. The following table shows some example custom fields, which get stored in the attributes field of records in the accounts table. For best future interoperability, design custom fields to use names from the SCIM Core Schema where possible.
| Custom Field | Description |
|---|---|
| user_id | An existing business user identity that APIs need to receive in access tokens. |
| region | A region or country identifier for the user. |
| roles or groups | A business categorization to represent the type of user. |
| legal_terms_accepted | The date when your organization's legal terms were last accepted by the user. |
Design Considerations
Aim to store personal data in the authorization server, to help meet User Privacy requirements. Business user attributes that change often or have very different meanings across multiple products are usually best managed outside the authorization server, to avoid conflicts and reduce deployment coupling.
Do some thinking on how you want to identify users to APIs in access tokens. If APIs use the subject claim, ensure that the subject is immutable and stays the same even when a user's name changes. For example, issue the account ID as the subject claim or configure a Pairwise Pseudonymous Identifier.
Migrate Existing User Accounts
You can create user accounts in various ways. For example, you can enable self-sign-up flows or have an administrator create user accounts. Often though, when you onboard to the Curity Identity Server you need to feed in existing user accounts. To do so you can write a simple program that uses SCIM or GraphQL user management APIs to perform steps such as those listed below.
- Iterate users in the existing data source(s).
- Add or update users in the authorization server.
- Reduce personal data in the existing data source(s).
Summary
This tutorial explained how to get connected to identity data sources when using the Curity Identity Server and provided a summary of the database schema. Start with the built-in fields and get end-to-end flows working. Then evolve user account data to meet your particular requirements. Finally, learn how to Issue User Data as Claims in tokens returned to applications, or use the Curity Identity Server's APIs to manage multiple users.

Join our Newsletter
Get the latest on identity management, API Security and authentication straight to your inbox.

Start Free Trial
Try the Curity Identity Server for Free. Get up and running in 10 minutes.
Start Free TrialWas this helpful?