Implicit Flow
On this page
An app that needs access to an OAuth-protected API on behalf of a user must obtain an access token. If the app cannot keep a secret (i.e. it is a public client that is deployed in an environment where users have access to its protected storage or communications), there is no additional security in authenticating the app to the token endpoint as in the code flow. The implicit flow was specified exactly for this case, where the user is authenticated by the Authorization Server, and an access token is returned to the app directly in the fragment of a redirect URL.
Overview of the Flow

- Browser redirects to the authorization endpoint at the Token Service of the Authorization Server
- If the user is not yet authenticated the Token Service of the Authorization Server redirects to the Authentication Service
- The user authenticates, and is redirected back to the Token Service
- The Authorization Server issues the access token immediately and redirects back to the client
Because the app is not capable of keeping a secret, there is no long-lived, refresh token issued in this flow. Also, the issued access token should have a limited lifetime. Because an access token is returned in the fragment of the URI, it should not be cached or stored by intermediate systems or proxies. The security of the process relies on this property, as an access token should not be exposed to any party except the app. Because of the security concerns regarding the implicit flow the code flow with PKCE is the preferred flow for public clients.
For reference, the implicit flow is documented in section 4.2 of the OAuth 2.0 Specification.
To learn more about the client parameters of the implicit flow see the article OAuth Implicit Flow.
Pre-requisites
This tutorial builds on the configuration setup described in the steps First Configuration and Configure an Authenticator under the menu Getting Started. If you have not gone through those steps yet, you can visit the guides by clicking on the links.
You may run this tutorial on a custom setup also, but keep in mind that names and URLs may be different, as well as the capabilities configured in the profiles.
Setup in the Curity Identity Server
Visit the Profiles screen and click Token Service. On the left select Clients and click + New Client.
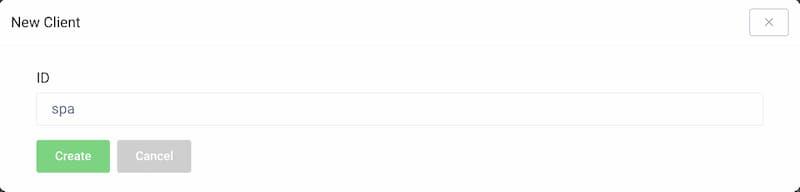
New Client
Give the client an ID (e.g., spa for a single page website client).
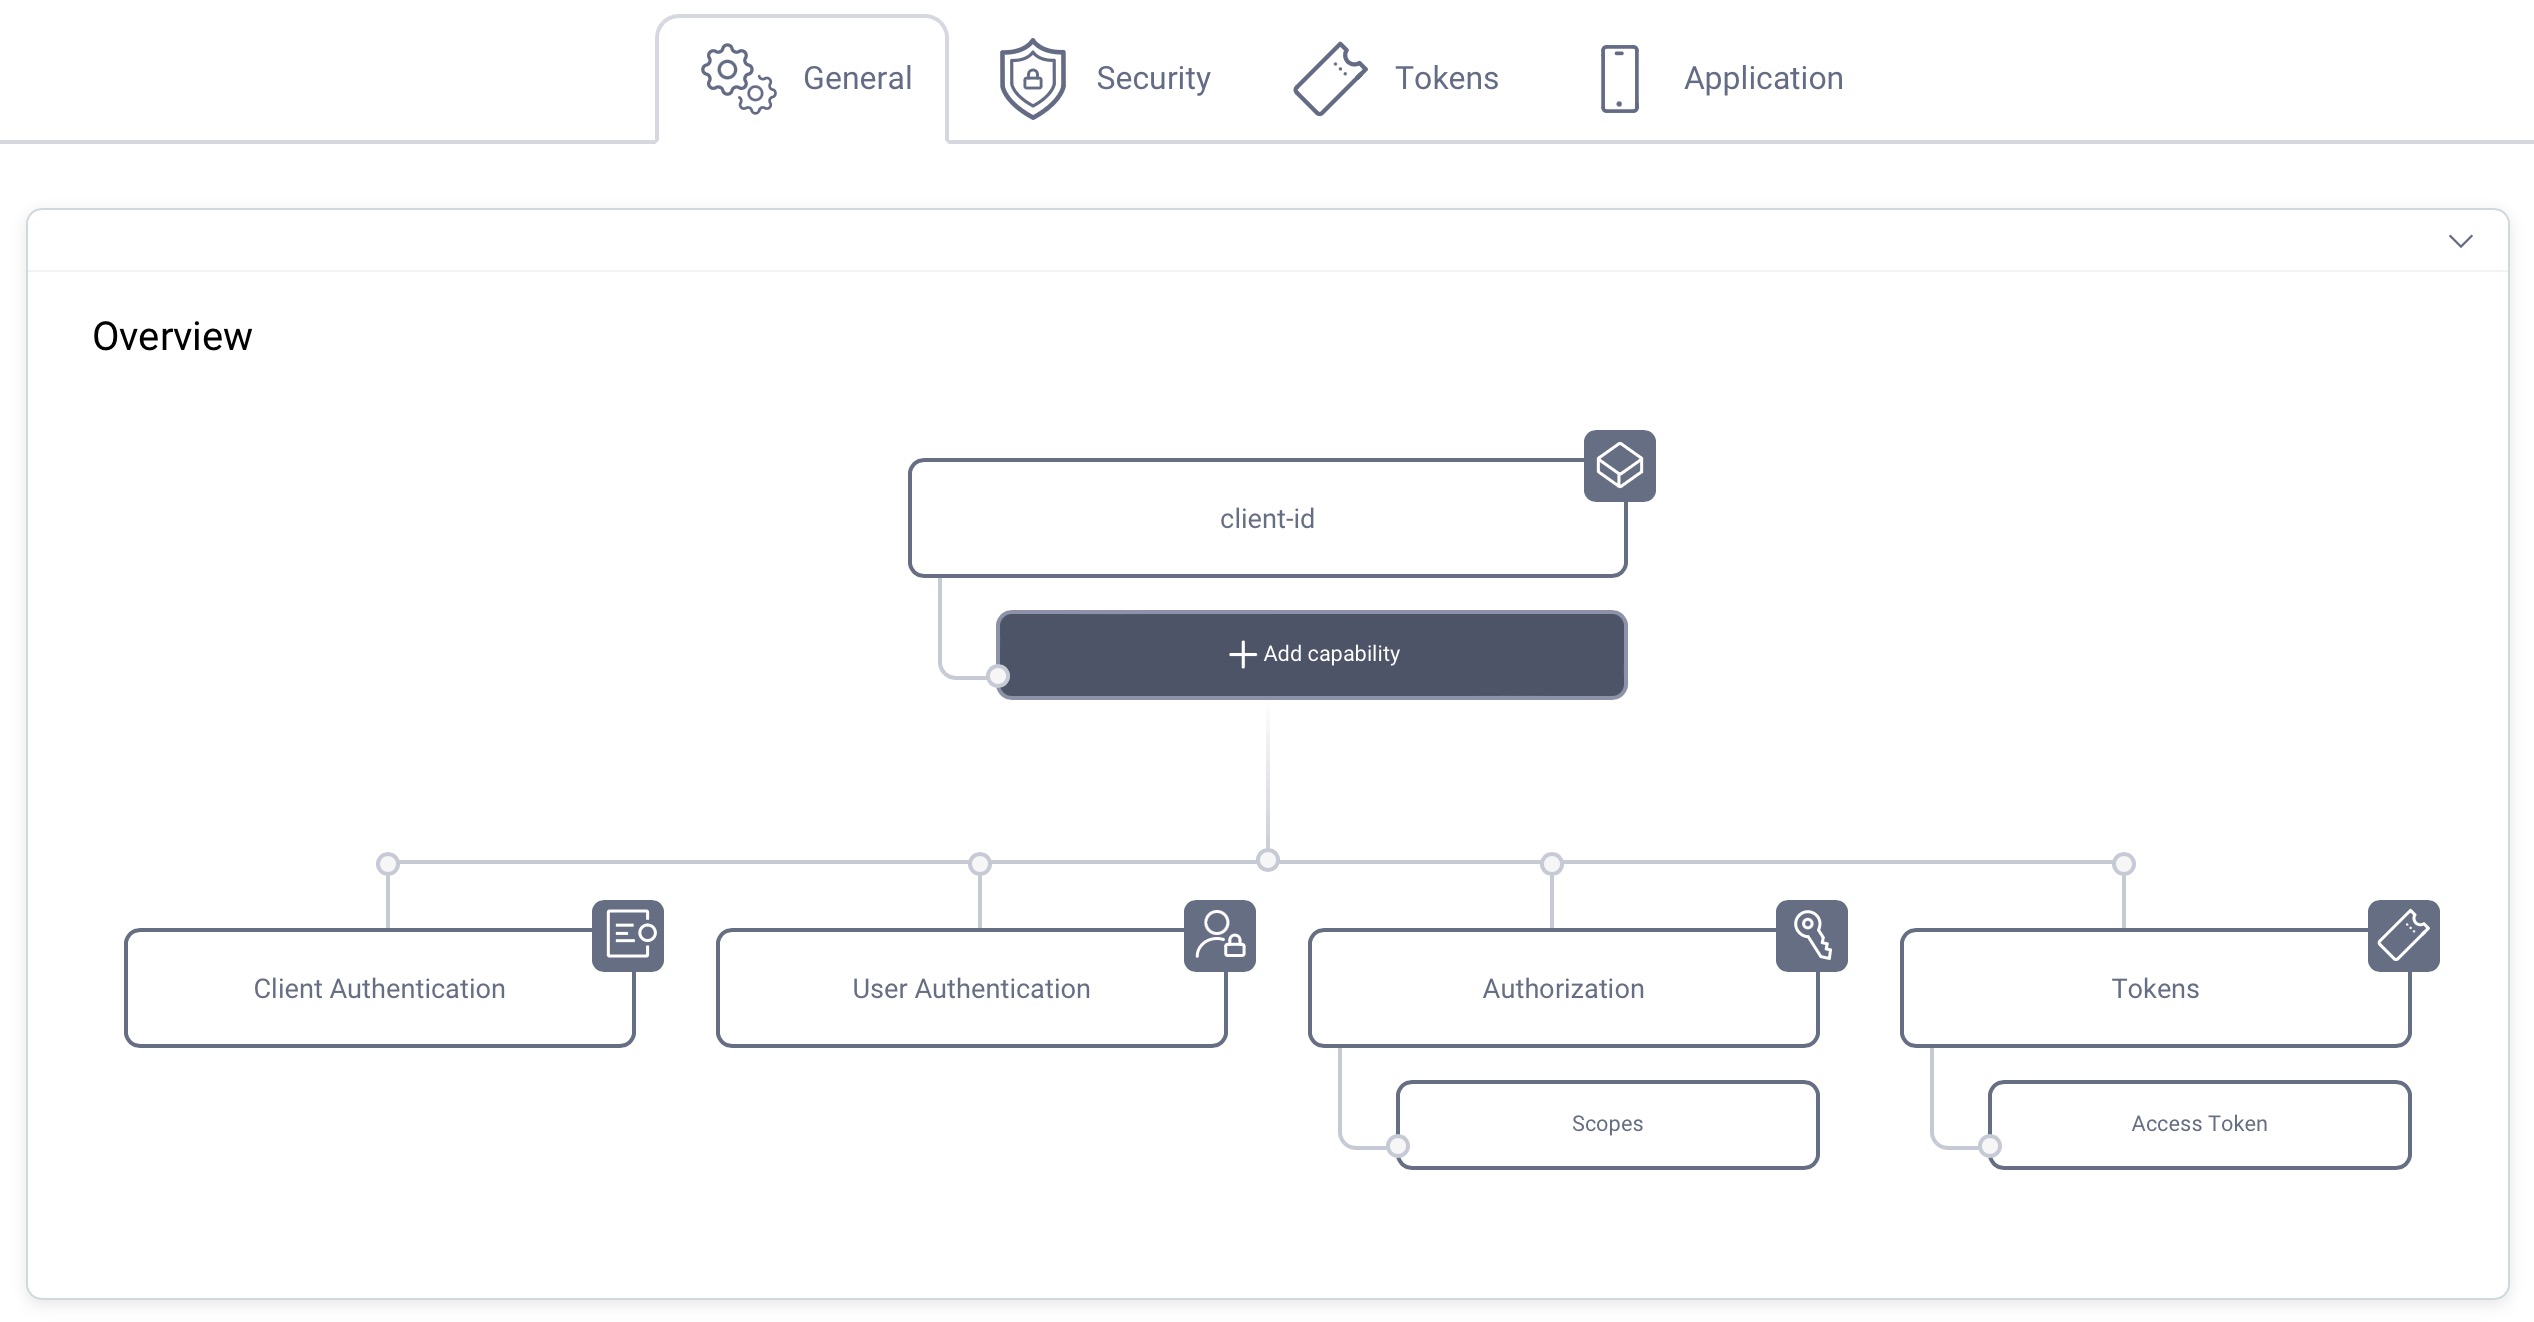
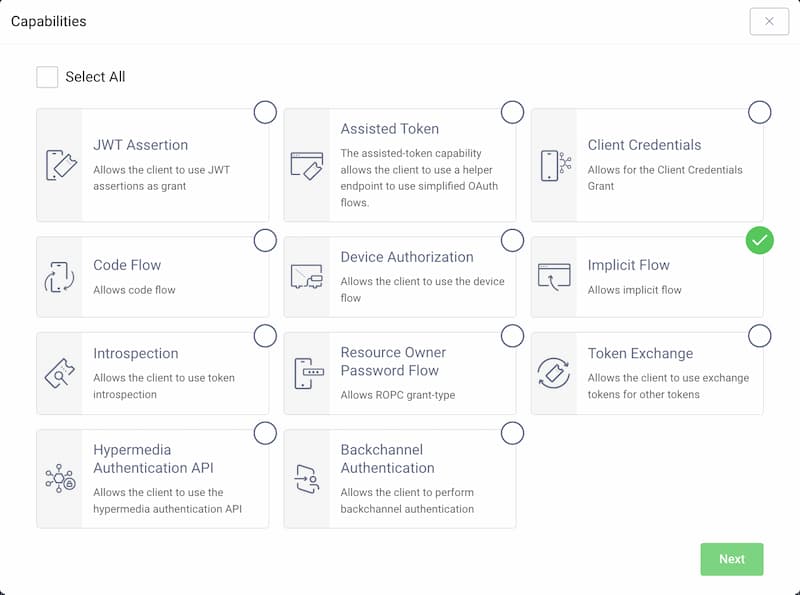
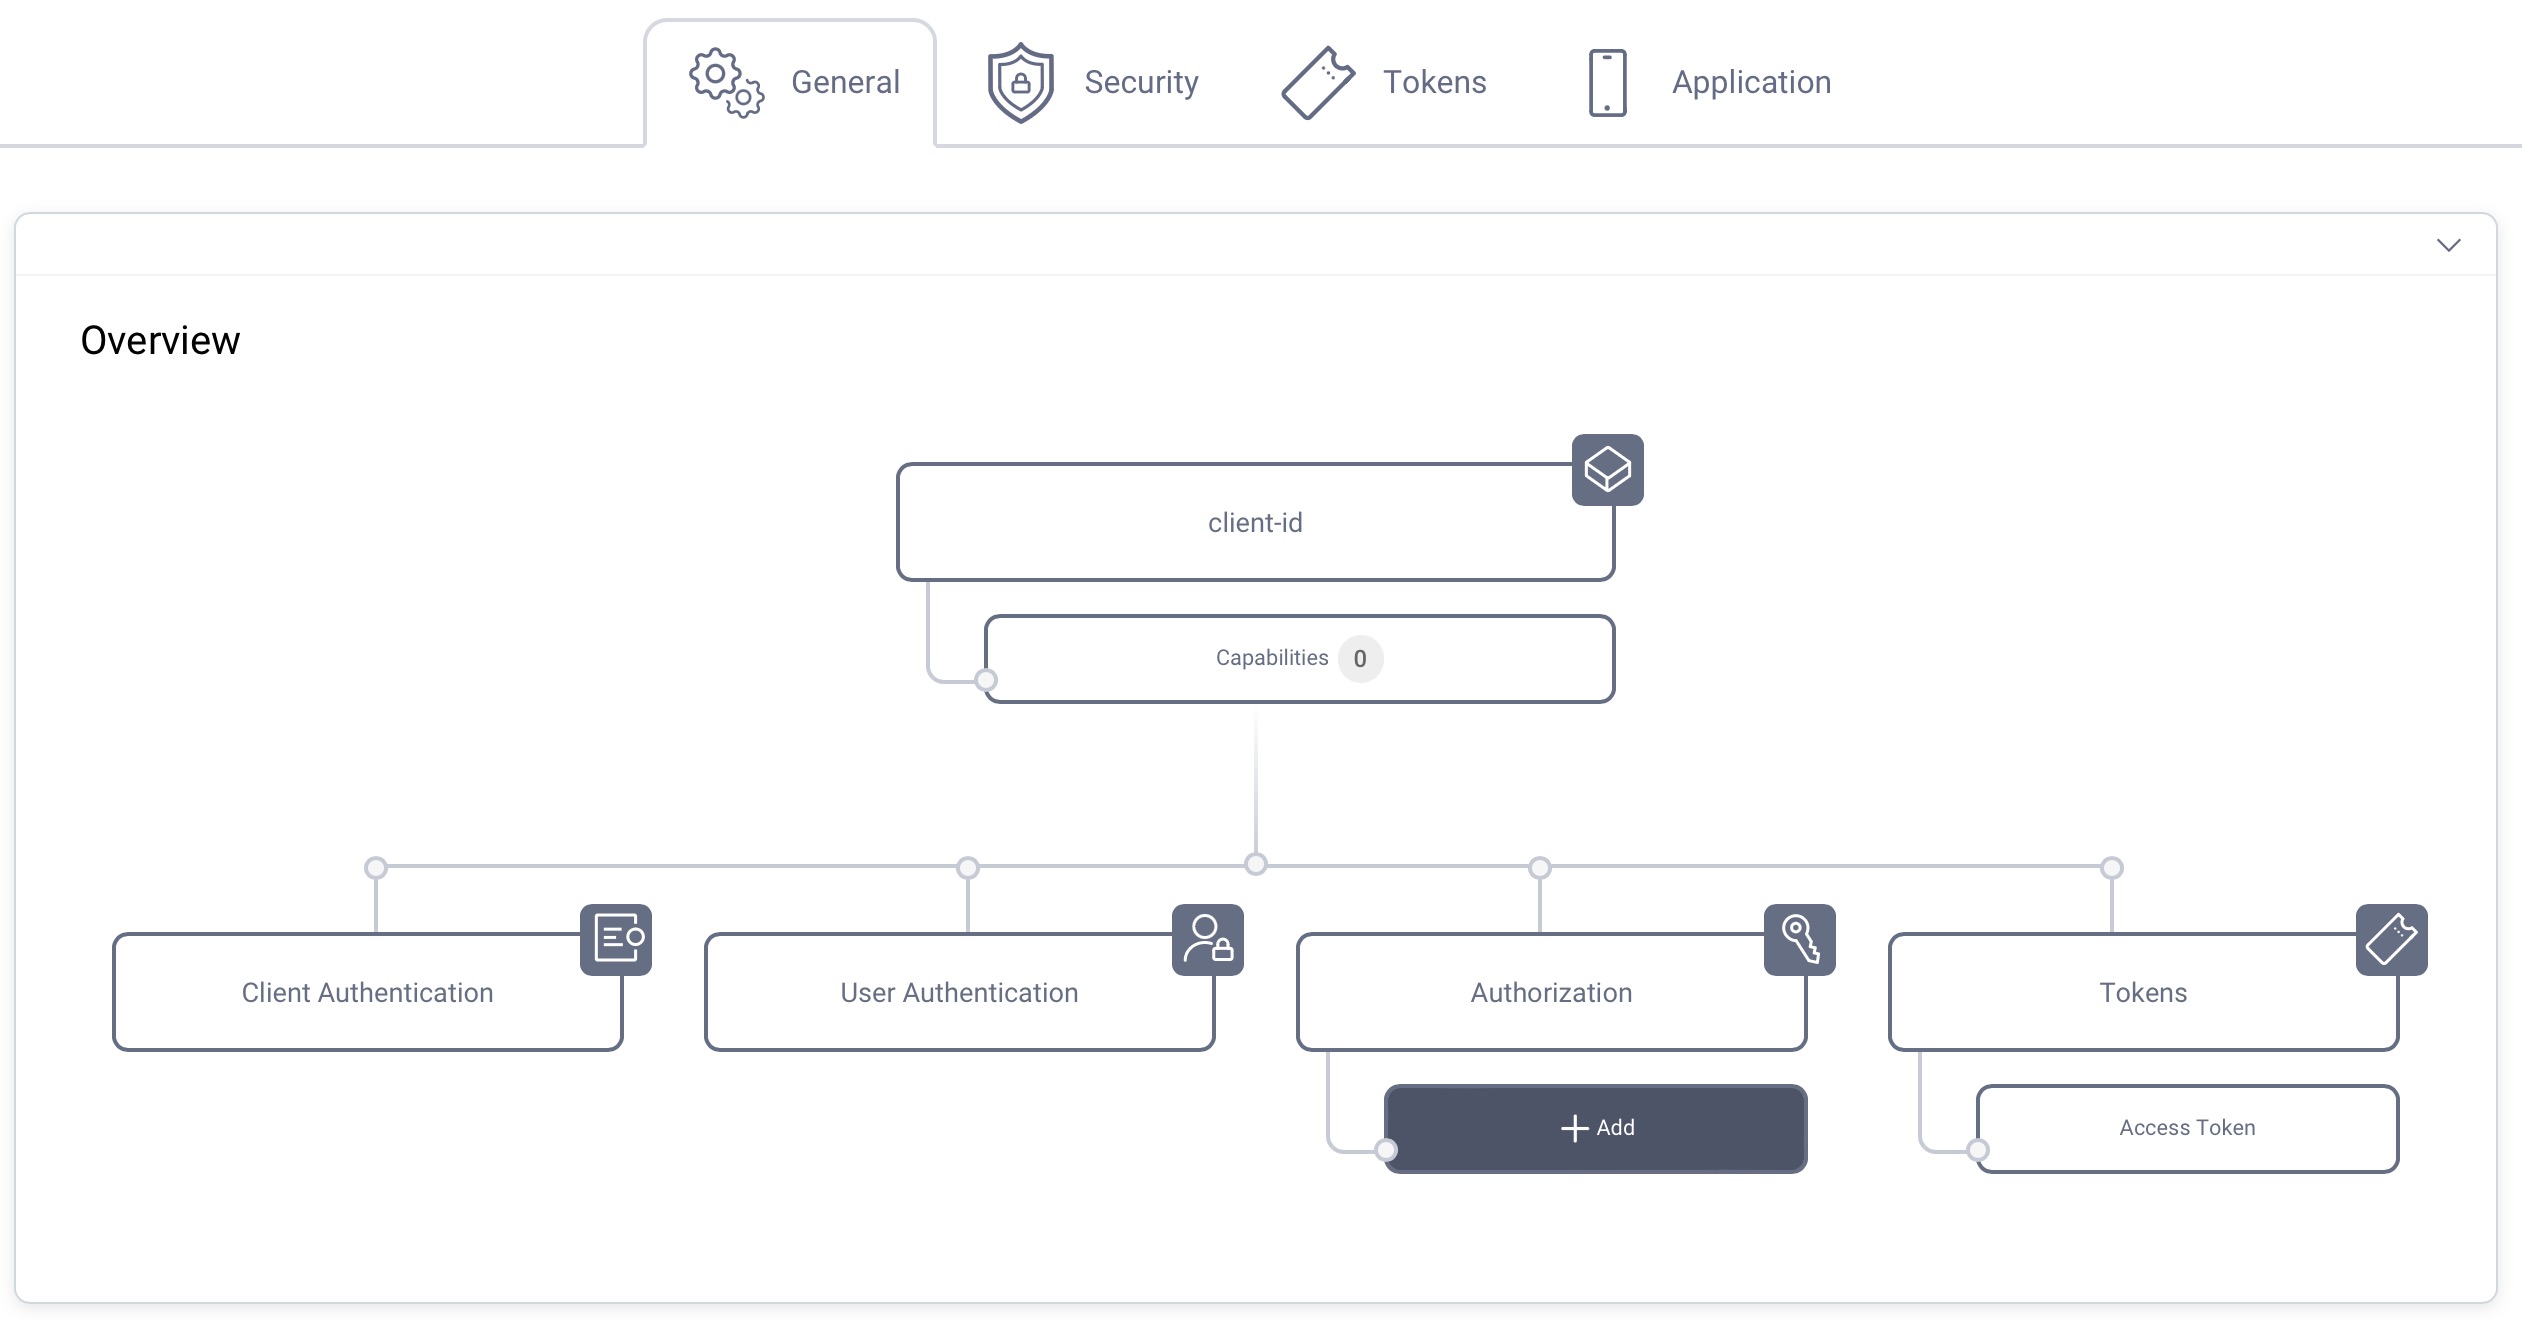
Capabilities
In the Overview panel click on the Capabilities box to add a new capability.
Select the Implicit Flow capability and click Next.
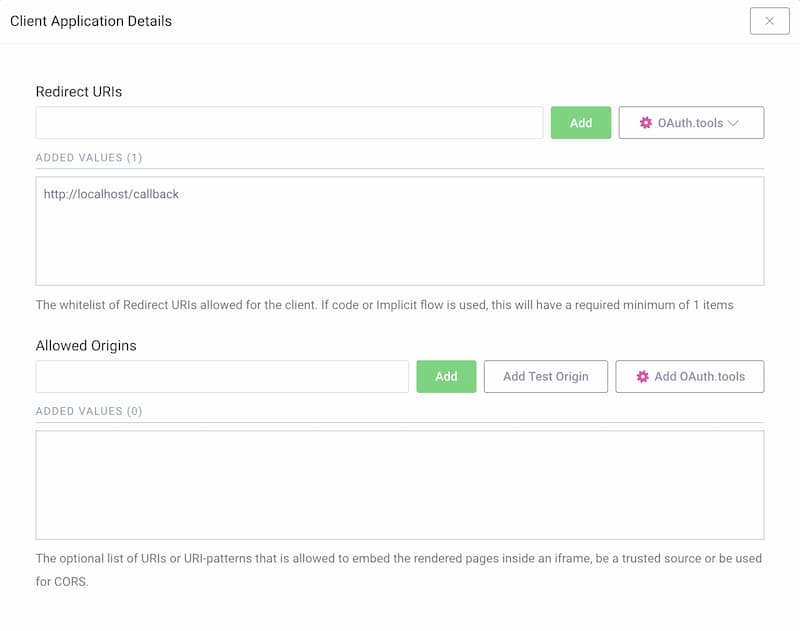
Redirect URL
If you don't know what you will use for the redirect URI, just enter http://localhost/callback for now. The value can be changed later.
This tutorial shows how to manually run the flow, so localhost is fine. If you plan to use OAuth Tools for testing purposes, add the appropriate redirect URIs from the OAuth.tools dropdown menu.
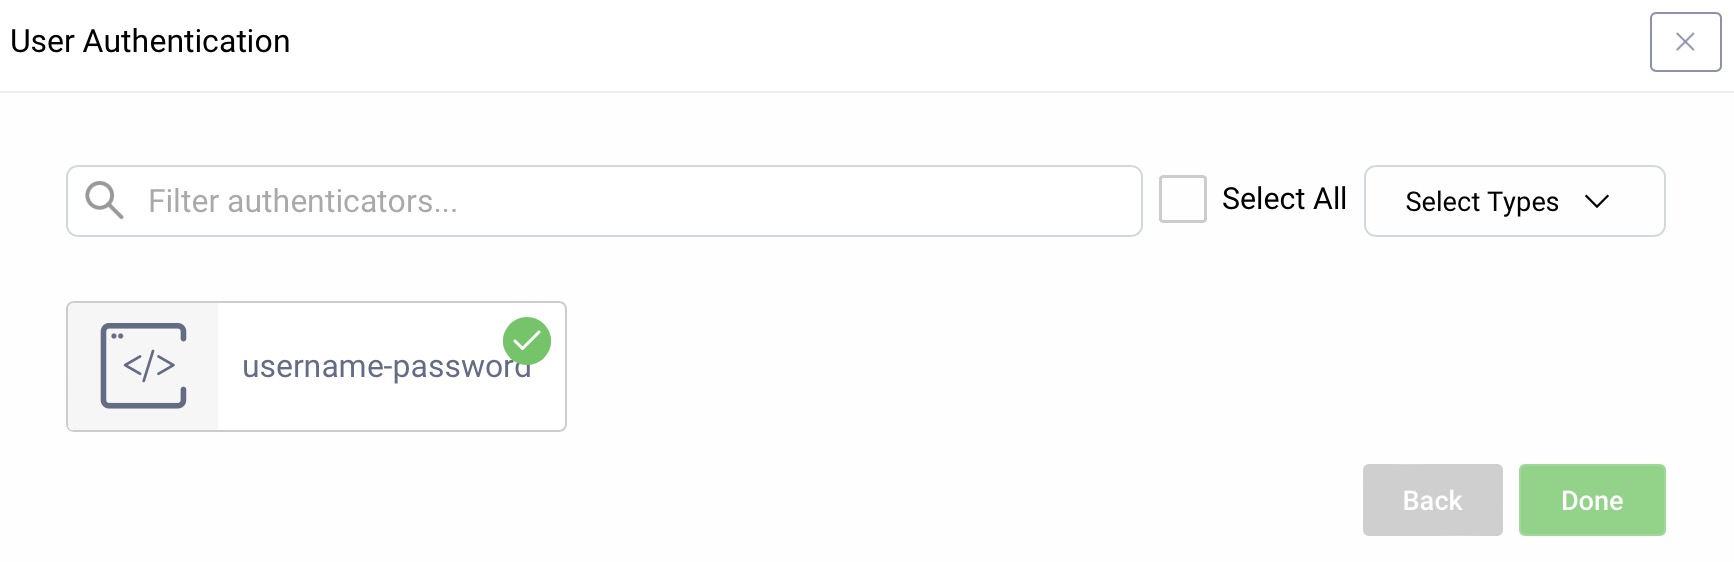
User Authentication
For user authentication select the authenticator created in the authenticator tutorial.
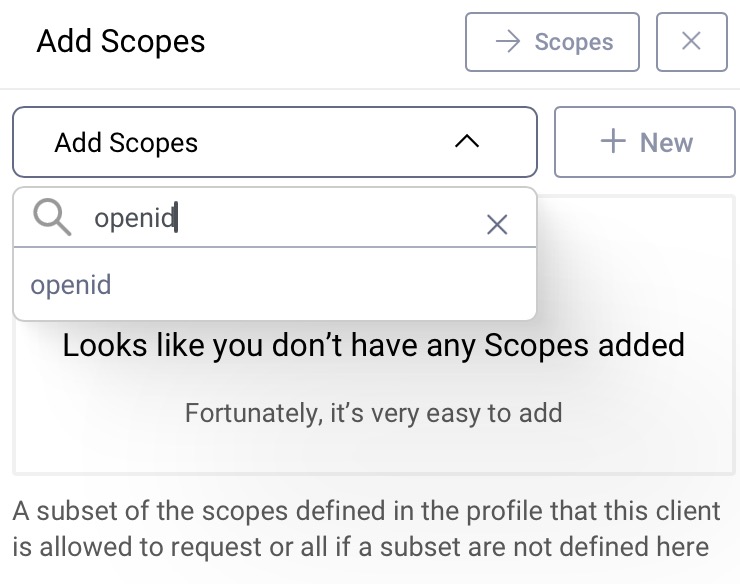
Add the openid Scope
In the Overview panel locate the Authorization box and click on Scopes:
Select openid from the list of scopes in the dropdown menu to add that scope to the client. The client can then run an OpenID Connect code flow and receive an ID token with information about how and when the user authenticated.
Commit
Make sure to remember to commit the changes. Open the Changes menu and click on Commit.
Making Requests with the Client
With the default configuration from the pre-requisites, the server's authorization endpoint is at https://localhost:8443/oauth/v2/oauth-authorize.
If you are not using that configuration, determine the URL of your authorization endpoint, and adjust the following requests accordingly. To use the implicit flow, an app would create a URL to this endpoint, and redirect the user to it. The URL looks like this:
https://localhost:8443/oauth/v2/oauth-authorize?client_id=spa&response_type=token
You can imitate the app, and enter this URL in a browser yourself. As a result, you will be asked to authenticate, after which the Curity Identity Server will redirect you back to the app by adding the token response parameters to the configured redirect URI, e.g.:
https://localhost/callback#access_token=e161b107-7110-421f-b449-940659ab58c1&token_type=bearer&expires_in=300
In case you want to request an ID token, it turns into an OpenID Connect request. For a valid OpenID Connect request you need to change the response_type to id_token and include scope=openid, the redirect_uri, and nonce parameters in the request:
https://localhost:8443/oauth/v2/oauth-authorize?client_id=spa&redirect_uri=https://localhost/callback&response_type=id_token&scope=openid&nonce=538B0D2A-545A-4113-ACD7-A2C3D315C605
After doing so, you should receive an ID token on the fragment of the callback URI.
If the app needs an ID token and an access token, the response_type request parameter should include both id_token and token, like this:
https://localhost:8443/oauth/v2/oauth-authorize?client_id=spa&redirect_uri=https://localhost/callback&response_type=id_token+token&scope=openid&nonce=538B0D2A-545A-4113-ACD7-A2C3D315C607
Replacing the Implicit Flow
Since the implicit flow returns tokens directly in browser URLs it has security issues and is not a recommended OAuth flow. The implicit flow originates from the early days of OAuth, where some environments did not support cross-origin requests from the browser to the token endpoint. These restrictions no longer exist.
Nowadays, your app should follow the recommendations from the OAuth for Browser-Based Apps document. Use the code flow with an implementation that keeps all tokens out of the browser. Only return the most secure HttpOnly cookies in the browser, to limit the impact of JavaScript exploits. Curity recommends that you use the token handler pattern.
Customer Stories
Learn how organizations run identity and API security at scale.
Read customer storiesWas this helpful?