Resource Owner Password Flow
On this page
What is ROPC?
The Resource Owner Password Credential (ROPC) flow is one of the standard flows defined in OAuth1. Unlike some of the other standard flows, it is a very straightforward request and response. The client simply collects the user's credentials and makes a call to the token endpoint of the authorization server to receive tokens.
Legacy flow
The ROPC flow exists for historical reasons to enable adoption of the OAuth 2.0 protocol. OAuth 2.0 is widely adopted by now and you should not use the RPOC flow.
ROPC Flow Overview

- The client application collects the username and password from the user. It sends the credentials to the token endpoint of the authorization server.
- The authorization server validates the credentials and returns an access token (and, optionally, a refresh token) to the client.
In this flow, the client first collects the resource owner's credentials, and then sends them to the authorization server. As part of the request, the client also includes its own credentials. The request is an HTTP POST request with the client's credentials either in the body or in an Authorization header. The server then responds with an access token, and, optionally, a refresh token.
Pre-requisites
This tutorial builds on the configuration setup described in the steps First Configuration and Configure an Authenticator under the menu Getting Started. If you have not gone through those steps yet, you can visit the guides by clicking on the links.
You may run this tutorial on a custom setup also, but keep in mind that names and URLs may be different, as well as the capabilities configured in the profiles.
Setup in the Curity Identity Server
Set Credential Manager for Resource Owner Flow
The authorization server needs to validate the user's credential that are included in the request. Therefore, you need to configure a Credential Manager for the flow.
To configure the Credential Manager for the resource owner password flow visit the Profiles screen and click the Token Service. On the left select Client Settings.
Scroll down to the Resource Owner Password Credentials and select a Credential Manager from the drop-down menu.

Setup Wizard
If you followed the Getting Started tutorials as listed in the pre-requisites, then the setup wizard configured the resource owner password flow with default values already. No need for changes.
New Client
Visit the Profiles screen and click the Token Service. On the left select Clients and click New Client.
Give the client an ID (eg. legacy for a legacy client).

Capabilities
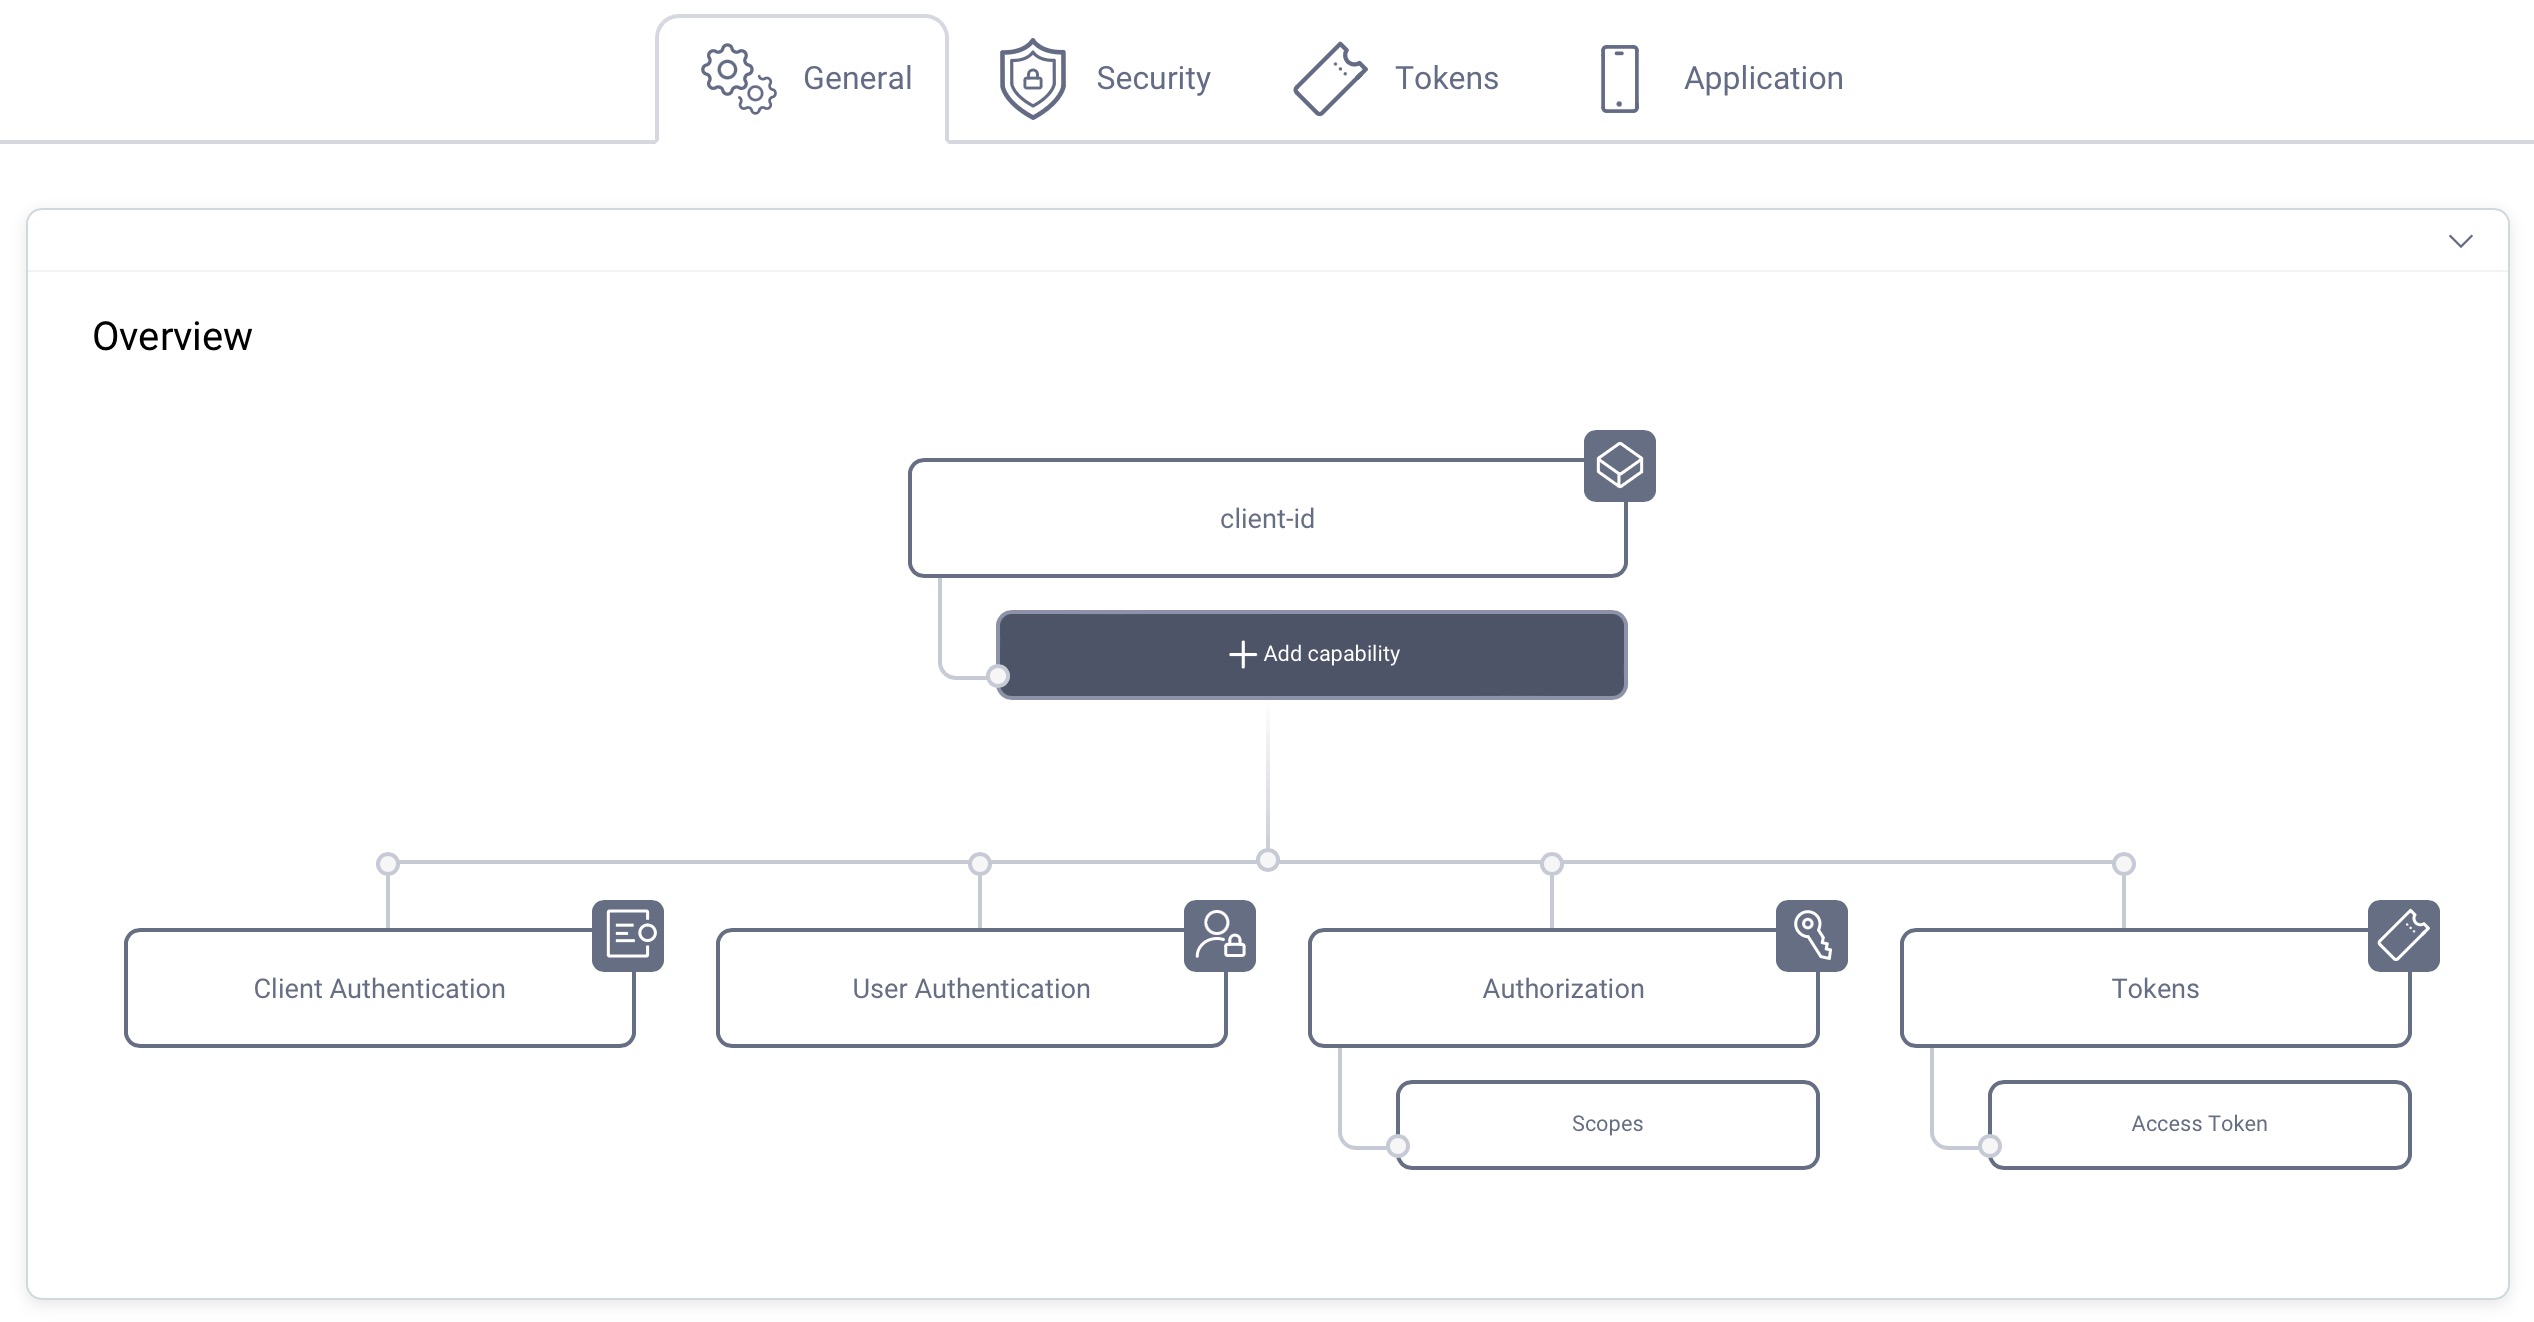
In the Overview panel click on the Capabilities box to add a new capability.
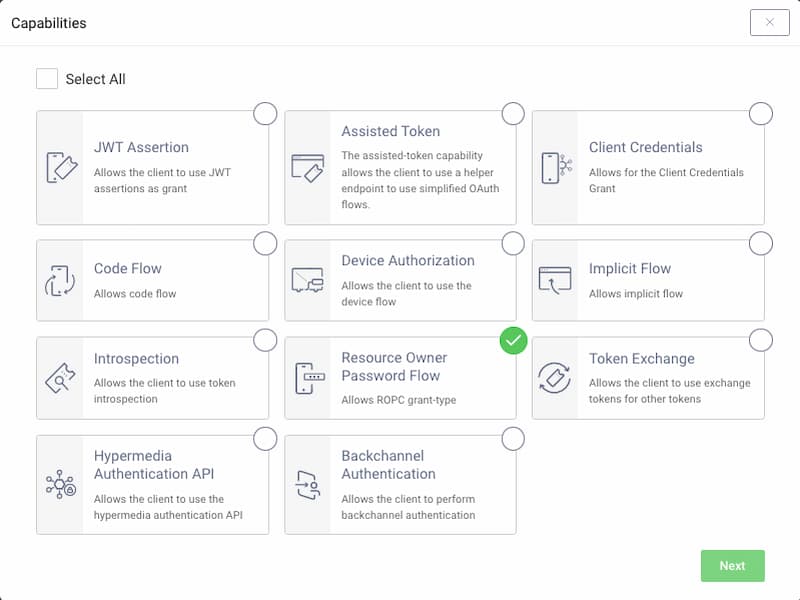
Select the Resource Owner Password Flow capability and click Next.
Client Authentication
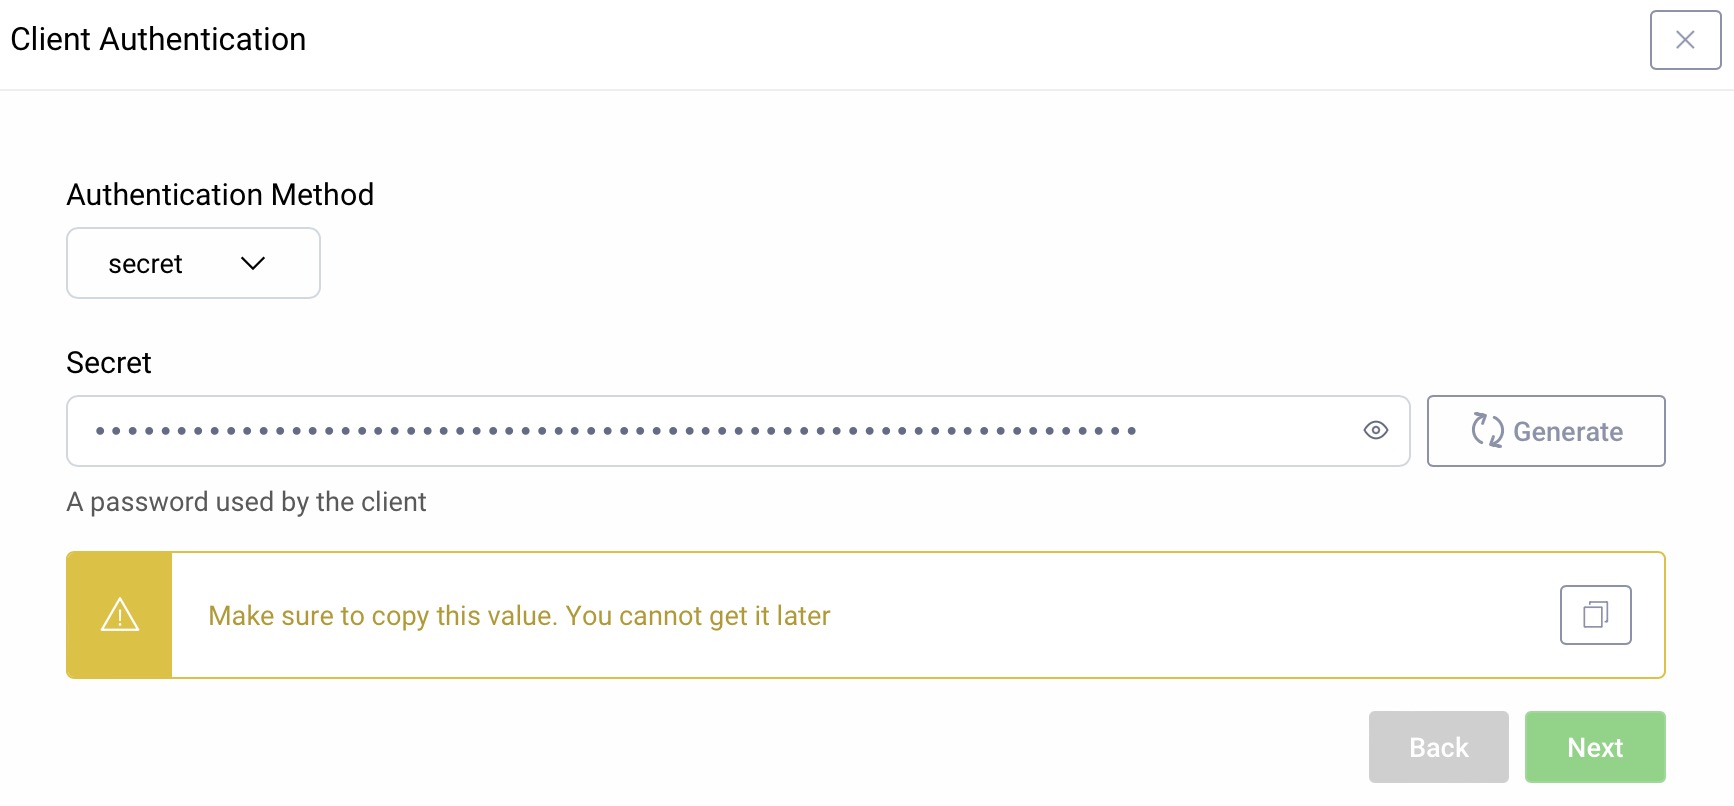
For client authentication select secret and enter or generate a secret value. Make sure to remember the value since it cannot be retrieved later, though you can reset it if required.
Set a Scope (Optional)
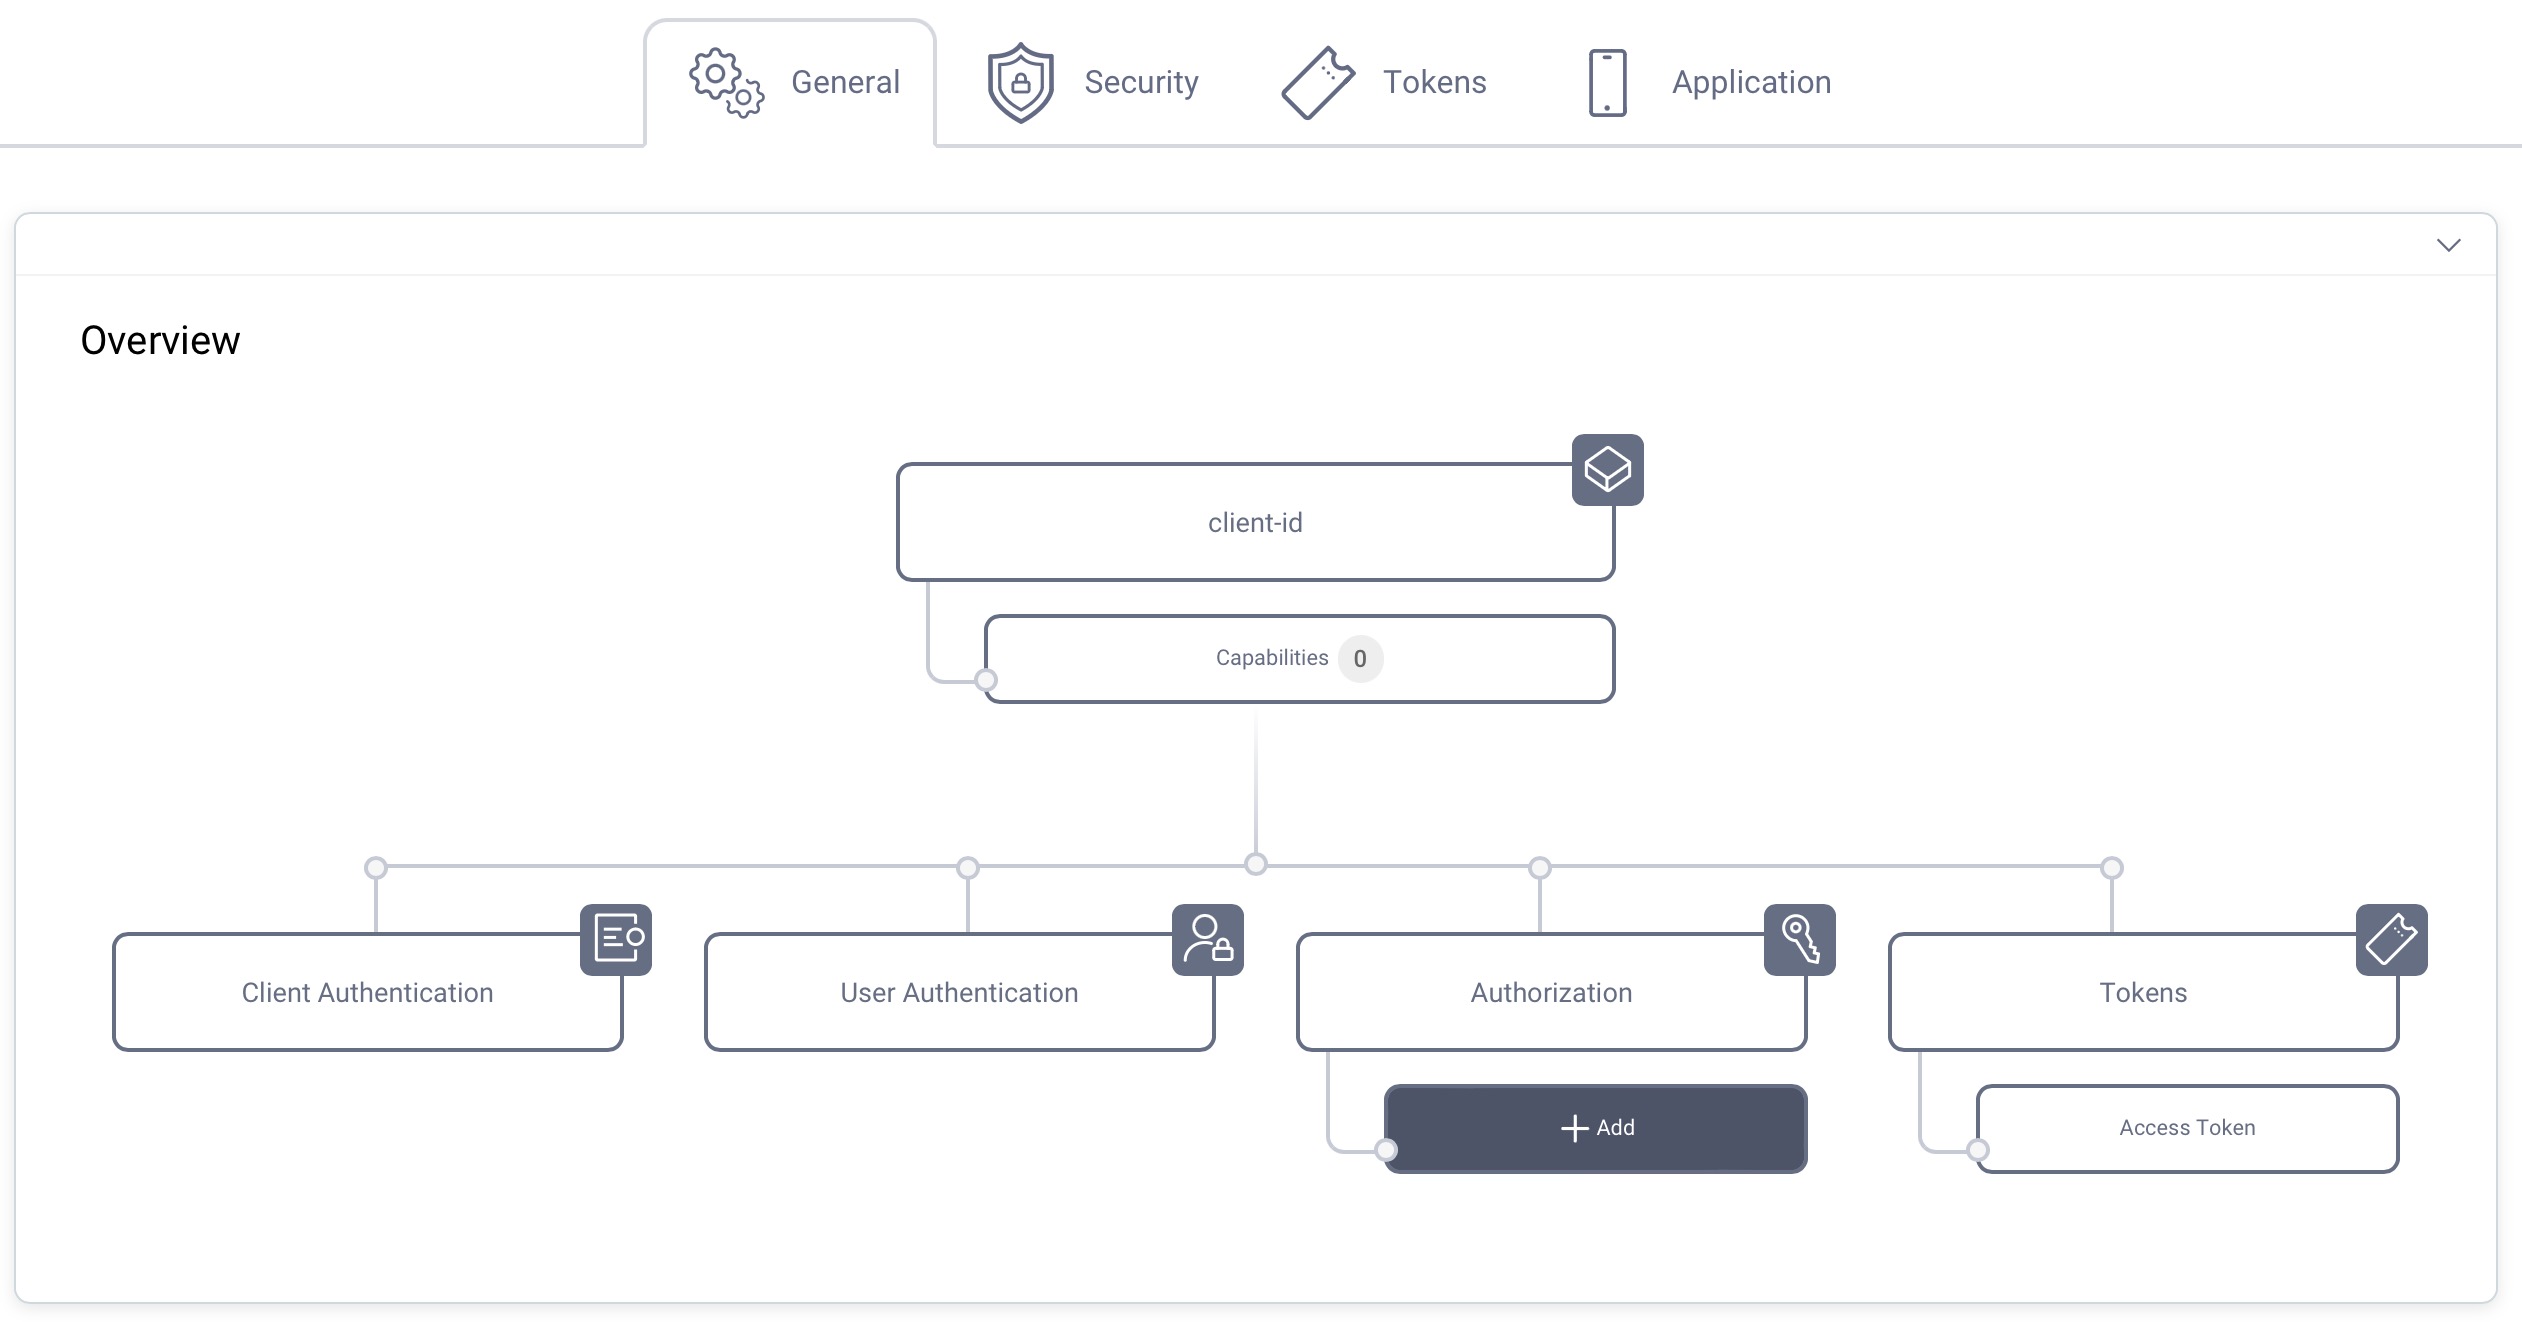
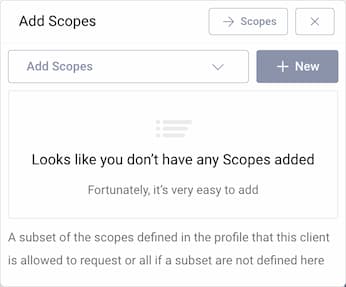
It is not required for a client to have a scope, but often useful. In the Overview panel locate the Authorization box and click on Scopes to add a scope.
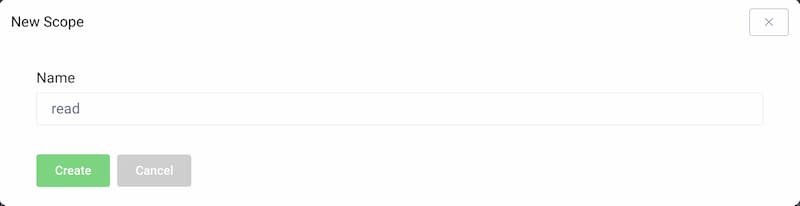
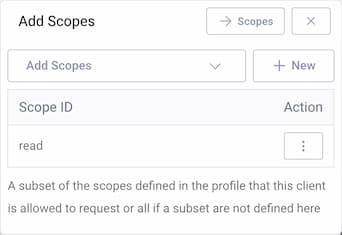
Click + New if you want to create a new scope. Enter the name of the new scope (e.g., read) and click Create. The new scope is automatically added to the list of scopes that the client is allowed to request.
Commit
Make sure to remember to commit the changes in the Changes -> Commit menu.
Using the Client
The request is a back-channel request only. The user account and related credentials must exist before the client sends its requests.
If you do not have any existing account, use the authenticator from the Getting Started track to create one. Enter https://localhost:8443/authn/registration/username-password in your browser to open the account registration view of the Username Password Authenticator. Then continue with the resource owner password flow.
curl -X POST \https://localhost:8443/oauth/v2/oauth-token \-H 'Content-Type: application/x-www-form-urlencoded' \-d 'grant_type=password&client_id=legacy&client_secret=THE_SECRET&username=THE_USERNAME&password=THE_USER_PASSWORD'
Response
The response to any of the requests above will be a JSON document similar to other responses from the token endpoint (e.g., the refresh token response). A typical example will look like this:
{"access_token": "c8a120ad-55f4-4f24-9d80-7b52fa218a91","refresh_token": "c778735a-348f-4df0-a149-12325130778b","scope": "","token_type": "bearer","expires_in": 300}
In this example, the scope is the default one. To change this, the client should include a scope parameter when making the request. If the scope of access which the authorization server assigns to the token differs from what the client requested, this value will indicate the actual scope that was permitted. So, a client should always check this response parameter to see what was granted and act accordingly.
If an error occurs, the response will be a JSON object as well. However, the only fields will be error and perhaps error_description. If the latter isn't included, check the server logs and enable detailed error reporting in the OAuth profile.
Use with Caution
Using the ROPC flow, the client app is collecting the user's credentials and forwarding them to the authorization server. This is an anti-pattern because the client handles the user's password. If you want the client to render a user interface to collect input from the user during an authentication, e.g. to be able to use platform-specific technology and features in a first-party deployment, you should check out Curity's Hypermedia Authentication API.
The ROPC flow only supports basic authentication using username and password. This means it does not support any multi-factor authentication methods or authentication flows. Its purpose is enabling migration and harmonizing access to a token-based model. Using the ROPC should be the exception, not the norm.
Footnotes
-
It is not used or profiled in OpenID Connect. ↩
Customer Stories
Learn how organizations run identity and API security at scale.
Read customer storiesWas this helpful?