Running a CIBA Flow
On this page
"Client Initiated Backchannel Authentication" is an extension to the OpenID Connect specification. It allows a user to perform authentication on a device which doesn't have to be operated by that authenticating user. For example, a call center agent can initiate authentication, and once the user performs authentication on another device, the call center agent can be authenticated as the calling user.
The CIBA overview gives more details about the specification, and the CIBA Flow article presents a detailed technical view of the flow.
This tutorial shows how to configure the Curity Identity Server to use a CIBA flow.
Prerequisites
Make sure that you're running the Curity Identity Server in version 6.2. or later. If running a clean instance of the Curity Identity Server, make sure to configure it at least with the basic configuration.
Configuring the Flow
Follow the steps below to enable a CIBA flow in the Curity Identity Server.
Enable Back-channel Authentication
Go to Token Profile → Client Settings and enable Back-channel Authentication.
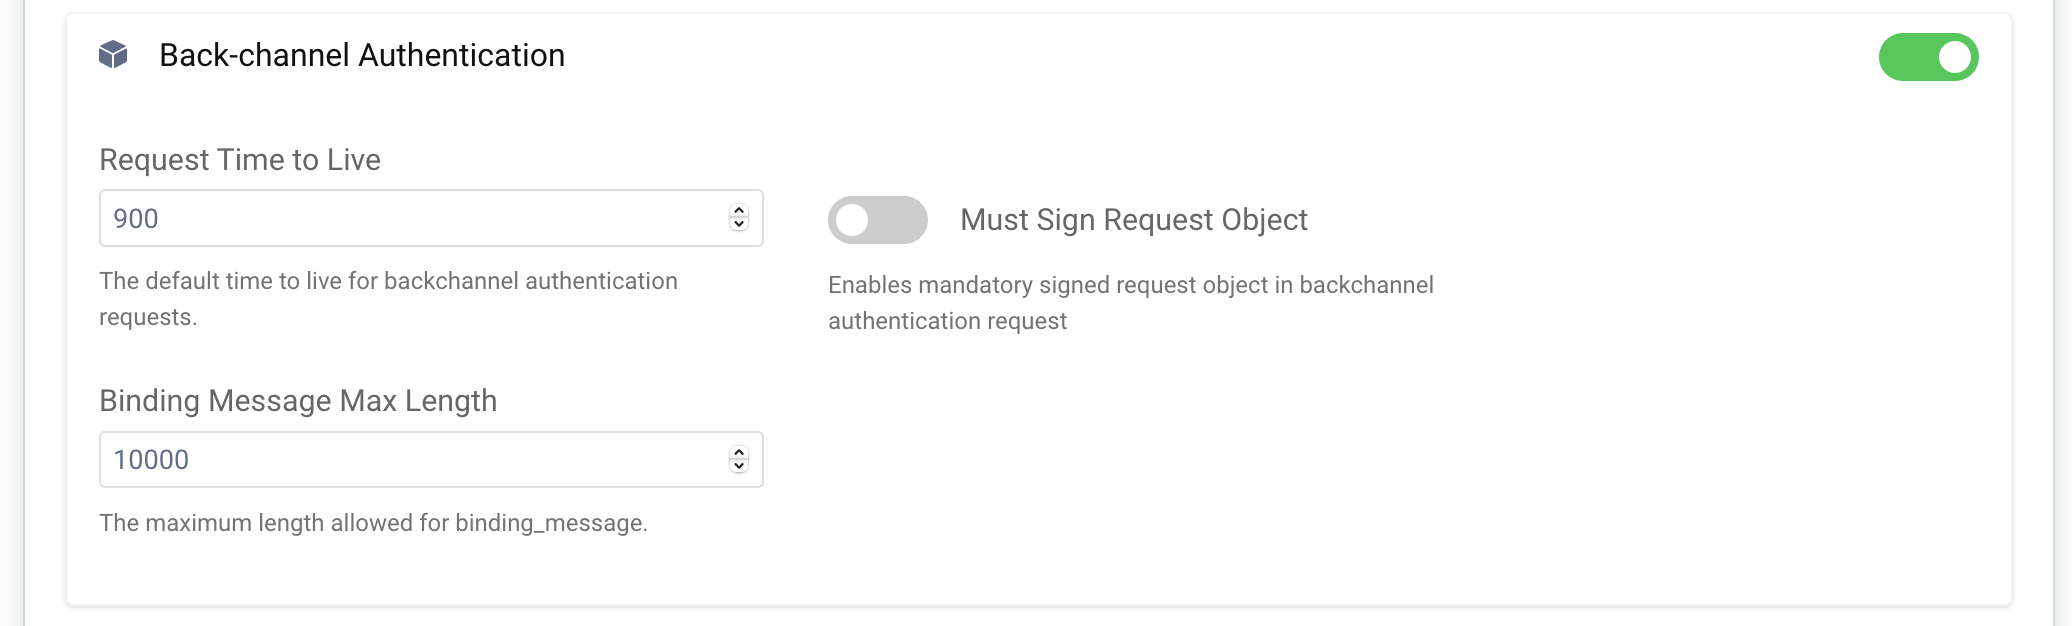
You can adjust the default TTL of a CIBA request and the maximum length of a binding message - the message which will be shown to the user when giving consent to the authentication request. You can also force using signed request objects in CIBA requests. Instead of sending parameters as a query string, clients will have to put them in a JWT and sign them, which protects the parameters from being tampered with.
Add a Front-channel Authenticator
Authentication with the use of a CIBA flow, looks similar to a standard authentication flow in the Curity Identity Server, and it uses the same concept of authenticators and authentication actions. The authenticators are created separately for front-channel and back-channel authentication. Even if only back-channel authentication will be used, still a front-channel authenticator has to exist and be linked to the back-channel one. The back-channel authenticator will use the settings of the front-channel counterpart.
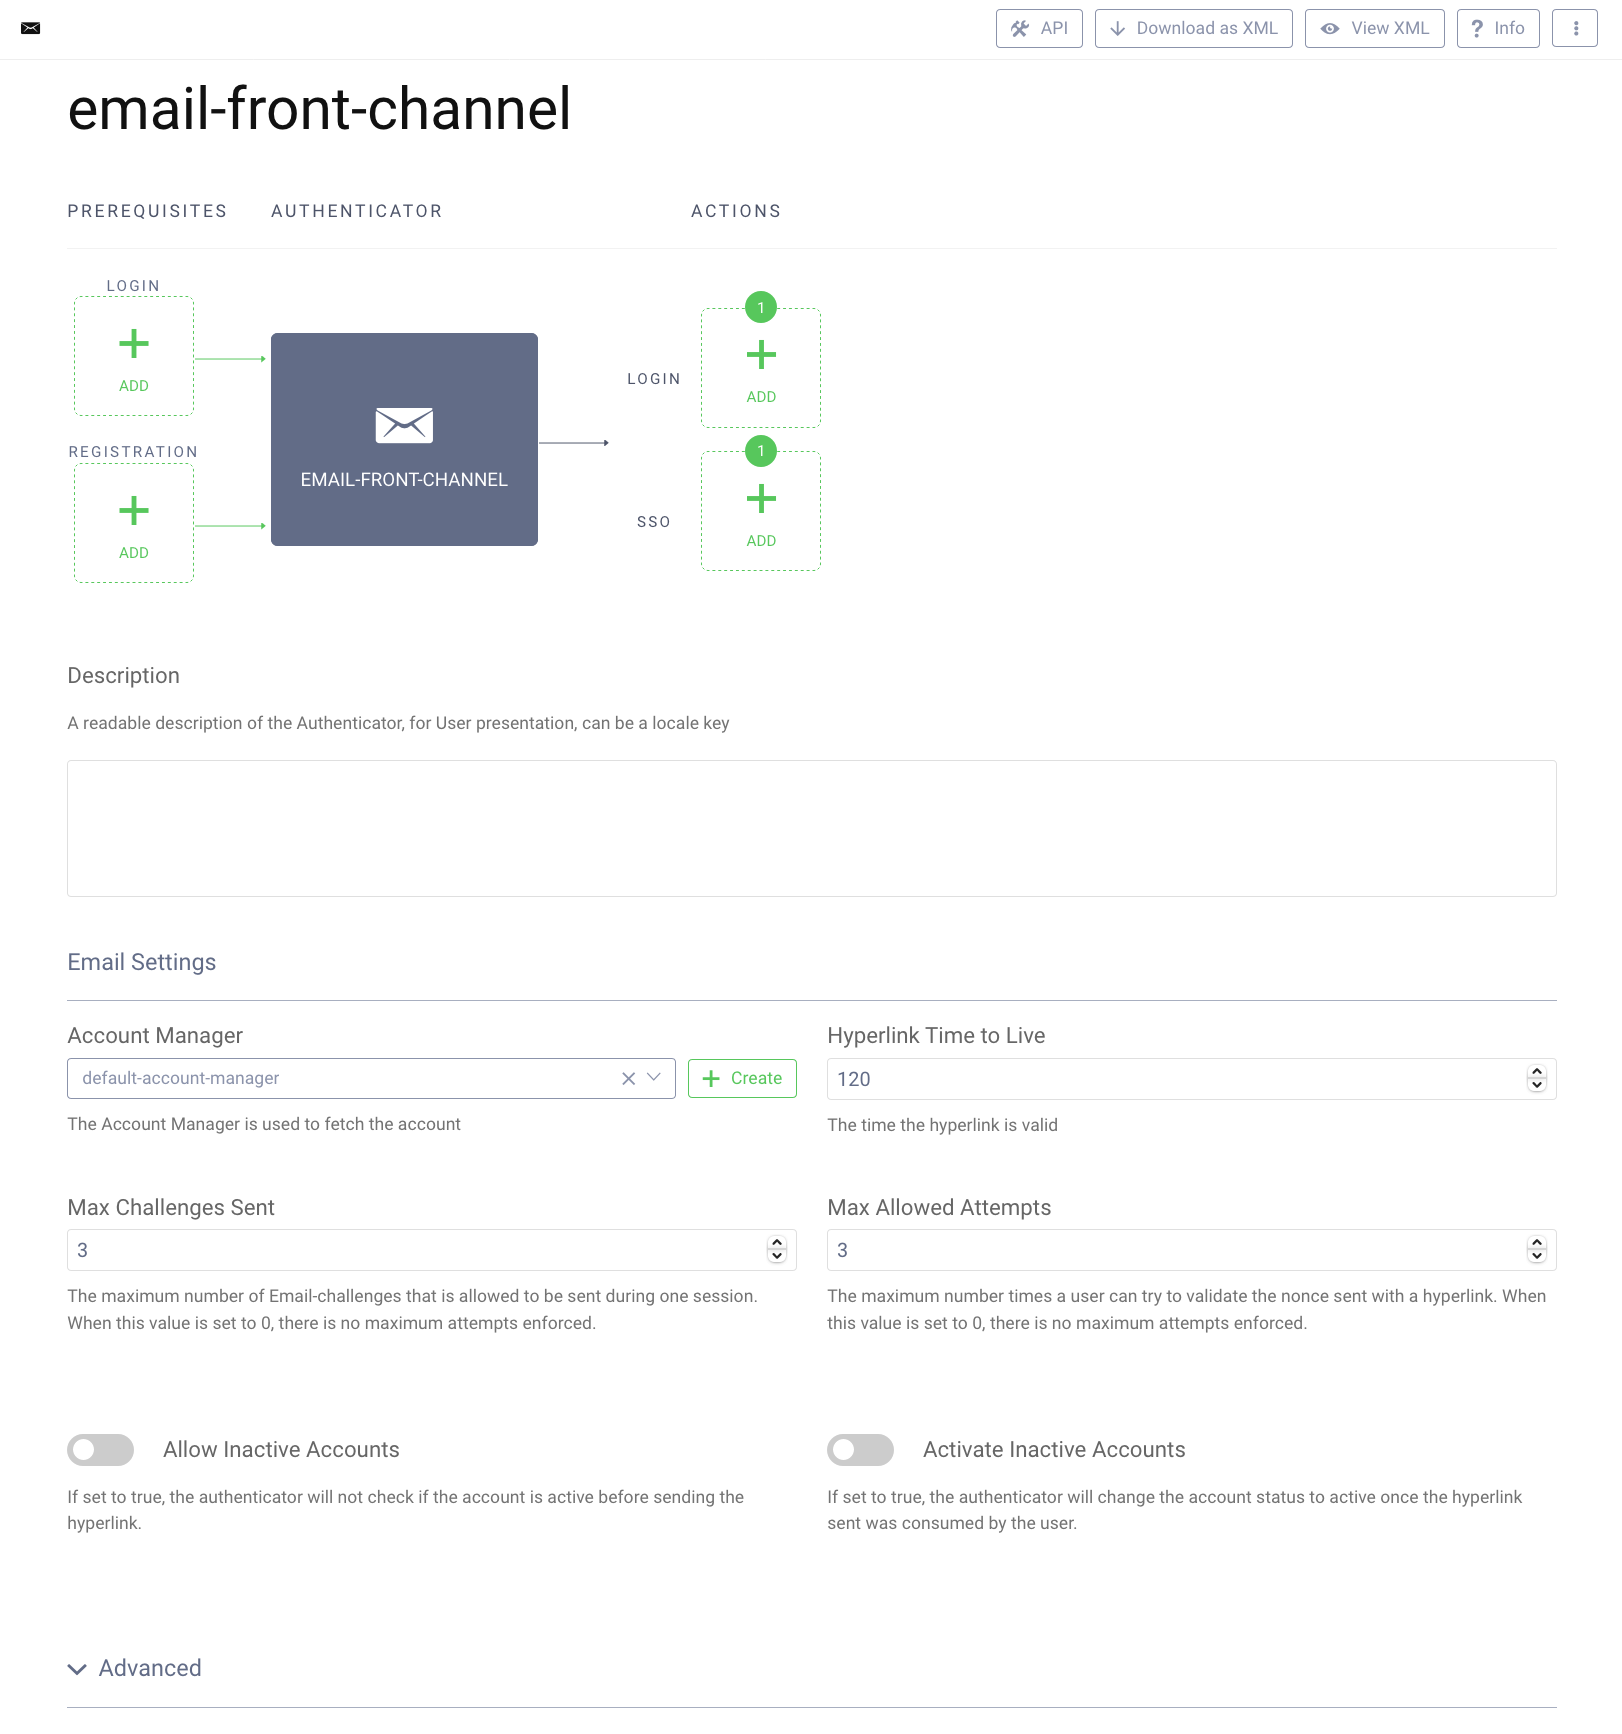
In this tutorial an e-mail authenticator will be used. The authenticator sends an e-mail to the user with a confirmation link.
For this authenticator to work, make sure to have an e-mail provider configured in the Facilities → Email Providers section, and that a default e-mail provider is set for all zones in System → Zones.
To add an e-mail authenticator, go to Profiles → Authentication Service → Authenticators, then click on the + New Authenticator button. Choose a suitable name and select the Email type, then click Next. Provide an Account Manager for the authenticator. The other options can be left default.
Add a Back-channel Authenticator
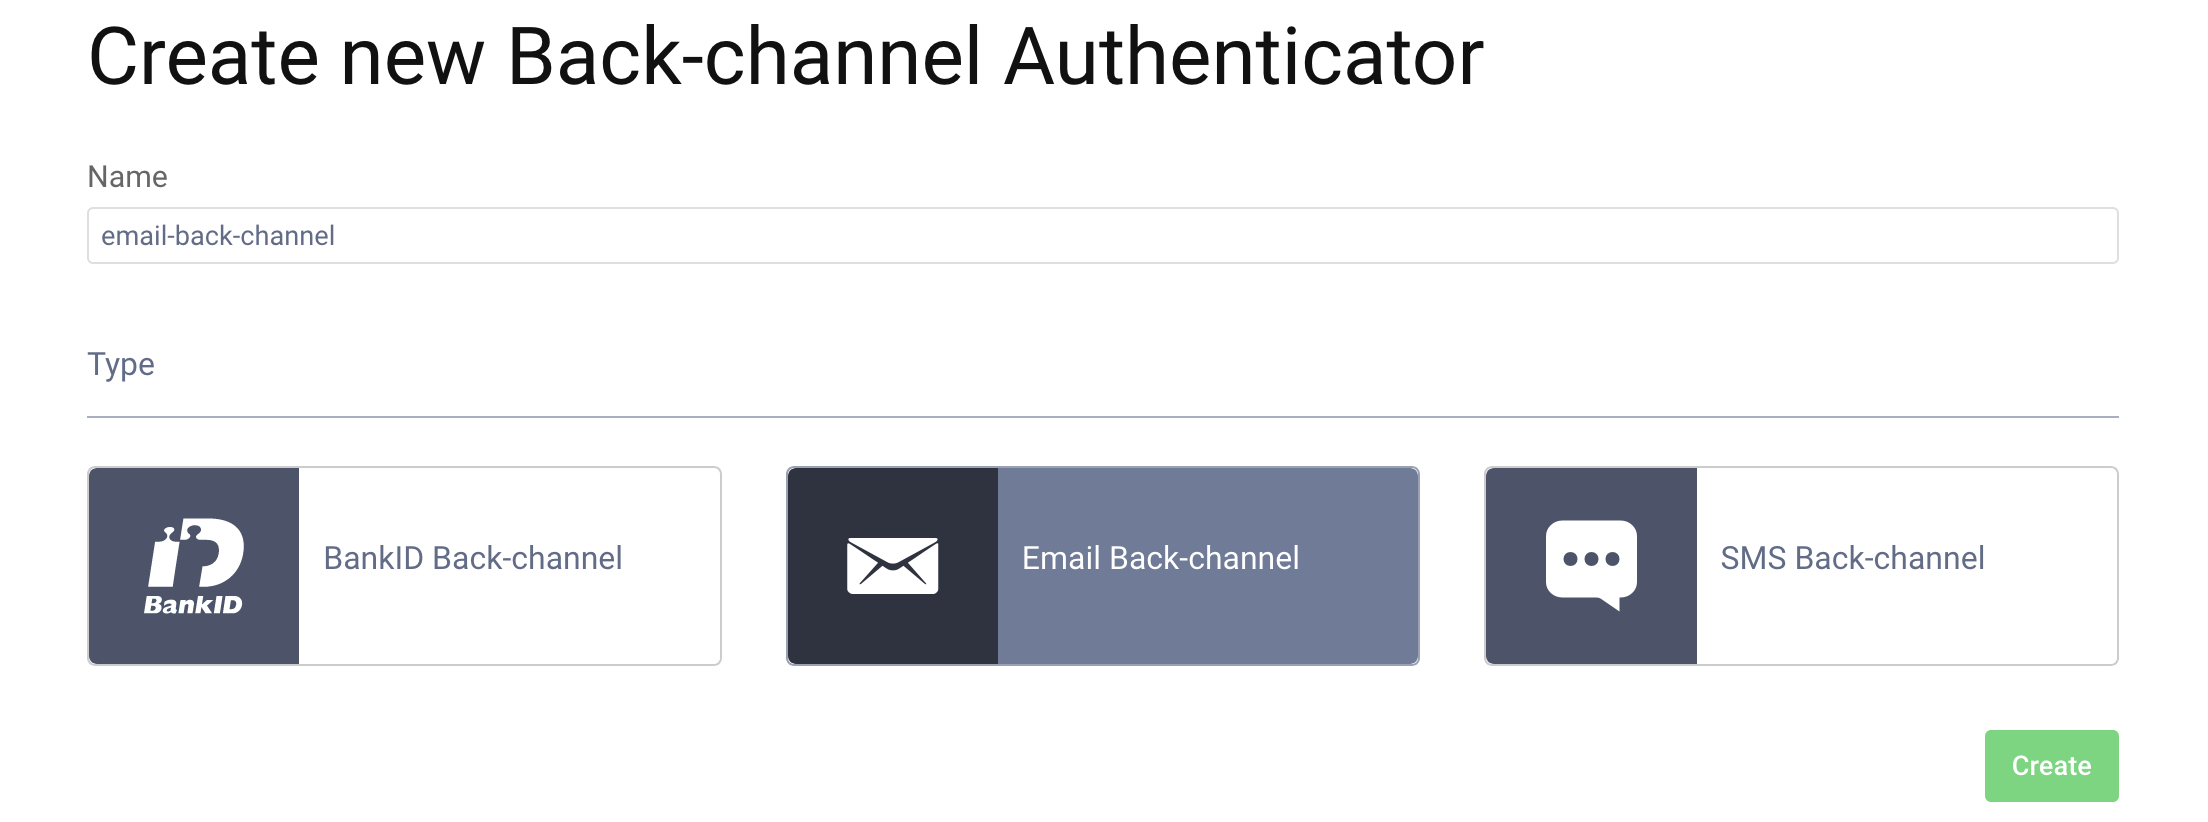
Once the front-channel authenticator is configured, add an authenticator for the back-channel. Go to Profiles → Authentication Service → Back-channel authenticators and click on the + New Authenticator button. Enter a suitable name for the authenticator and select the Email type, then click the Create button.
In the configuration screen you will notice a few differences from a usual authenticator configuration screen.
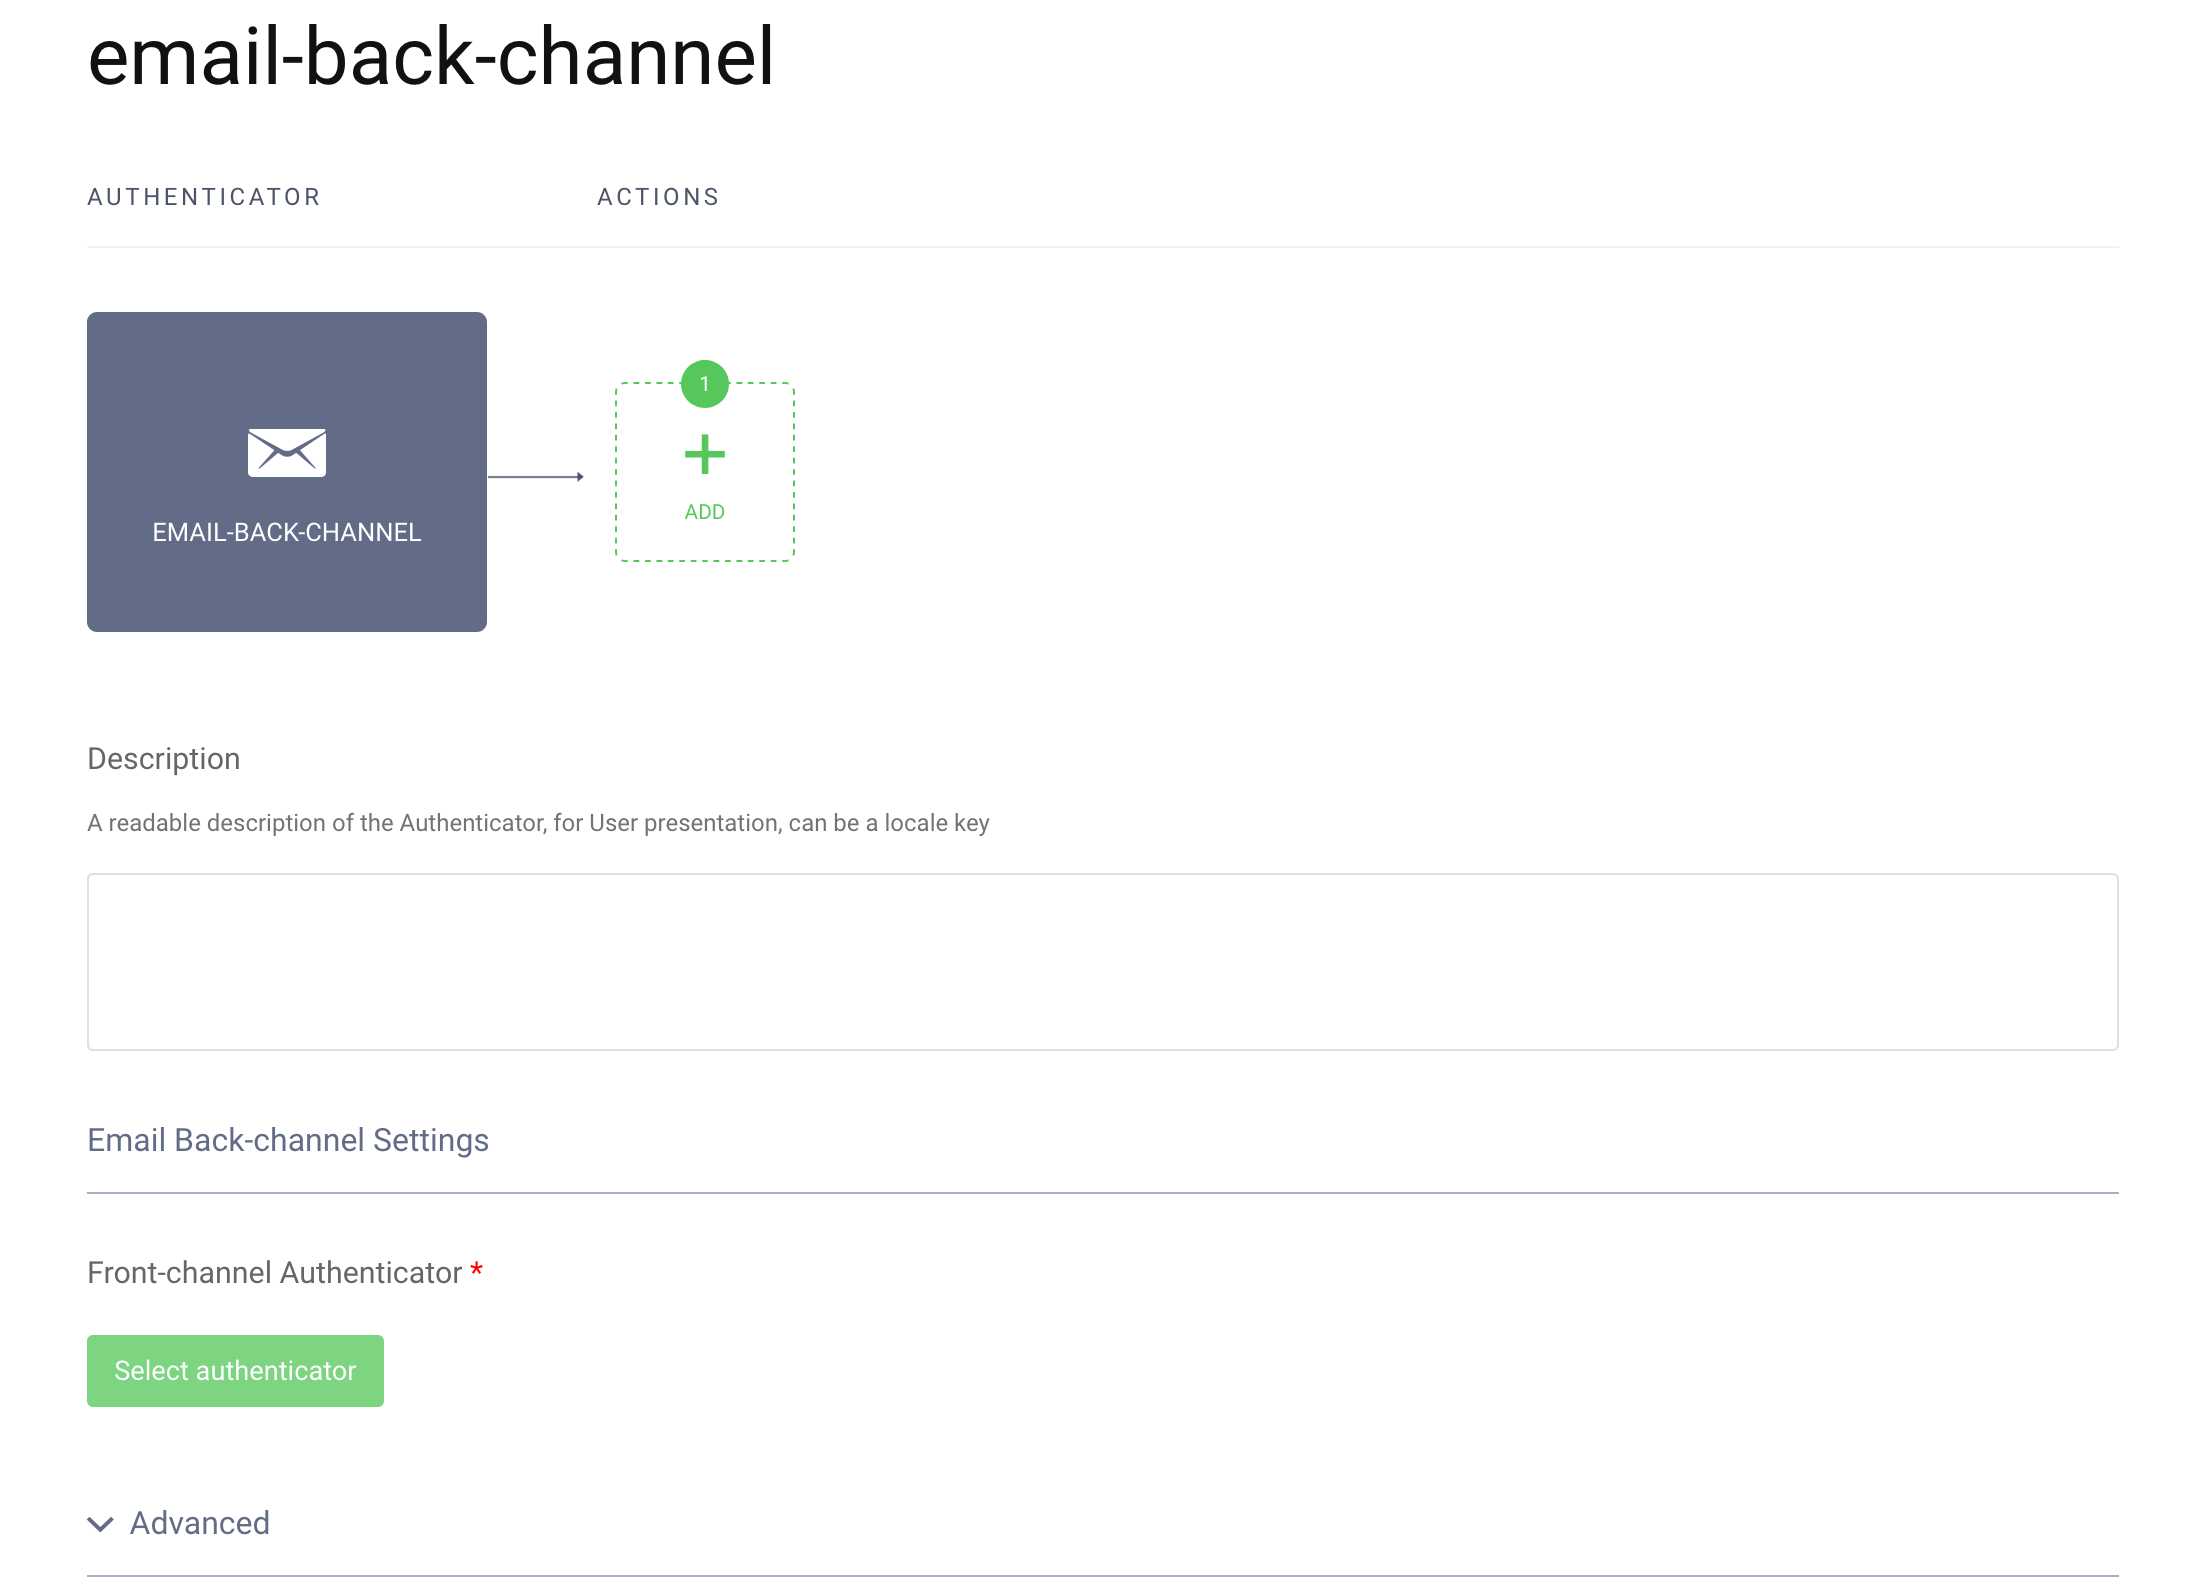
First, prerequisites can't be configured, most notably the registration prerequisite. This is an important feature of a CIBA flow - a user can't register during a CIBA flow, they can only authenticate. This is because the user only utilises a device to confirm the authentication. Most probably the user is not even present where the interaction between the client (a Consumption Device) and the Authorization Server takes place. This fact has another implication, seen in the actions flow lane - there are no separate lanes for login actions and SSO actions. SSO can't happen during a CIBA flow, again, because the user's session is not present on the machine from which the client is run.
You can add actions which will run after the back-channel authenticator, as usual, but these cannot be actions which result in an interaction with the user. For example, a multi factor condition action can't be used, as the user can't be redirected to a front-channel authentication in a CIBA flow. During development, for example, the Debug action can't be used, as this one also involves interaction with the user. You can use actions which transform attributes of the authentication (e.g. script actions or data source actions).
The one option that needs to be set is to link the back-channel authenticator to its front-channel counterpart. Click the Select authenticator button. A list of corresponding front-channel authenticators will be displayed. Select the previously created e-mail authenticator.

Configure a Client
The last thing that is needed, is a client which is capable of initiating the CIBA flow. Go to Token Service → Clients and create a client if there is none yet.
Next, add the Back-channel Authentication capability to the client. You can give the client any other capabilities, as needed.
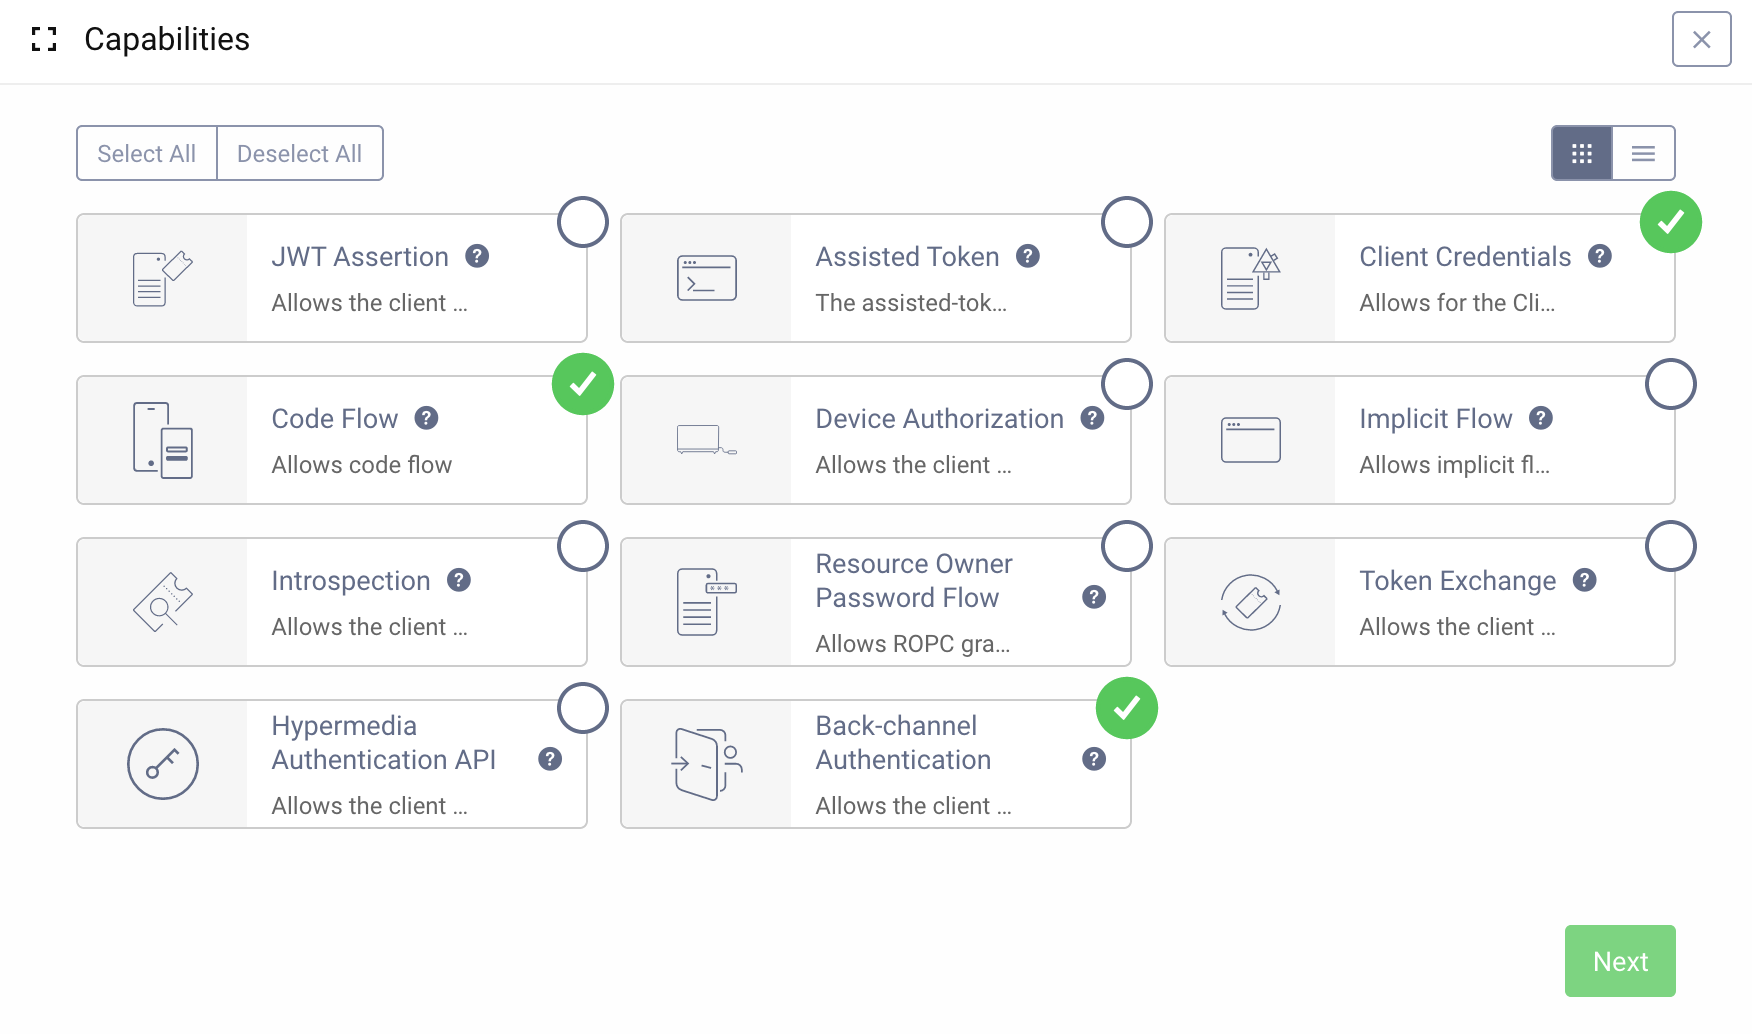
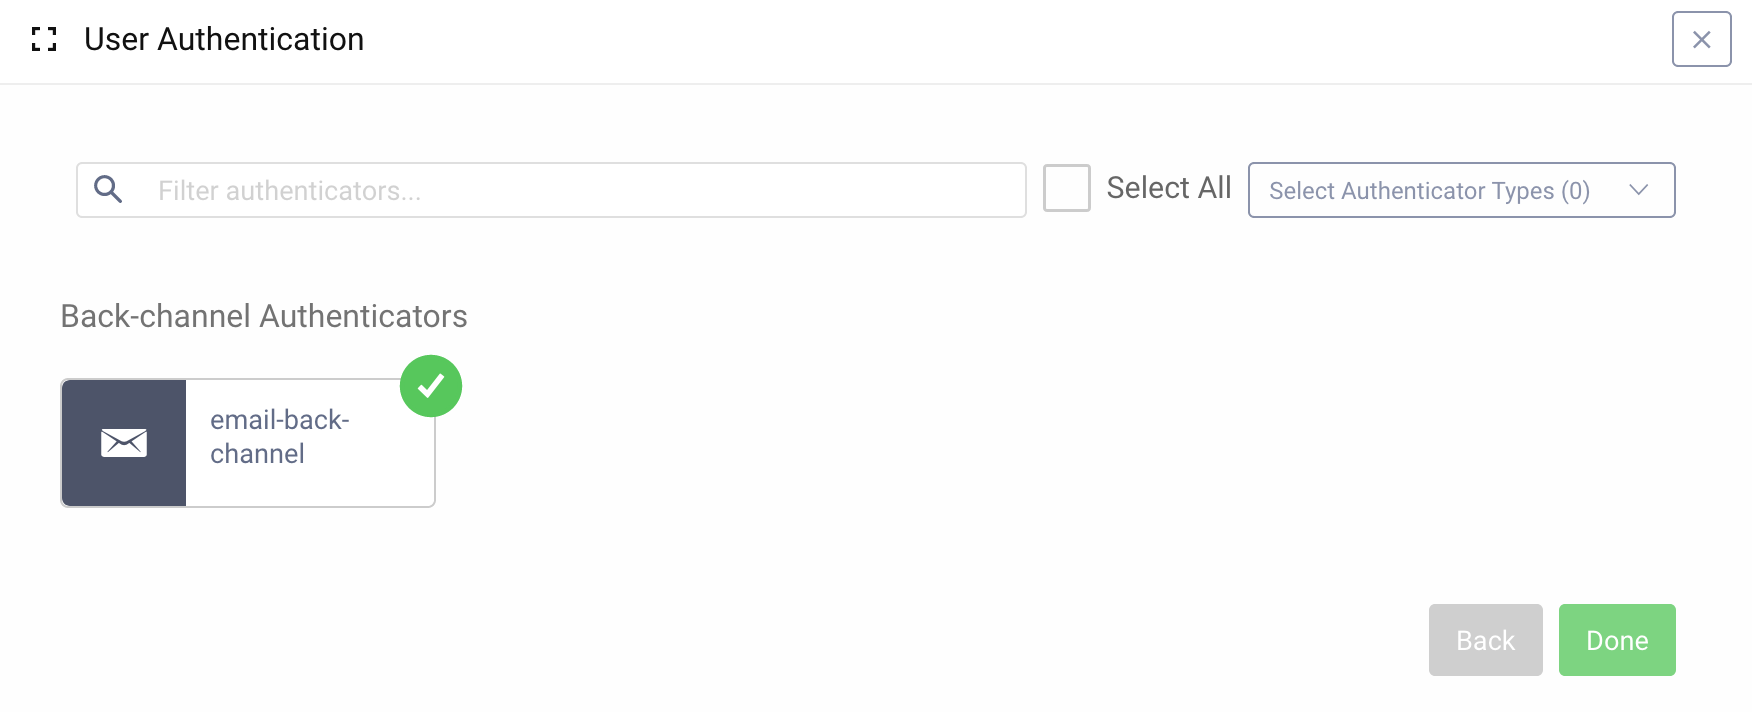
After clicking Next, the list of back-channel authenticators will be shown. Select the e-mail authenticator (which is probably the only one now on the list).
A client can have more than one back-channel authentication method assigned. In such a situation, when the Consumption Device initializes a CIBA flow, the Curity Identity Server will attempt to authenticate the user using all the available authenticators, unless an acr_values parameter is present in the request and specifies a narrowed list of authenticators which should be used.
Make sure that the client can request at least the openid scope. This scope must be requested in a CIBA authentication request, as CIBA is an extension to the OpenID Connect specification.
Test the Flow
Remember to commit all the configuration changes before testing.
You can use OAuth Tools to test the flow. OAuth Tools will take care of constructing the Authentication Request and the poll request, which is afterwards used to check if the Authentication has finished or not. Currently, polling is the only method you can use with the Curity Identity Server to receive tokens in a CIBA flow.
Create a new CIBA flow in OAuth Tools and enter the clients' credentials. Select at least the openid scope. In the Login Hint field enter a username of a user registered in your system, then Run the flow. You should get a response from the Curity Identity Server with an authentication request ID (auth_req_id). Shortly, you should also receive an e-mail with an authentication link. Now click on the Poll button, you should see a 400 response with an information that authentication is pending. Once the authentication is confirmed by clicking on the link in the e-mail, the next time Poll is called, you should receive a set of tokens: an access token, refresh token and an ID token.
Demo
Here is a demo showing how to configure the Curity Identity Server to use a bank ID authenticator in a CIBA flow. It also shows the flow in action using OAuth Tools as the Consumption Device.

Conclusion
"Client Initiated Backchannel Authentication" gives additional possibilities for user authentication scenarios. With the Curity Identity Server's Authentication Service it's simple to set up authentication methods which support CIBA. If you run into any problems setting up CIBA or have any questions, do not hesitate to contact us.
Customer Stories
Learn how organizations run identity and API security at scale.
Read customer storiesWas this helpful?