Email Customization Example
On this page
The Single Brand Screen Customization Example demonstrates some techniques to create a custom theme for the Curity Identity Server's login screens. This tutorial shows how to extend those techniques, to customize the appearance of emails that the Curity Identity Server sends to users.
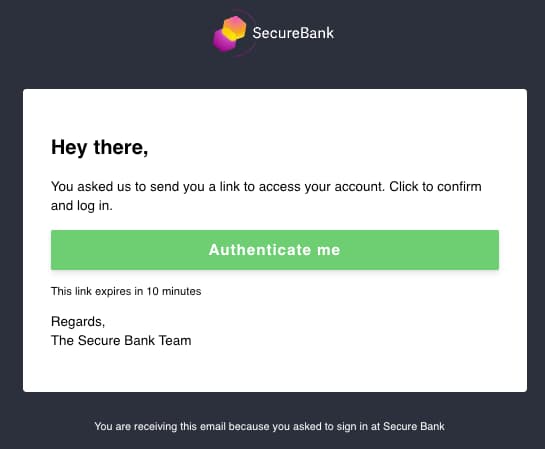
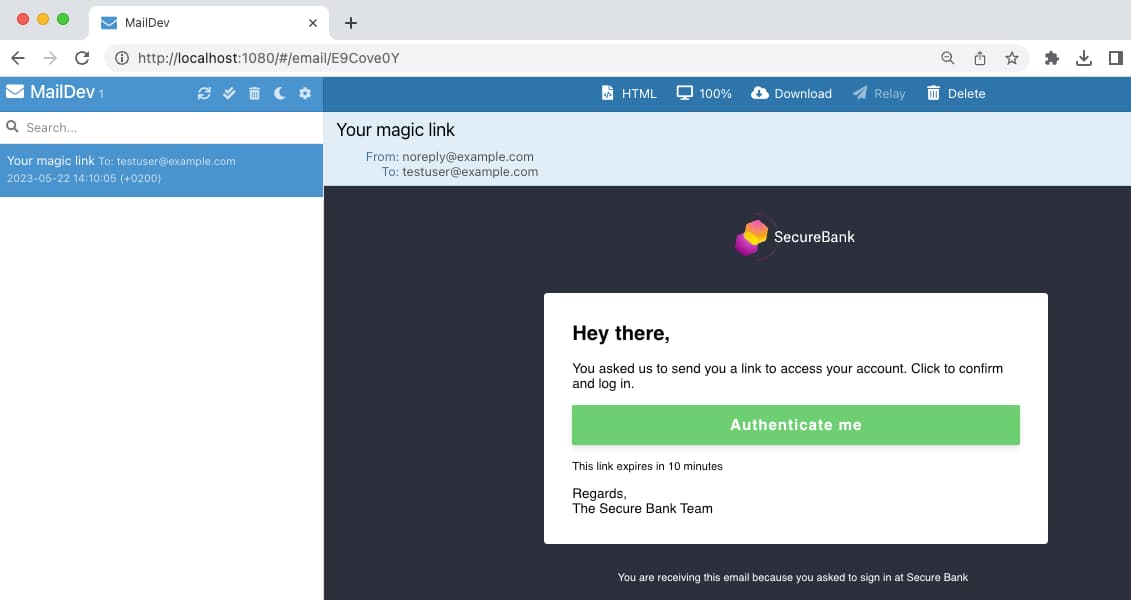
The example customization updates the email authenticator's default look and feel to use magic link branding, with the following presentation. When a user signs in with the email authenticator, the user receives an email with a hyperlink rendered as a button. The hyperlink's URL contains a short-lived one time token, or nonce. The user simply clicks Authenticate me to sign in.
Locate Customized Files
Clone the GitHub repository at the top of this page, then inspect the brand's customized files in the recipes/email folder, to understand a folder layout that you could use to store branding customizations in source control.
│ ├── images│ │ └── secure-bank-logo-white.svg│ ├── messages│ │ └── overrides│ │ └── en│ │ └── custom.properties│ ├── templates│ │ └── overrides│ │ ├── authenticator│ │ │ └── message.vm│ │ │ └── html-form│ │ │ └── reset-password│ │ │ └── email.vm│ │ ├── layouts│ │ │ └── html-email.vm│ │ └── settings.vm
The customized files are summarized below, and can be inspected to understand how to make similar changes for your own brand. Each file contains only small changes to the default resources shipped with the Curity Identity Server:
| File Location | Customizations |
|---|---|
images/* | Custom image files used by the brand. |
messages/overrides/en/custom.properties | Custom text to render in email messages sent by the email authenticator. |
templates/overrides/authenticator/email/email/message.vm | A Velocity template containing a custom body for email authenticator emails. |
templates/overrides/authenticator/html-form/email/reset-password/email.vm | A Velocity template containing a custom body for reset password emails. |
templates/overrides/layouts/html-email.vm | A Velocity template containing the shared HTML layout for all emails. |
templates/overrides/settings.vm | A template where the email logo is configured. |
Develop Using the UI Kit
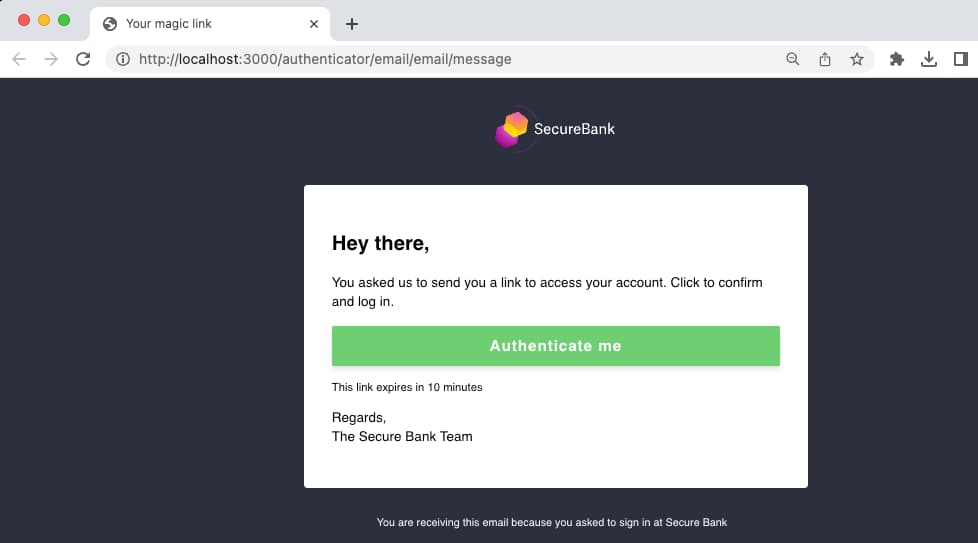
You can do most theming work using the UI Kit, which renders Curity Identity Server templates without the need to run a login flow. You then get fast feedback for branded login screens in the browser at http://localhost:3000. To render a customized email template, simply browse to its location.
Email Logos
The email logo must be a URL in order for it to render correctly in a real email client. The URL is configured in the settings.vm file. When running UI Kit, the velocity variable for the base URL of the Curity Identity Server is empty, and the image is instead loaded from a local file path.
#parse("settings-defaults")#if ($_baseUrl)#set ($logo_email_path = $!_baseUrl + '/assets/images/secure-bank-logo-white.svg')#else#set ($logo_email_path = $!_staticResourceRootPath + '/assets/images/secure-bank-logo-white.svg')#end
Look and Feel Updates
The email HTML customizations are in templates/overrides/layouts/html-email.vm, which is used for all login related emails. The example changes are accompanied by HTML comments so that they can be easily compared to the default layout file at templates/core/layouts.
<!-- START CENTERED WHITE CONTAINER, REDUCED BORDER RADIUS --><table class="main" style="border-collapse: separate; mso-table-lspace: 0pt; mso-table-rspace: 0pt; width: 100%; background: #ffffff; border-radius: 4px;"><!-- START MAIN CONTENT AREA --><tr><!-- SAN SERIF FONT, 15px TEXT SIZE --><td class="wrapper" style="font-family: sans-serif; font-size: 15px; vertical-align: top; box-sizing: border-box; padding: 30px;"><table border="0" cellpadding="0" cellspacing="0" style="border-collapse: separate; mso-table-lspace: 0pt; mso-table-rspace: 0pt; width: 100%;"><tr><!-- SAN SERIF FONT, 15px TEXT SIZE --><td style="font-family: sans-serif; font-size: 15px; vertical-align: top;"><!-- REMOVED CURITY IDENTITY SERVER HEADING AND DISPLAYED TITLE IN H2 INSTEAD OF H1 --><h2>#message("${_templatePrefix}.email.title")</h2><!-- SAN SERIF FONT, 15px TEXT SIZE --><p style="font-family: sans-serif; font-size: 15px; font-weight: normal; margin: 0; Margin-bottom: 15px;">$_body</p></td></tr></table></td></tr></table>
The body is updated in the templates/overrides/authenticator/email/email/message.vm file. The example branding changes the button background color and adds some extra text values. Equivalent changes are also provided for the Reset Password email body.
#define($_body)<p>#message("authenticator.email.email.linkdescription")</p><a href="$_hyperlink"style="background-color:#6ecf72;border-radius:2px;color:#fff;display:block;font-family:Helvetica,Arial,sans-serif;font-size:17px;font-weight:bold;letter-spacing:1px;line-height:45px;text-align:center;text-decoration:none;width:100%;-webkit-text-size-adjust:none;box-shadow: 0 4px 6px rgba(50,50,93,.11), 0 1px 3px rgba(0,0,0,.08);">#message("authenticator.email.email.email.button")</a><p><small>#message("authenticator.email.email.expires")</small></p><p>#message("authenticator.email.email.greeting")<br/>#message("authenticator.email.email.signature")</p>#end#parse("layouts/html-email")
Text Customization
The text displayed is from the messages/overrides/en/custom.properties override. The use of a custom.properties file demonstrates an alternative way to customize text. It allows a single file for all customizations, where each message ID must contain a full path to the message property being overridden:
authenticator.email.email.email.title=Hey there,authenticator.email.email.subject=Your magic linkauthenticator.email.email.email.subject=Your magic linkauthenticator.email.email.button=Authenticate meauthenticator.email.email.greeting=Regards,authenticator.email.email.signature=The Secure Bank Teamauthenticator.email.email.linkdescription=You asked us to send you a link to access your account. Click to confirm and log in.authenticator.email.email.expires=This link expires in 10 minutesauthenticator.email.verify.view.token.valid=Thank you. Your email address has been confirmed and authentication can continue. You can close this window.email.footer=You are receiving this email because you asked to sign in at Secure Bank
Deploy Customizations
To deploy the example customizations, follow the README from the GitHub repository to run a local Docker deployment. The example customizations get deployed to the following folder structure under the $IDSVR_HOME root folder, which evaulates to /opt/idsvr for Docker deployments.
├── usr│ ├── share│ │ ├── webroot│ │ | �└── assets│ │ | └── images│ │ │ └── secure-bank-logo-white.svg│ │ ├── messages│ │ │ └── overrides│ │ │ └── en│ │ │ └── custom.properties│ │ ├── templates│ │ │ └── overrides│ │ │ ├── authenticator│ │ │ │ └── message.vm│ │ │ │ └── html-form│ │ │ │ └── reset-password│ │ │ │ └── email.vm│ │ │ ├── layouts│ │ │ │ └── html-email.vm│ │ │ └── settings.vm
Test Customizations
The example deployment also provides a local test setup, to show how to quickly run real login flows with customizations, using OAuth Tools as a test client. Follow the README instructions to test email operations with the maildev tool, with which you can process emails for any test user.
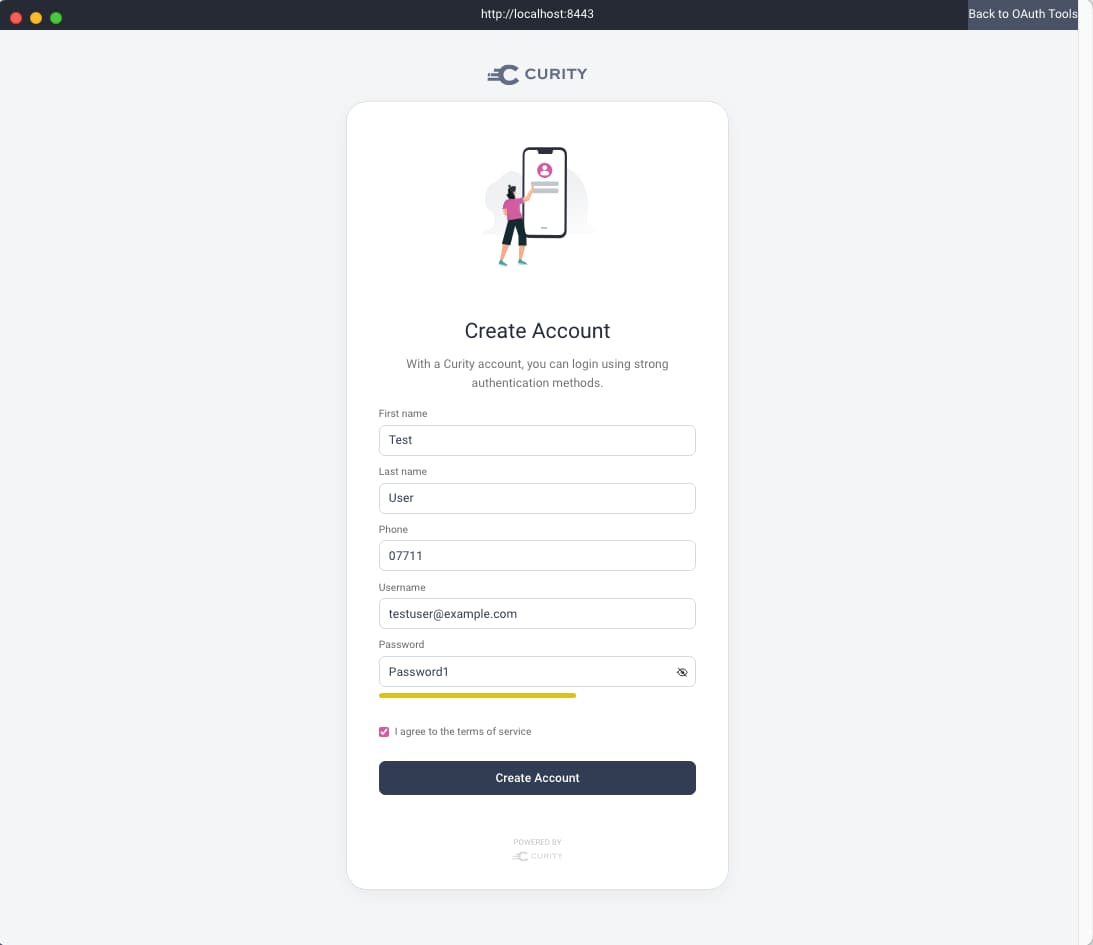
To begin testing, run a code flow in OAuth Tools for a test client. Select the HTML form authenticator and the Create Account link. Since this example is focused only on emails, login screens have been left with their default look and feel. Enter details to create an account, and use a fake email if you prefer.
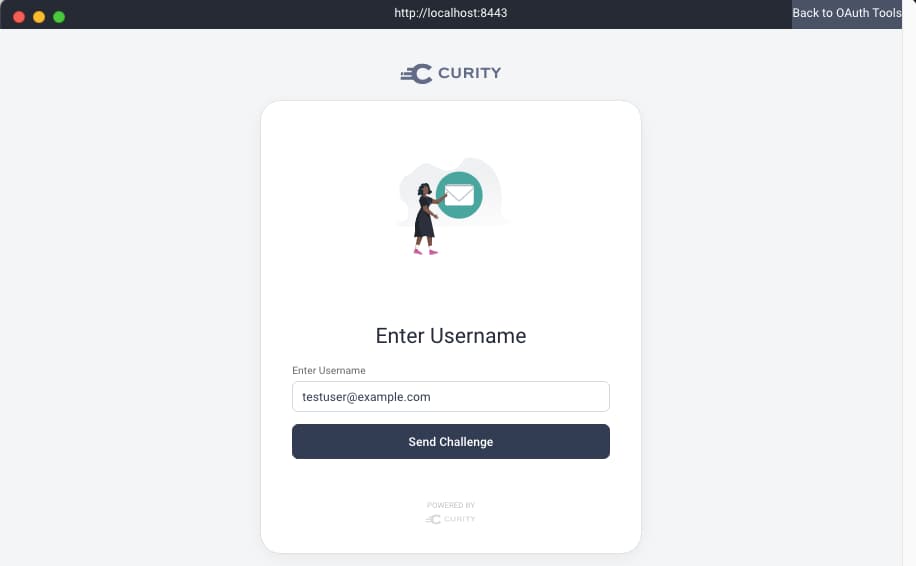
Next, run another code flow, and select the email authenticator, then enter the email for the test account. After submission, the authenticator screen will poll the Curity Identity Server to wait for completion.
Next, browse to the mock email inbox to use the customized email template, which renders a hyperlink as an Authenticate me button. If required, you can also us the maildev tool to view emails in mobile resolutions.
Click Authenticate me to trigger a request to the Curity Identity Server, to complete authentication. In OAuth Tools, the polling will complete and the will be authenticated.
Conclusion
This tutorial showed how to customize email presentation during authentication flows. Use UI Kit when working on the look and feel details, so that you receive fast feedback. You can then run end-to-end email based flows to complete the integration.
Customer Stories
Learn how organizations run identity and API security at scale.
Read customer storiesWas this helpful?