Single Brand Customization Example
On this page
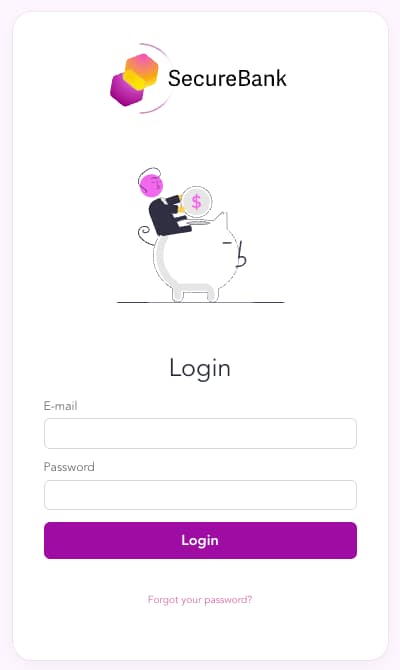
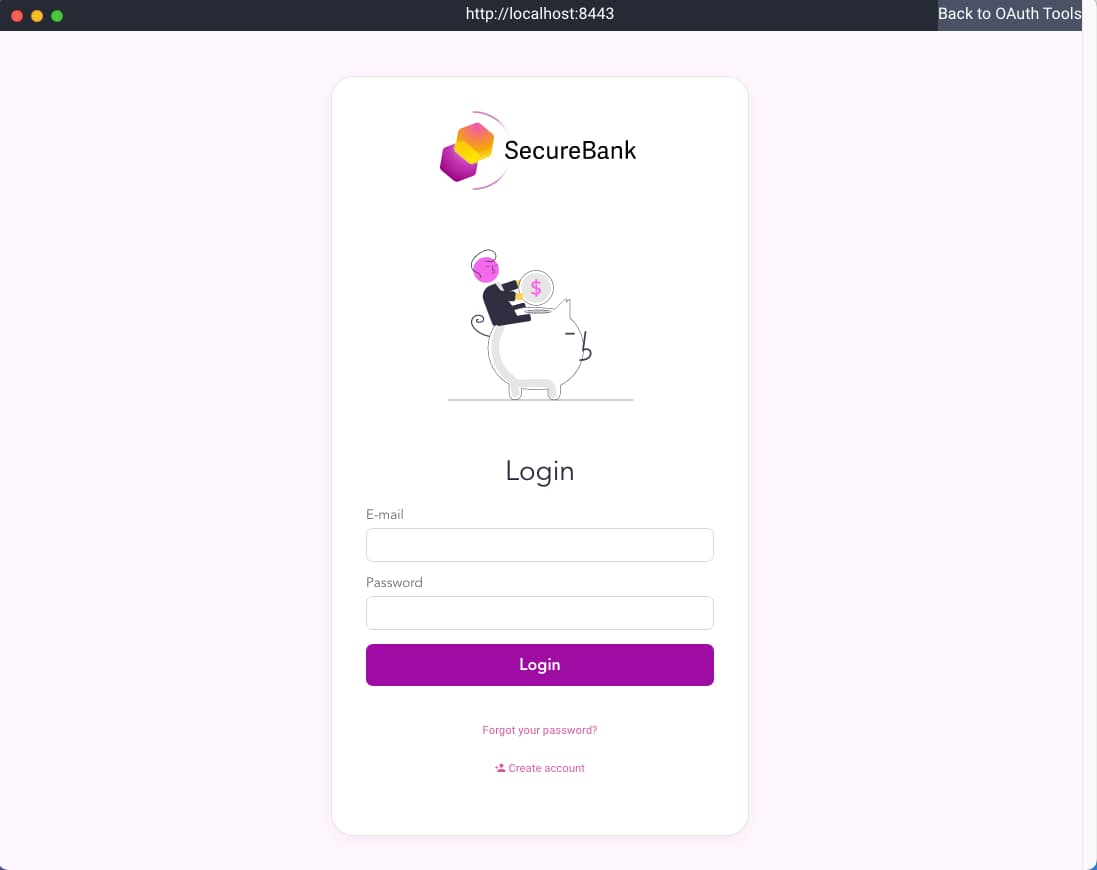
This tutorial provides an example custom branded login screen for the Curity Identity Server, using the techniques summarized in Extended Look and Feel Customization. The brand has the following appearance, where users sign in with an email address and password. Some basic changes have been made to the default text, color, layout and images. The Forgot Username link has also been removed:
Locate Customized Files
Clone the GitHub repository at the top of this page, then inspect the brand's customized files in the recipes/basics folder, to understand a folder layout that you could use to store branding customizations in your source control system:
├── basics│ ├── images│ │ └── secure-bank-logo-white.svg│ │ └── secure-bank-logo.svg│ │ └── secure-bank-symbol.svg│ ├── messages│ │ └── overrides│ │ ├── en│ │ │ └── authenticator│ │ │ └── html-form│ │ │ ├── authenticate│ │ │ │ └── messages│ │ │ ├── create-account│ │ │ │ └── messages│ │ │ └── reset-password│ │ │ └── messages│ │ └── pt│ │ └── authenticator│ │ └── html-form│ │ ├── authenticate│ │ │ └── messages│ │ ├── create-account│ │ │ └── messages│ │ └── reset-password│ │ └── messages│ ├── css│ │ └── secure-bank-theme.css│ ├── templates│ │ └── overrides│ │ ├── authenticator│ │ │ └── html-form│ │ │ └── authenticate│ │ │ └── get.vm│ │ └── settings.vm
The customized files are summarized below, and can be inspected to understand how to make similar changes for your own brand. Each file contains only small changes to the default resources shipped with the Curity Identity Server:
| File Location | Customizations |
|---|---|
images/* | Custom image files used by the brand. |
messages/overrides/*/authenticator/html-form/*/messages | Custom text in multiple languages for the Login, Forgot Password and Create Account pages, to change the Username label to E-mail. |
css/secure-bank-theme.css | A custom theme containing CSS changes to colors, spacing and layout. |
templates/overrides/authenticator/html-form/authenticate/get.vm | A custom velocity template file, to customize the HTML of the login screen. |
templates/overrides/settings.vm | Customizations to the most common settings, including the logo position, whether to show a symbol, and which CSS theme to use. |
Develop Using UI Kit
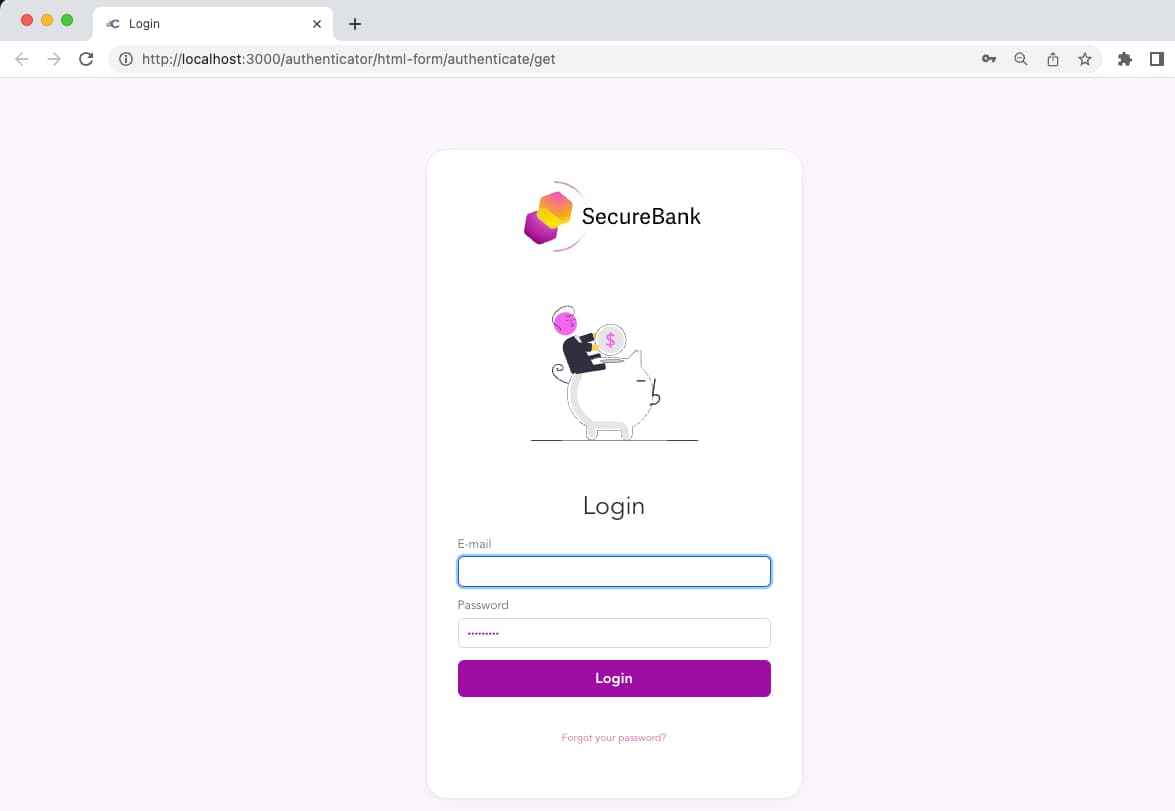
You can do most theming work using the UI Kit, which renders Curity Identity Server templates without the need to run a login flow. You then get fast feedback for branded login screens in the browser at http://localhost:3000:
Look and Feel Updates
When customizing appearance, start with the settings.vm file. This enables the most common quick settings to be applied, such as overriding image properties and pointing to a custom theme:
#parse("settings-defaults")#set ($logo_path = $!_staticResourceRootPath + '/assets/images/secure-bank-logo.svg')#set ($logo_inside = true)#set ($show_symbol = false)#set ($powered_by = false)#set ($main_css_path = $!_staticResourceRootPath + '/assets/css/main.css' )#set ($theme_css_path = $!_staticResourceRootPath + '/assets/css/secure-bank-theme.css')
Template files with a .vm extension enable you to change HTML, by adding or removing elements. The example uses a custom get.vm file for the login screen, to remove the default Forgot Username link. When the user logs in with their email it usually makes sense to remove this element.
The finer CSS details are supplied in a .css file. To understand styles and how they impact appearance, use the Admin UI Fast Customization to make the look and feel changes visually. Then export the style details and copy them into your own theme file. The example custom theme is in a secure-bank-theme.css file with the following contents. This overrides the default Curity theme to customize layout, colors and fonts:
:root {--page-background-color: #fff6ff;--page-background-color-dark: #7a0079;}:root {--login-symbol-size: 240px;}:root {--login-logo-max-width: 240px;--login-logo-max-height: 120px;}:root {--color-primary: #9e0ca3;}:root {--type-sans:"Avenir","Roboto-Regular",system,-apple-system,"Roboto","Segoe UI","Lucida Grande",sans-serif;--type-sans-bold:"Avenir","Roboto-Medium",system,-apple-system,"Roboto","Segoe UI","Lucida Grande",sans-serif;}
Text Customization
The example customization updates labels in login related screens from Username to E-mail. This is done in both English and Portuguese. The default text can be found in core files at the same relative locations to the message files in the overrides folder. Translations are only needed for values that need changing from defaults.
view.username=E-mailvalidation.error.accountId.required=You have to enter your email
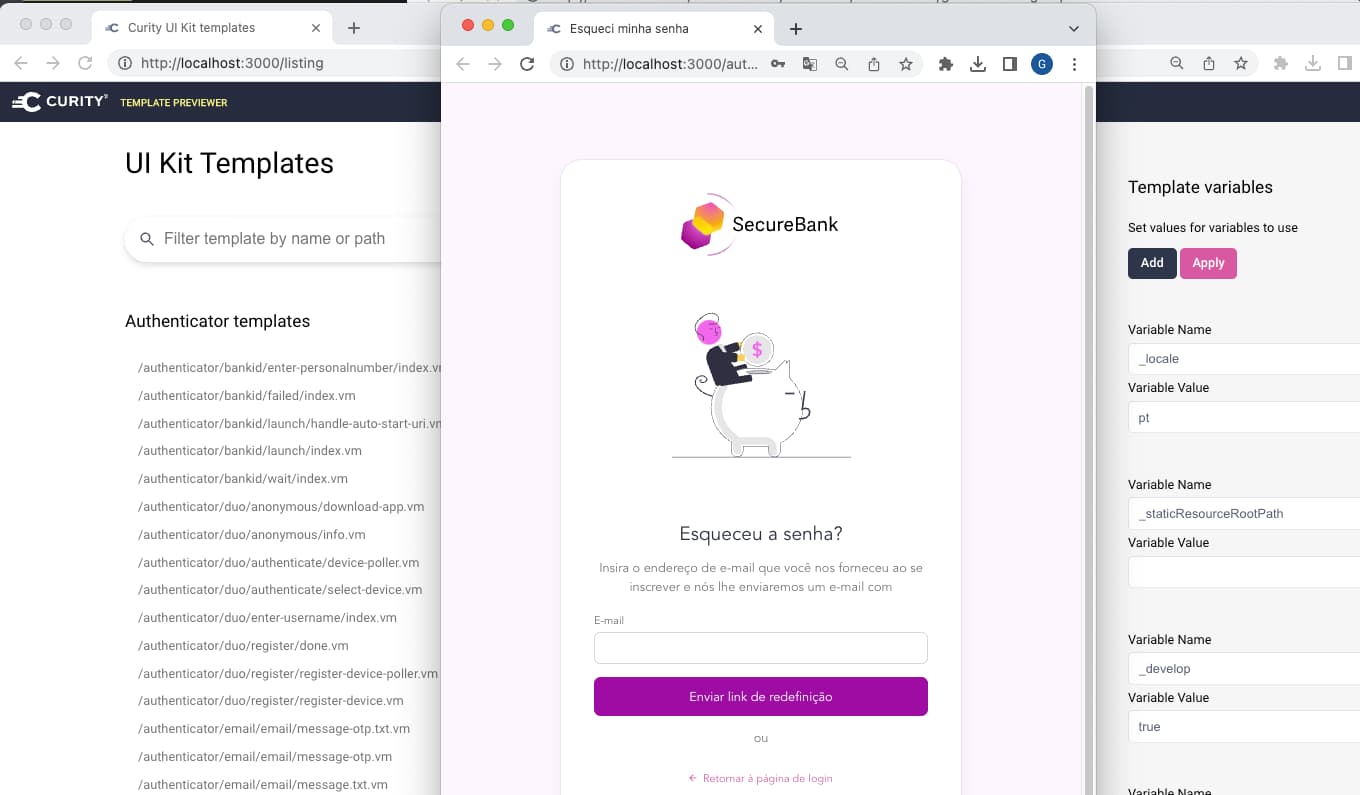
To test a language other than English in UI Kit, open another browser window and navigate to http://localhost:3000/listing. Set the Velocity variable _locale to a value for which translations exist, such as pt. Then open the authentication template you wish to view. The following screenshot shows the Forgot Password screen with Portuguese translations:
Deploy Customizations
To deploy the example customizations, follow the README from the GitHub repository to run a local Docker deployment. The example customizations get deployed to the following folder structure under the $IDSVR_HOME root folder, which evaulates to /opt/idsvr for Docker deployments.
├── usr│ ├── share│ │ ├── webroot│ │ | └── assets│ │ | └── css│ │ | └── secure-bank-theme.css│ │ | └── images│ │ │ └── secure-bank-logo-white.svg│ │ │ └── secure-bank-logo.svg│ │ │ └── secure-bank-symbol.svg│ │ ├── messages│ │ │ └── overrides│ │ │ ├── en│ │ │ │ └── authenticator│ │ │ │ └── html-form│ │ │ │ ├── authenticate│ │ │ │ │ └── messages│ │ │ │ ├── create-account│ │ │ │ │ └── messages│ │ │ │ ├── reset-password│ │ │ │ └── messages│ │ │ └── pt│ │ │ └── authenticator│ │ │ └── html-form│ │ │ ├── authenticate│ │ │ │ └── messages│ │ │ ├── create-account│ │ │ │ └── messages│ │ │ ├── reset-password│ │ │ └── messages│ │ ├── templates│ │ │ └── overrides│ │ │ ├── authenticator│ │ │ │ └── html-form│ │ │ │ └── authenticate│ │ │ │ └── get.vm│ │ │ └── settings.vm
Test Customizations
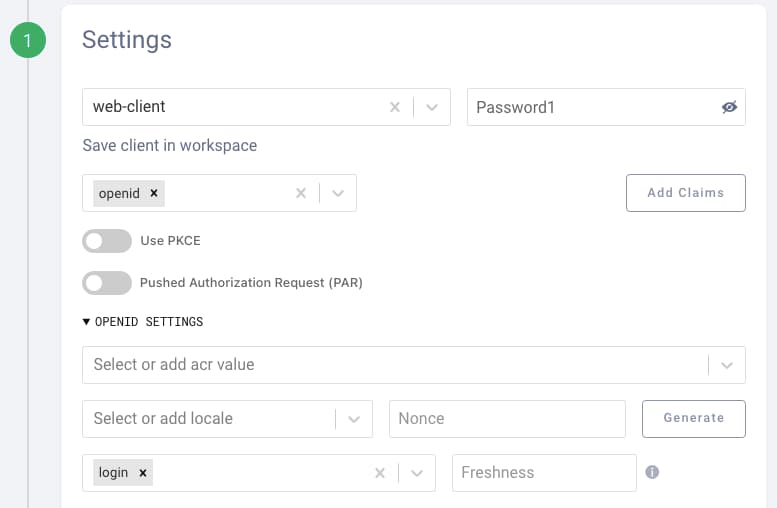
The example deployment also provides a local test setup, to show how to quickly run real login flows with customizations, using OAuth Tools as a test client with the following settings. Follow the README instructions to test login operations. If required, also set the OpenID Connect ui_locales=pt parameter to test logins using Portuguese text:
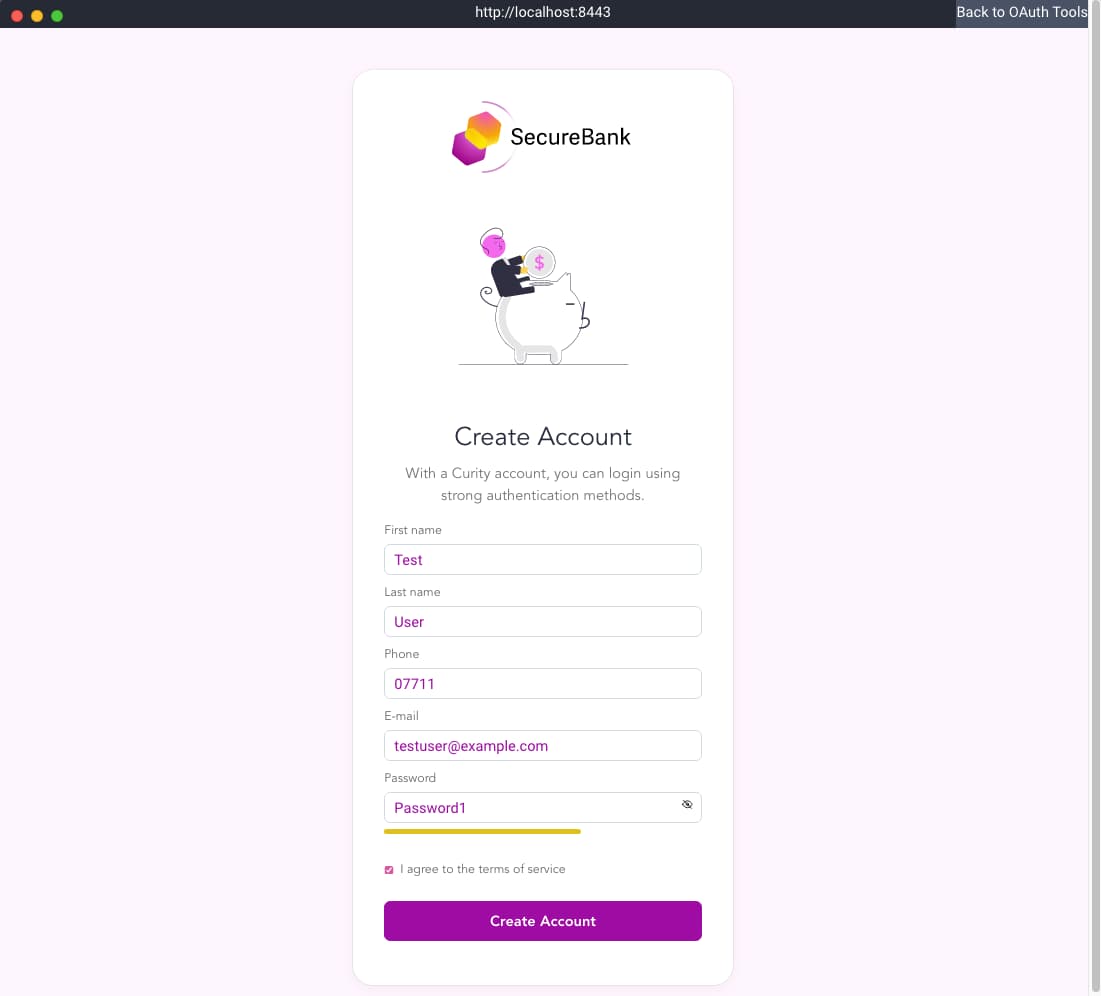
Choose the HTML form authenticator and then select the Create Account link in the login screen:
Next, create an account with details similar to the following:
You can then test login and navigation operations for the new user, including the Forgot Password flow. For details on how to work with emails and customize them, see the Email Customization Example.
Conclusion
The Curity Identity Server provides powerful ways to customize the look and feel, and productive tools for frontend developers. Customizations can be developed without duplication, then deployed in a manner that copes reliably with future upgrades. This tutorial provided a worked example of the most common techniques, which can be used as a guide when getting started with your own customizations.
Customer Stories
Learn how organizations run identity and API security at scale.
Read customer storiesWas this helpful?