Client Credentials Flow
On this page
OAuth 2.0 has a flow called client credentials, that comes in handy when there are requests to your APIs that are not involving a user. With the Client Credentials flow it is possible to let servers communicate with an API without modifying the APIs themselves.
Overview
Token Endpoint

- The Client makes a POST request to the OAuth Server
- The OAuth Server issues the Access Token immediately and responds to the client
To learn more about the client parameters of the Client Credentials flow see OAuth Client Credentials Flow.
Pre-requisites
This tutorial builds on the configuration setup described in the steps First Configuration and Configure an Authenticator under the menu Getting Started. If you have not gone through those steps yet, you can visit the guides by clicking on the links.
You may run this tutorial on a custom setup also, but keep in mind that names and URLs may be different, as well as the capabilities configured in the profiles.
Setup in the Curity Identity Server
Visit the Profiles screen and click the Token Service. On the right select Clients and click New.
New Client
Give the client an ID (eg. server for system client).

Capabilities
In the Overview panel click on the Capabilities box to add a new capability.
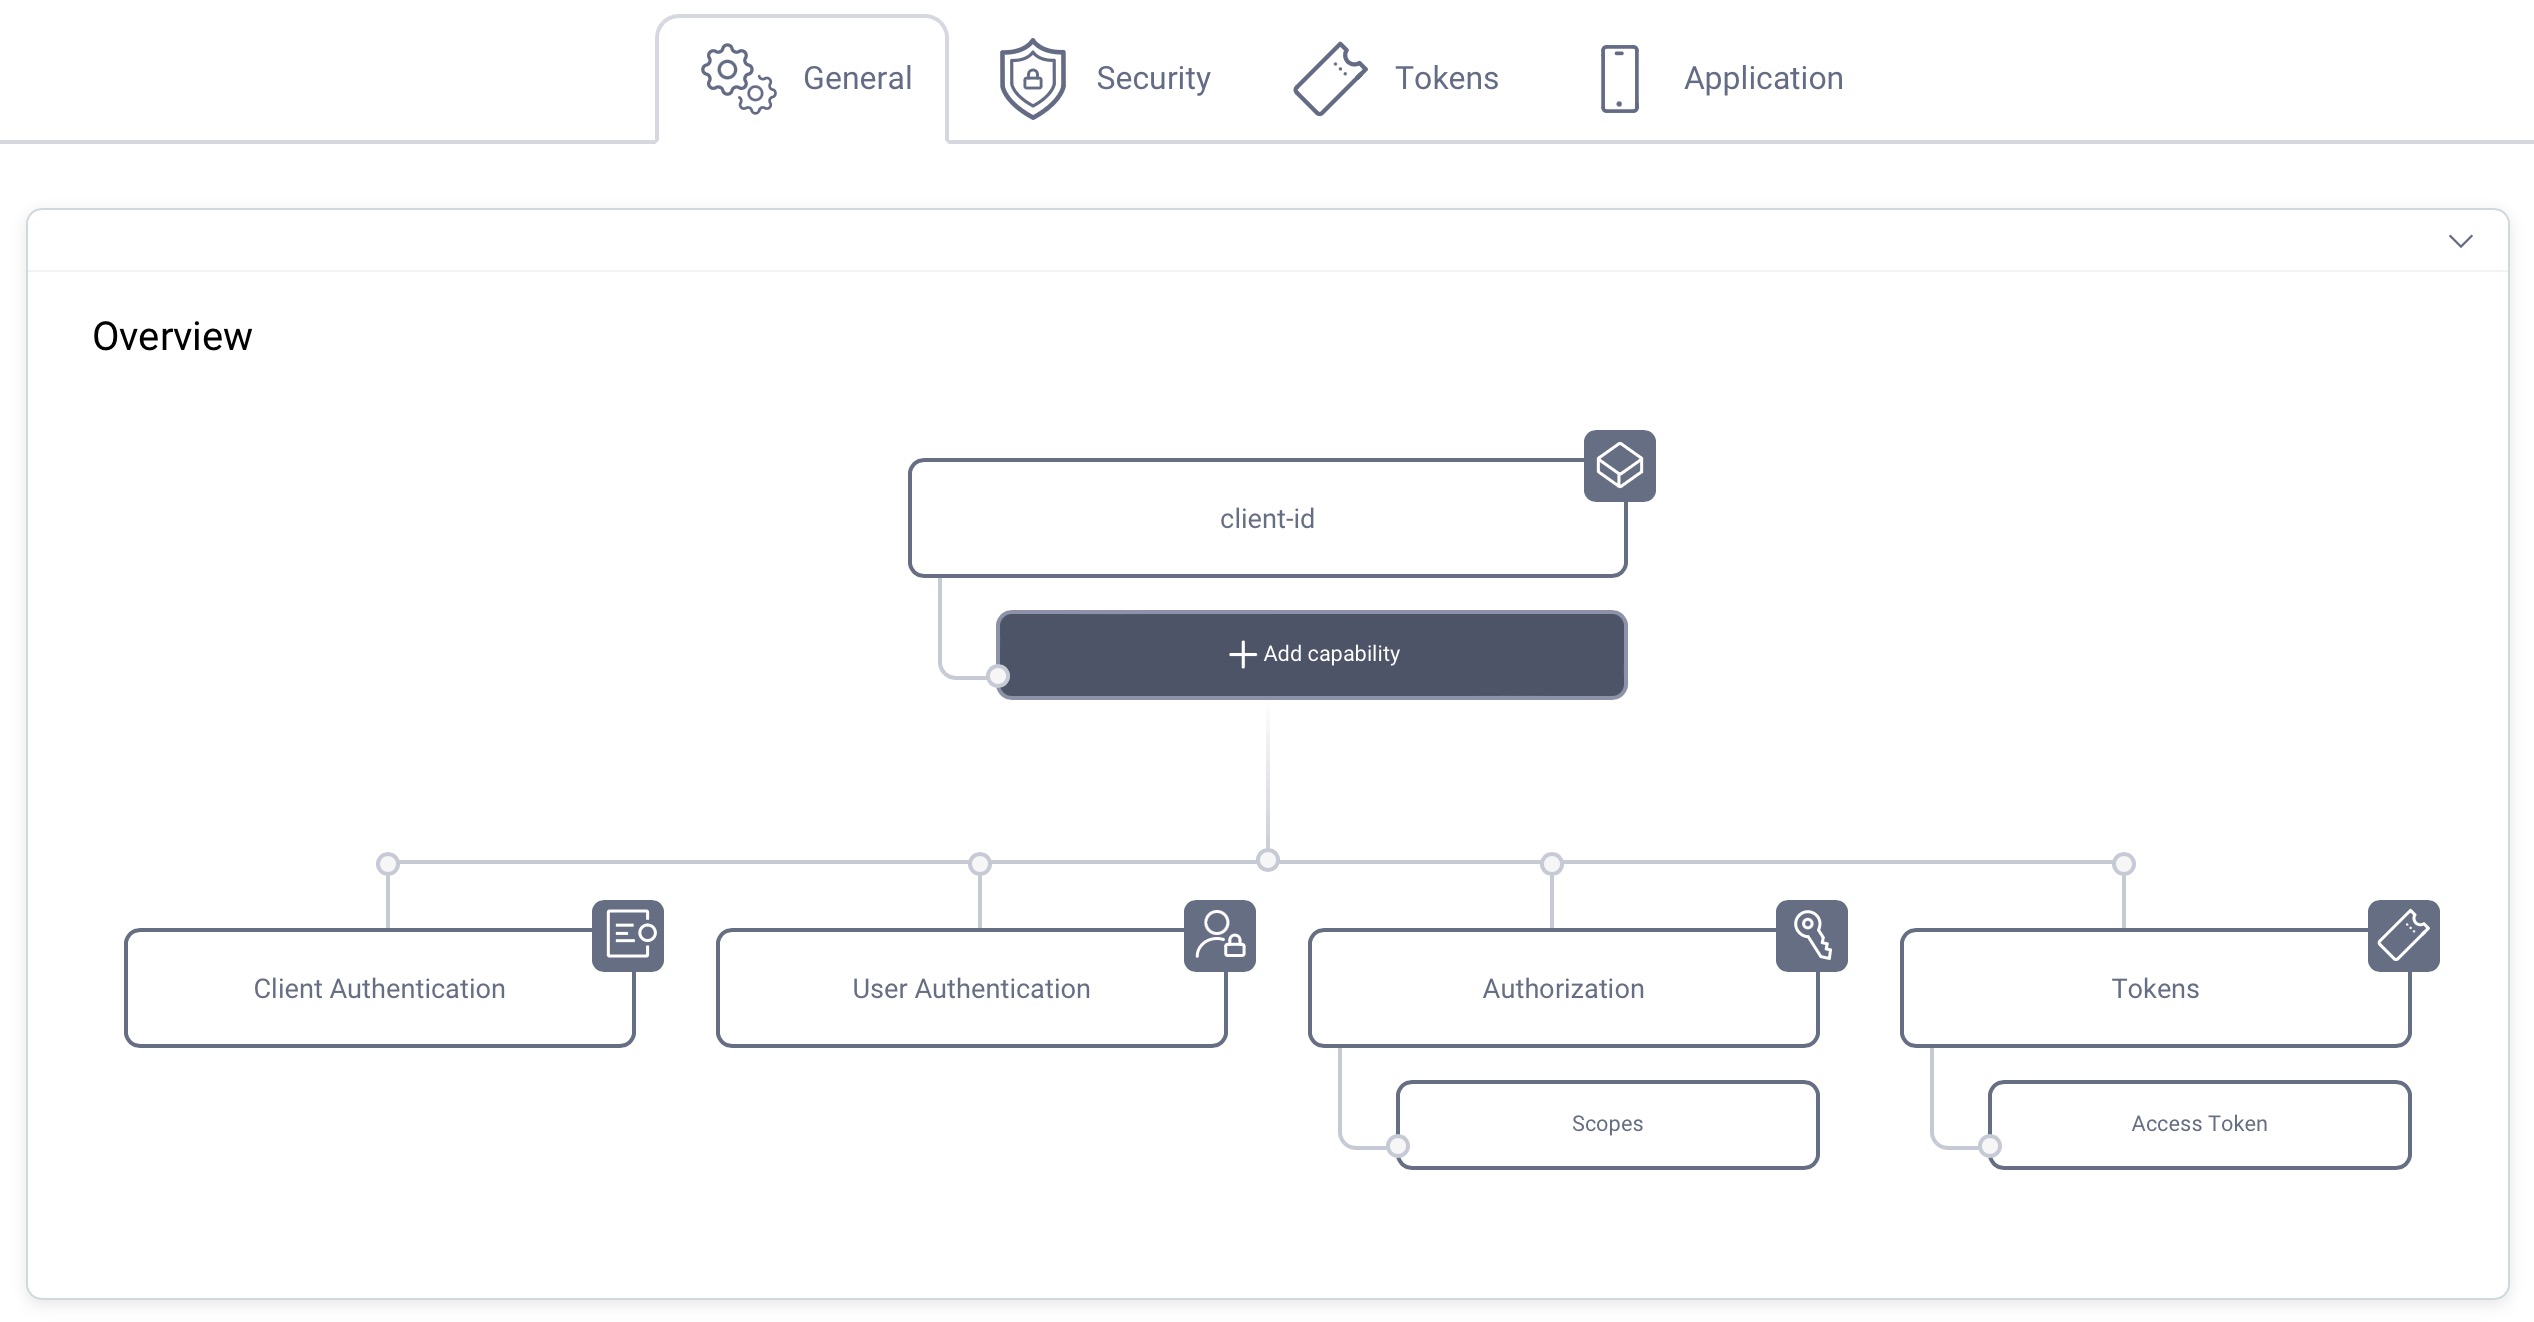
Select the Client Credentials Flow capability and click Next.

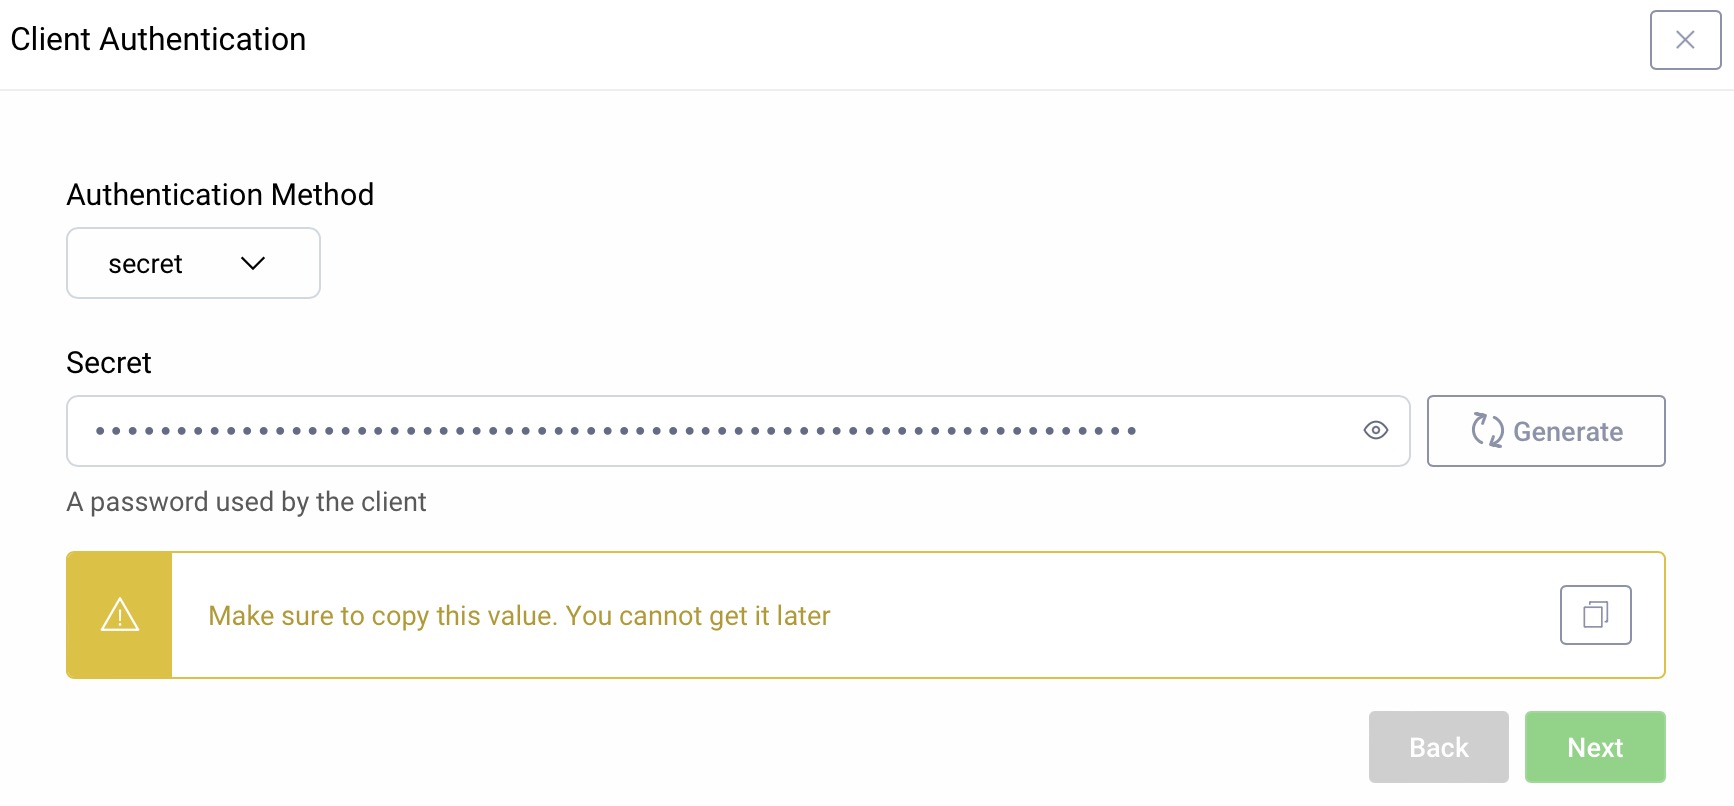
Client Authentication
For client authentication select secret and enter or generate a secret value. Make sure to remember the value since it cannot be retrieved later, though you can reset it if required.
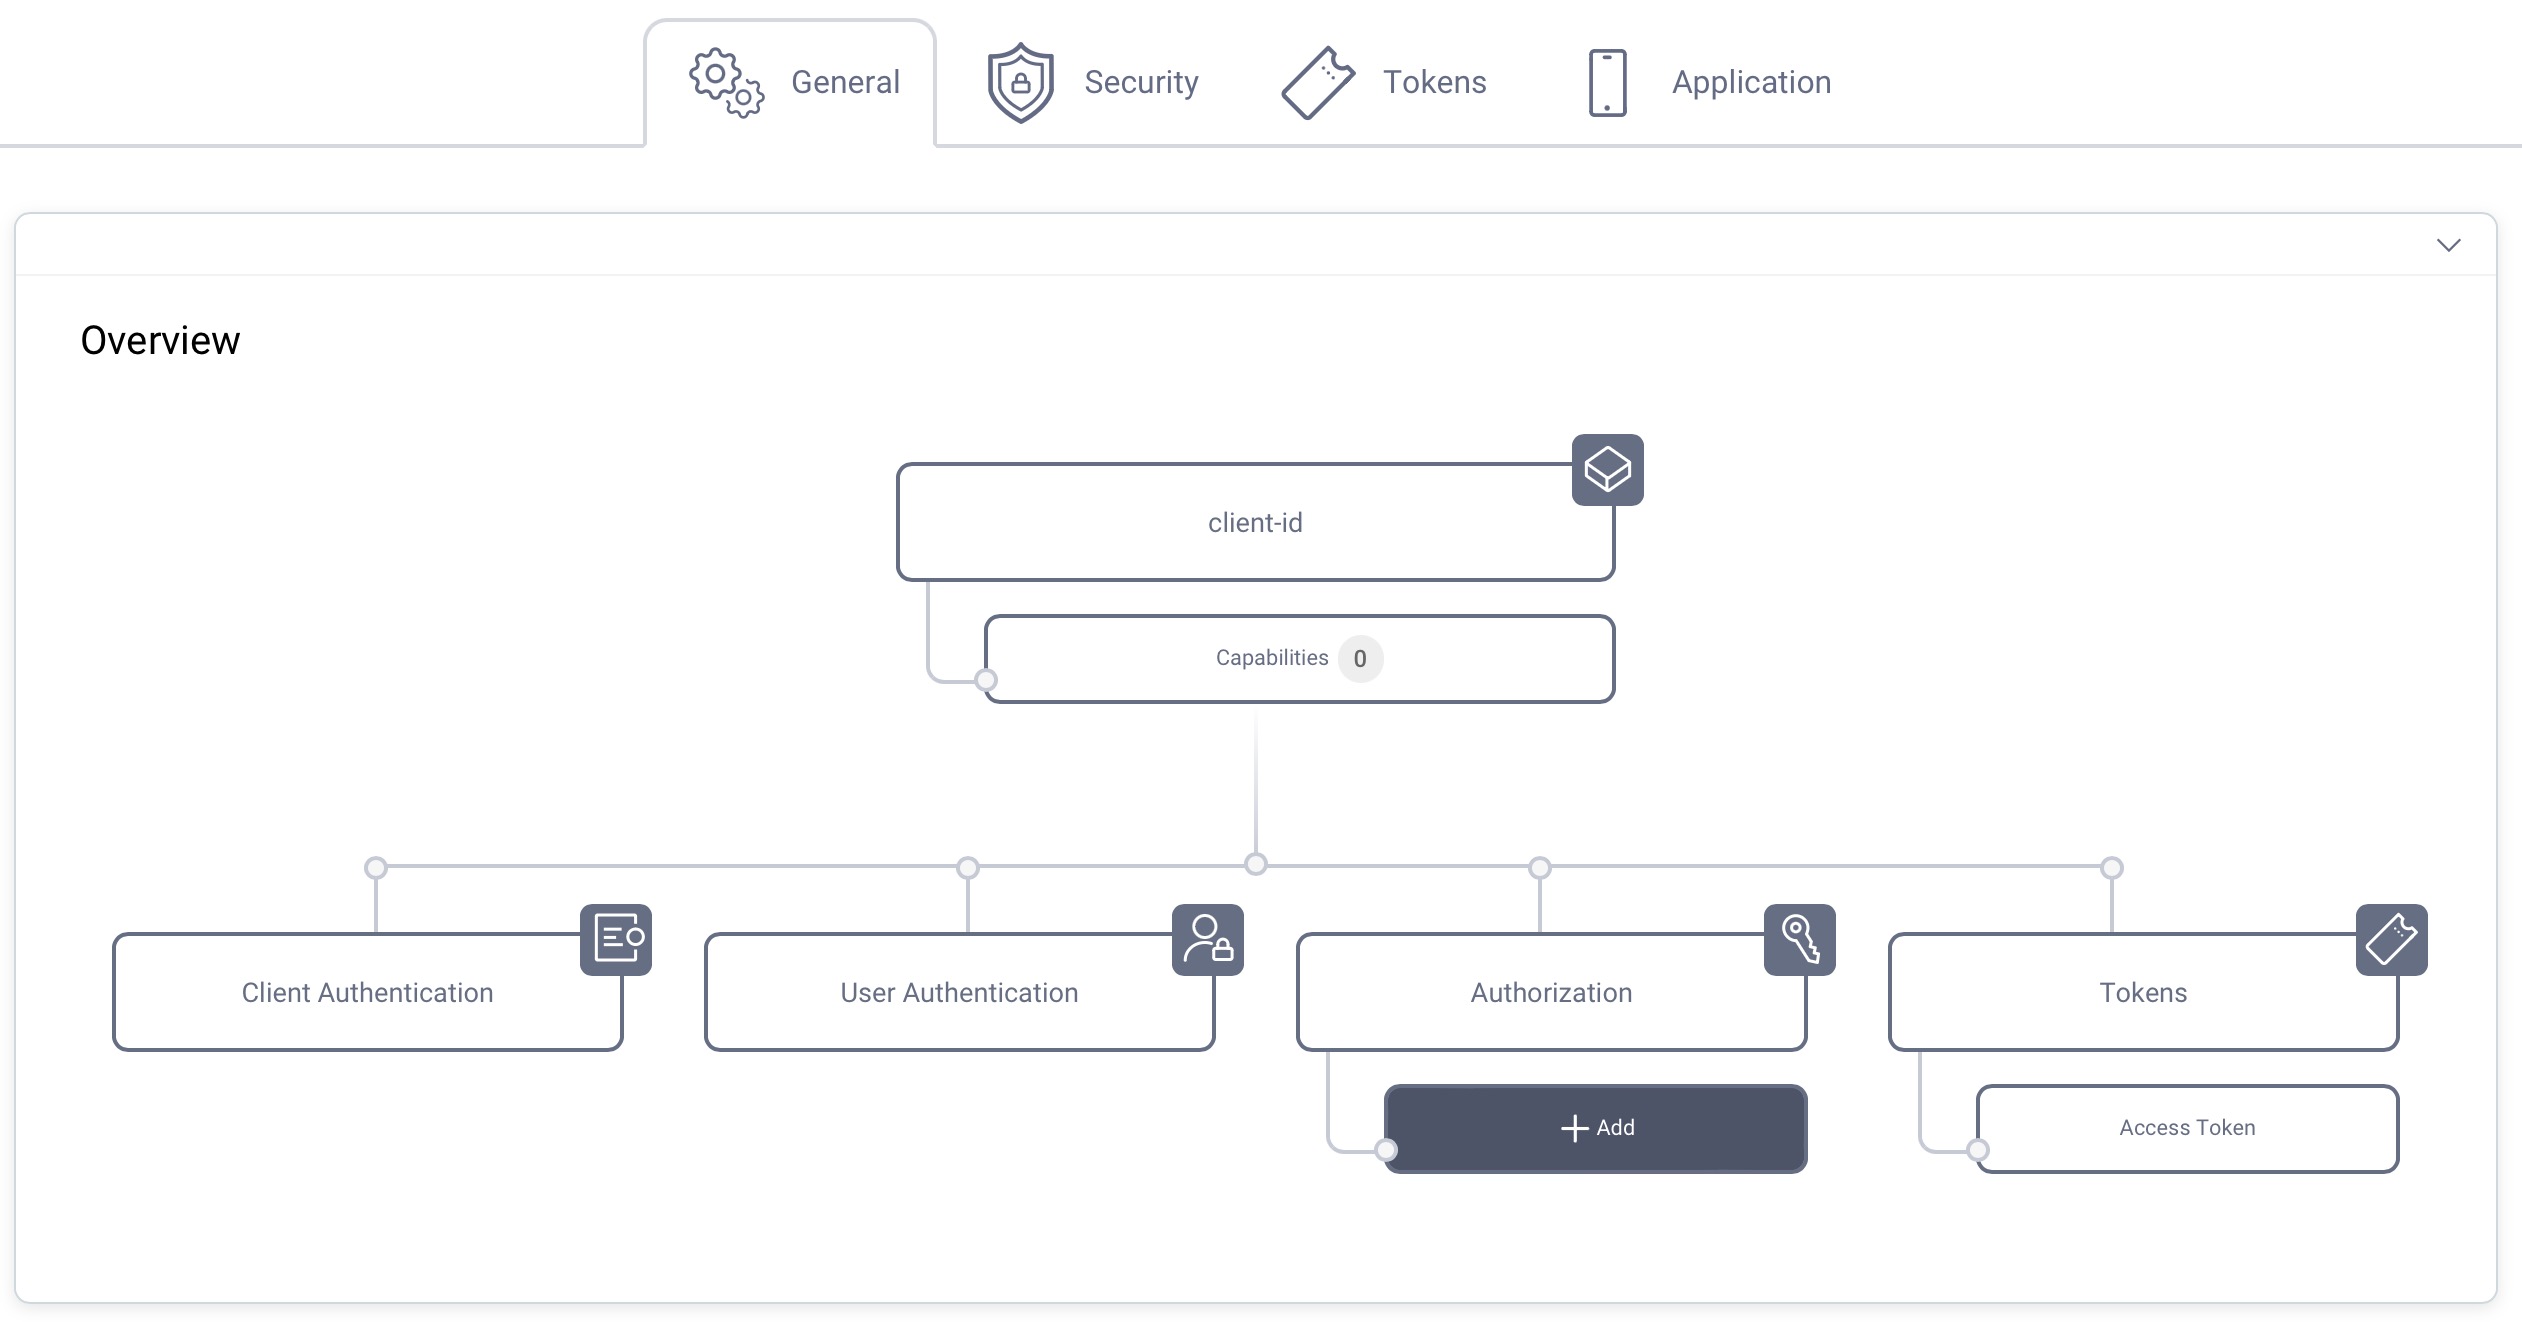
Set a Scope (Optional)
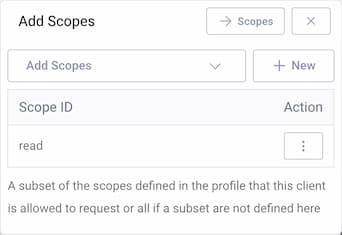
It is not required for a client to have a scope, but often useful. In the Overview panel locate the Authorization box and click on Scopes to add a scope.
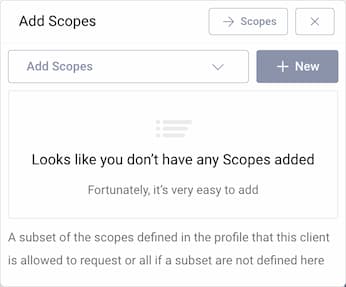
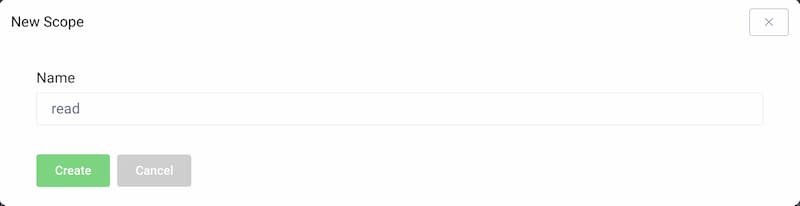
Click + New if you want to create a new scope. Enter the name of the new scope (e.g., read) and click Create. The new scope is automatically added to the list of scopes that the client is allowed to request.
Commit
Make sure to remember to commit the changes in the Changes -> Commit menu.
Using the Client
To implement or use the client the following steps are needed.
- Provide the new client with the client_id (
server) and the secret - Before it can call the API, get a new access token
- Put the access token in the
Authorizationheader and call the API
Retrieve an Access Token
We recommend to use OAuth Tools for testing. It is a powerful and convenient tool to explore OAuth and OpenID Connect. Checkout the tutorial Exposing the Curity Idenitiy Server With ngrok for guidance on how to work with OAuth Tools and a local installation of the Curity Identity Server.
You can also just run the following command to craft the request:
curl -k -X POST \https://localhost:8443/oauth/v2/oauth-token \-H 'content-type: application/x-www-form-urlencoded' \-d 'grant_type=client_credentials&client_id=server&client_secret=Secr3t!'
Curl against localhost
When using curl against localhost and HTTPS you will need to use -k to disable certificate verification.
Request a Scope
If you added a scope to the client configuration, you can append that to the form parameters.
curl -k -X POST \https://localhost:8443/oauth/v2/oauth-token \-H 'content-type: application/x-www-form-urlencoded' \-d 'grant_type=client_credentials&client_id=server&client_secret=Secr3t!&scope=read'
The request is always of content type application/x-www-form-urlencoded.
The following parameters should be sent:
client_id=serverclient_secret=Secr3t!grant_type=client_credentials(constant)scope=read(optional, a space separated list of the scopes configured on the client)
This returns a json response with the access token:
{"access_token": "0470b16b-7bf8-4fa3-9ae1-6a10e0f0b699","scope": "read", //only if scope=read was requested"token_type": "bearer","expires_in": 299}
Call an API With the Access Token
The token lives for 299 seconds according to the response from the server. This is configurable on the client settings and in the profile. When the token expires the API should respond with a 401 telling the client to get a new token.
To call the API, the token should be added to the request in the Authorization header on the form:
Authorization: Bearer 0470b16b-7bf8-4fa3-9ae1-6a10e0f0b699
Specify the keyword Bearer, then leave a single space and append the token.
The call looks as follows:
curl -X GET \https://example.com/hello_world \-H 'Authorization: Bearer 0470b16b-7bf8-4fa3-9ae1-6a10e0f0b699'
Conclusion
The Client Credentials call is useful when there is no user involved in the call. It is also very handy during development since it provides a simple way for a client to retrieve an access token to use when calling APIs.
Customer Stories
Learn how organizations run identity and API security at scale.
Read customer storiesWas this helpful?