Exposing the Curity Identity Server Using ngrok
On this page
OAuth Tools is a handy tool for testing OAuth flows. It's a public web application that communicates with the Curity Identity Server's endpoints.
This isn't a problem when dealing with installations of the Curity Identity Server that are publicly available over the Internet (for example, AWS, Azure, or GCP). However, when the server is installed locally, OAuth Tools can't access the instance directly. It's also not advisable to open up ports to allow OAuth Tools to reach the local Curity Identity Server instance.
One approach to solve this is to use a reverse proxy. This article describes how to configure the Curity Identity Server on a local system together with ngrok. This will enable your team to use OAuth Tools to test local installations.
ngrok
ngrok acts as an internet gateway for your application, commonly referred to as a reverse proxy. It can route web traffic to a local service and port via a publicly accessible domain name. Depending on your level of service, ngrok will provide a randomly generated static domain for the given session, or, with a paid plan, you can customize the domain and use your own.
In order to mitigate abuse, ngrok requires you to sign up for a free account. To start using ngrok locally, follow these steps.
- Install the ngrok agent using the package manager for your operating system, e.g., by running
brew install ngrokon macOS. See the ngrok downloads page for full details. - Once you log into ngrok and verify your email address, copy the authtoken for your account. You can create additional authtokens in the ngrok Dashboard.
- The ngrok agent has commands for installing and editing your local ngrok configuration file. Run
ngrok config add-authtoken <AUTHTOKEN>to create a configuration file with your authtoken added. - To edit the config file further, use the command
ngrok config editto open the ngrok configuration or open the ngrok configuration file (~/.ngrok2/ngrok.yml) in your favorite editor. Add the following contents after your authtoken and version:
console_ui: falsetunnels:curity:proto: httpaddr: 8443
You can then start ngrok with the following command to forward traffic to port 8443 on your local machine:
ngrok start curity
If you’d like to use a static domain each time, you can add it to the configuration file as well.
tunnels:curity:proto: httpaddr: 8443domain: cute-speedy-deer.ngrok-free.app
ngrok installation and configuration
More detailed ngrok installation and configuration instructions are available on the ngrok getting started page.
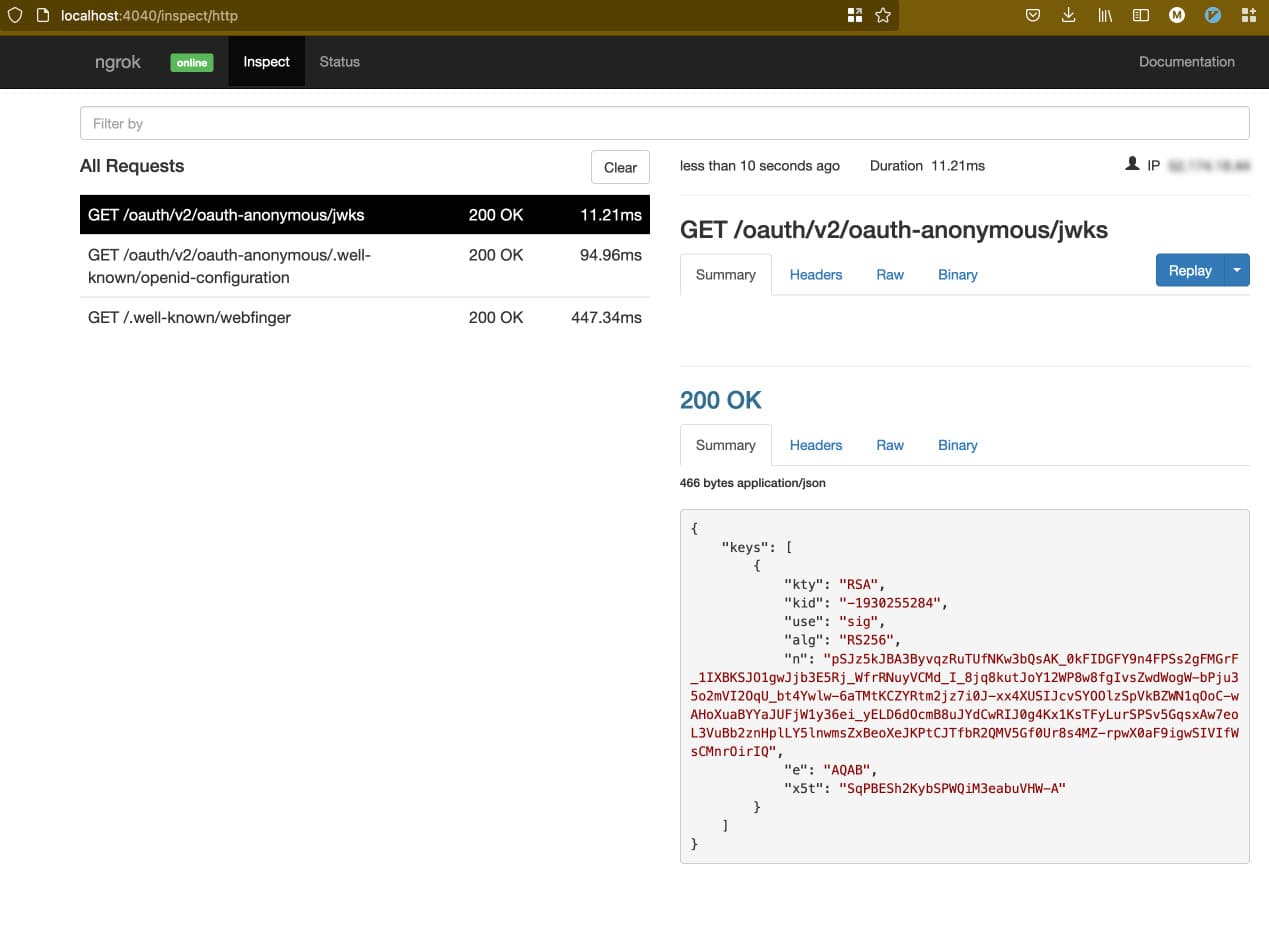
ngrok Inspection and Status
When ngrok is running, information about the requests being forwarded to your application can be inspected in your browser at http://localhost:4040 by default. There are two tabs available: inspect and status. Inspect shows details of the requests and responses going through the ngrok agent — helpful for troubleshooting purposes. Status shows how many connections are open, along with other useful metrics.
Configuring the Curity Identity Server
Configuring the Curity Identity Server to work with ngrok is straightforward. There are three things that must be configured that are outlined below. These changes can either be done manually or through a provided script.
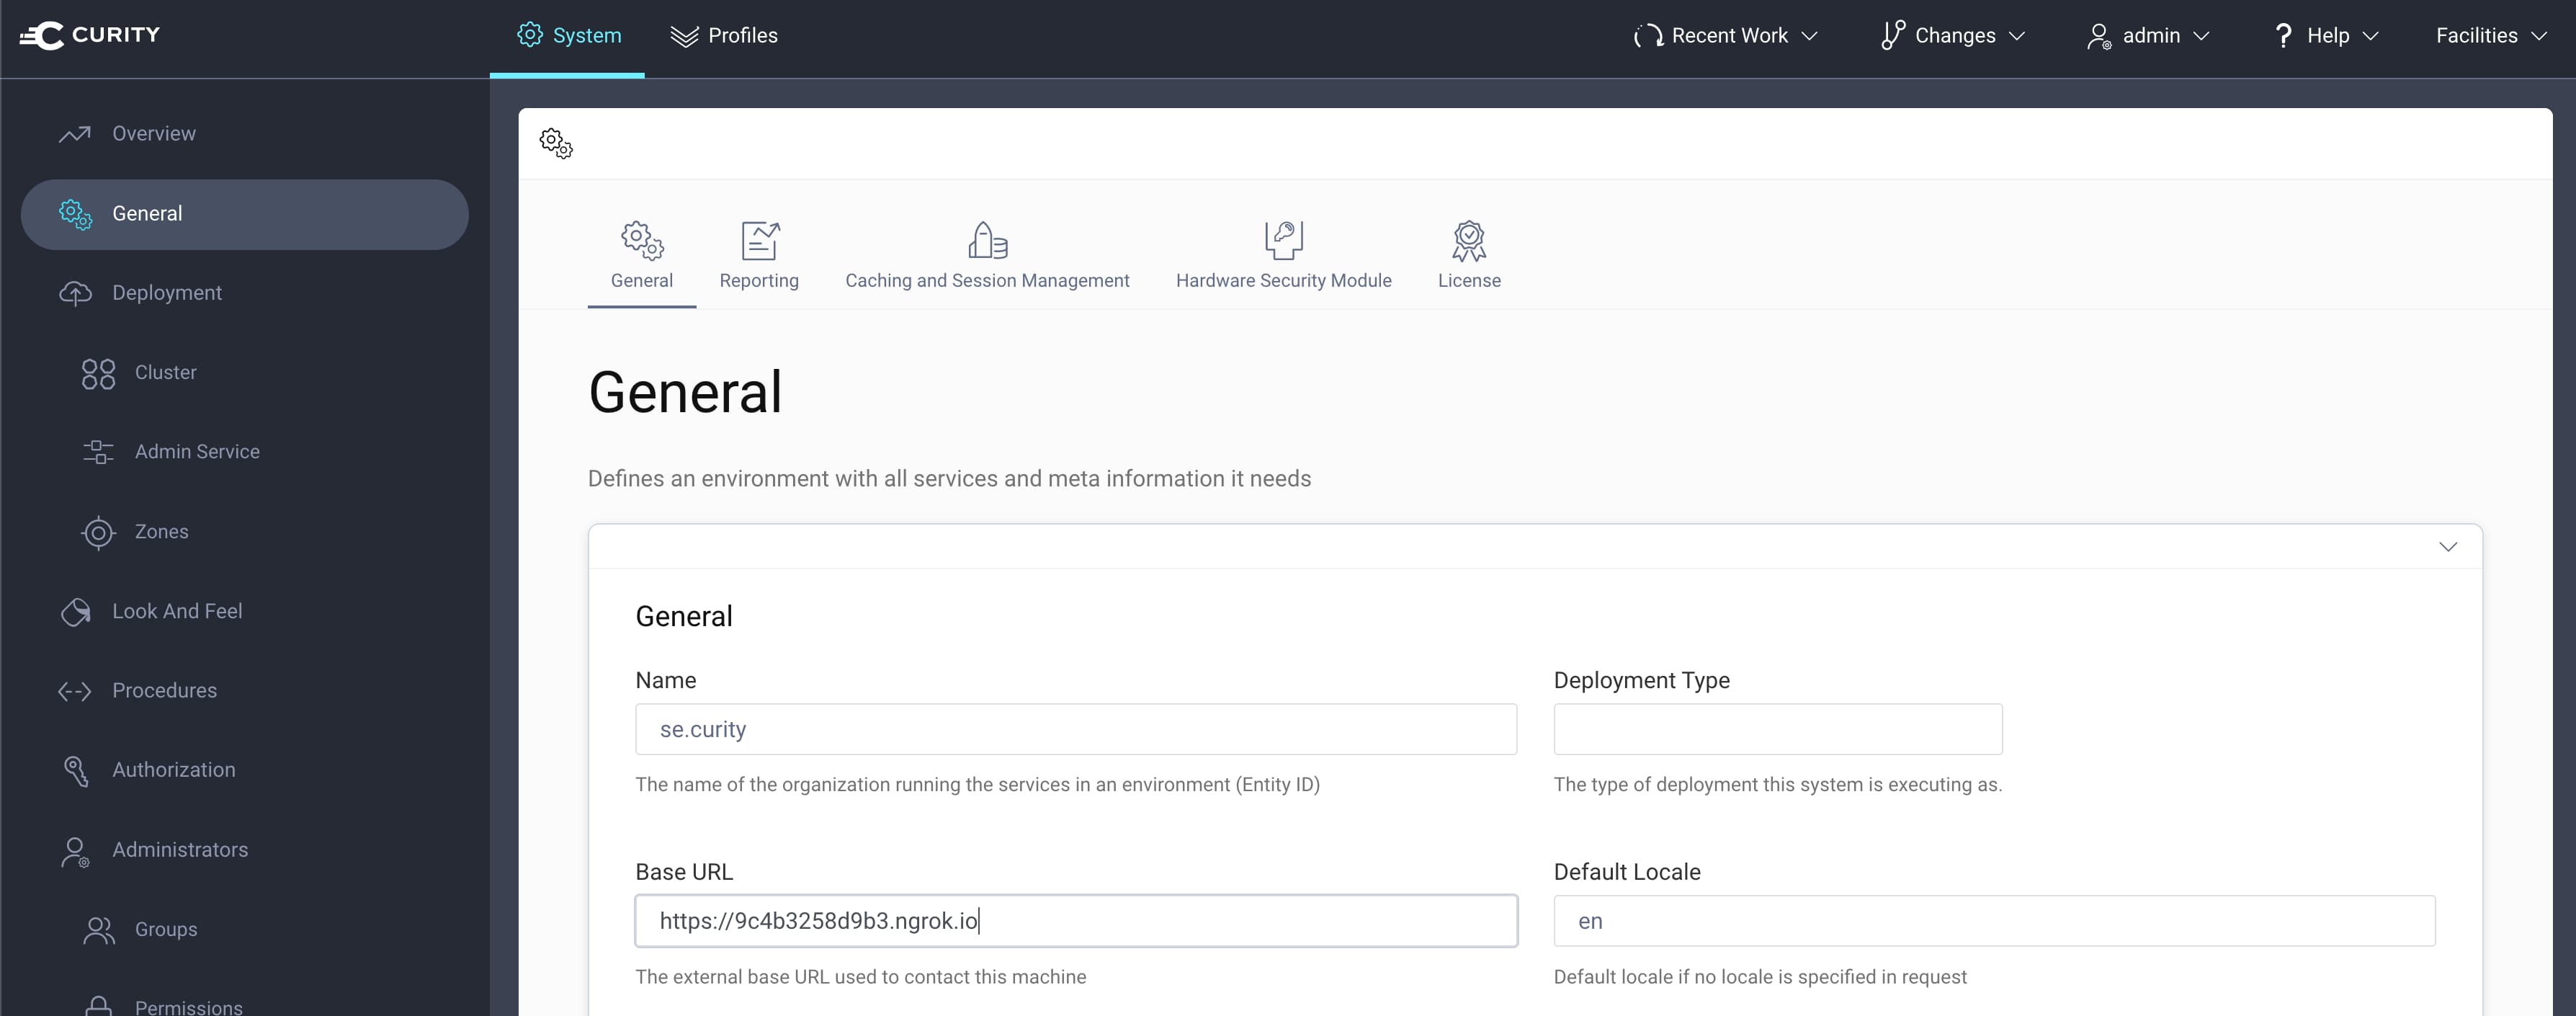
- Set the correct base URL. This will be the URL ngrok exposes. With a paid ngrok plan this can use a static host name. With a free plan this will be dynamically generated when the ngrok tunnel is started. For example:
https://9c4b3258d9b3.ngrok.io. Set this URL as the Base URL in the Admin UI under System -> General.
- Disable TLS/SSL for the runtime service. ngrok will terminate TLS, and the communication between ngrok and the Curity Identity Server will be unencrypted. The unencrypted traffic is all on the local system itself. It is possible to use end-to-end TLS when using an ngrok Pro plan.
To disable TLS using the Admin UI, go to System -> Deployment, then click on the Default Service Role. Change the protocol to http.

- Enable webfinger. This is not mandatory but will help when testing using OAuth Tools.
Webfinger is enabled by default if you use the Basic Setup Wizard, otherwise, to enable webfinger using the Admin UI do the following:
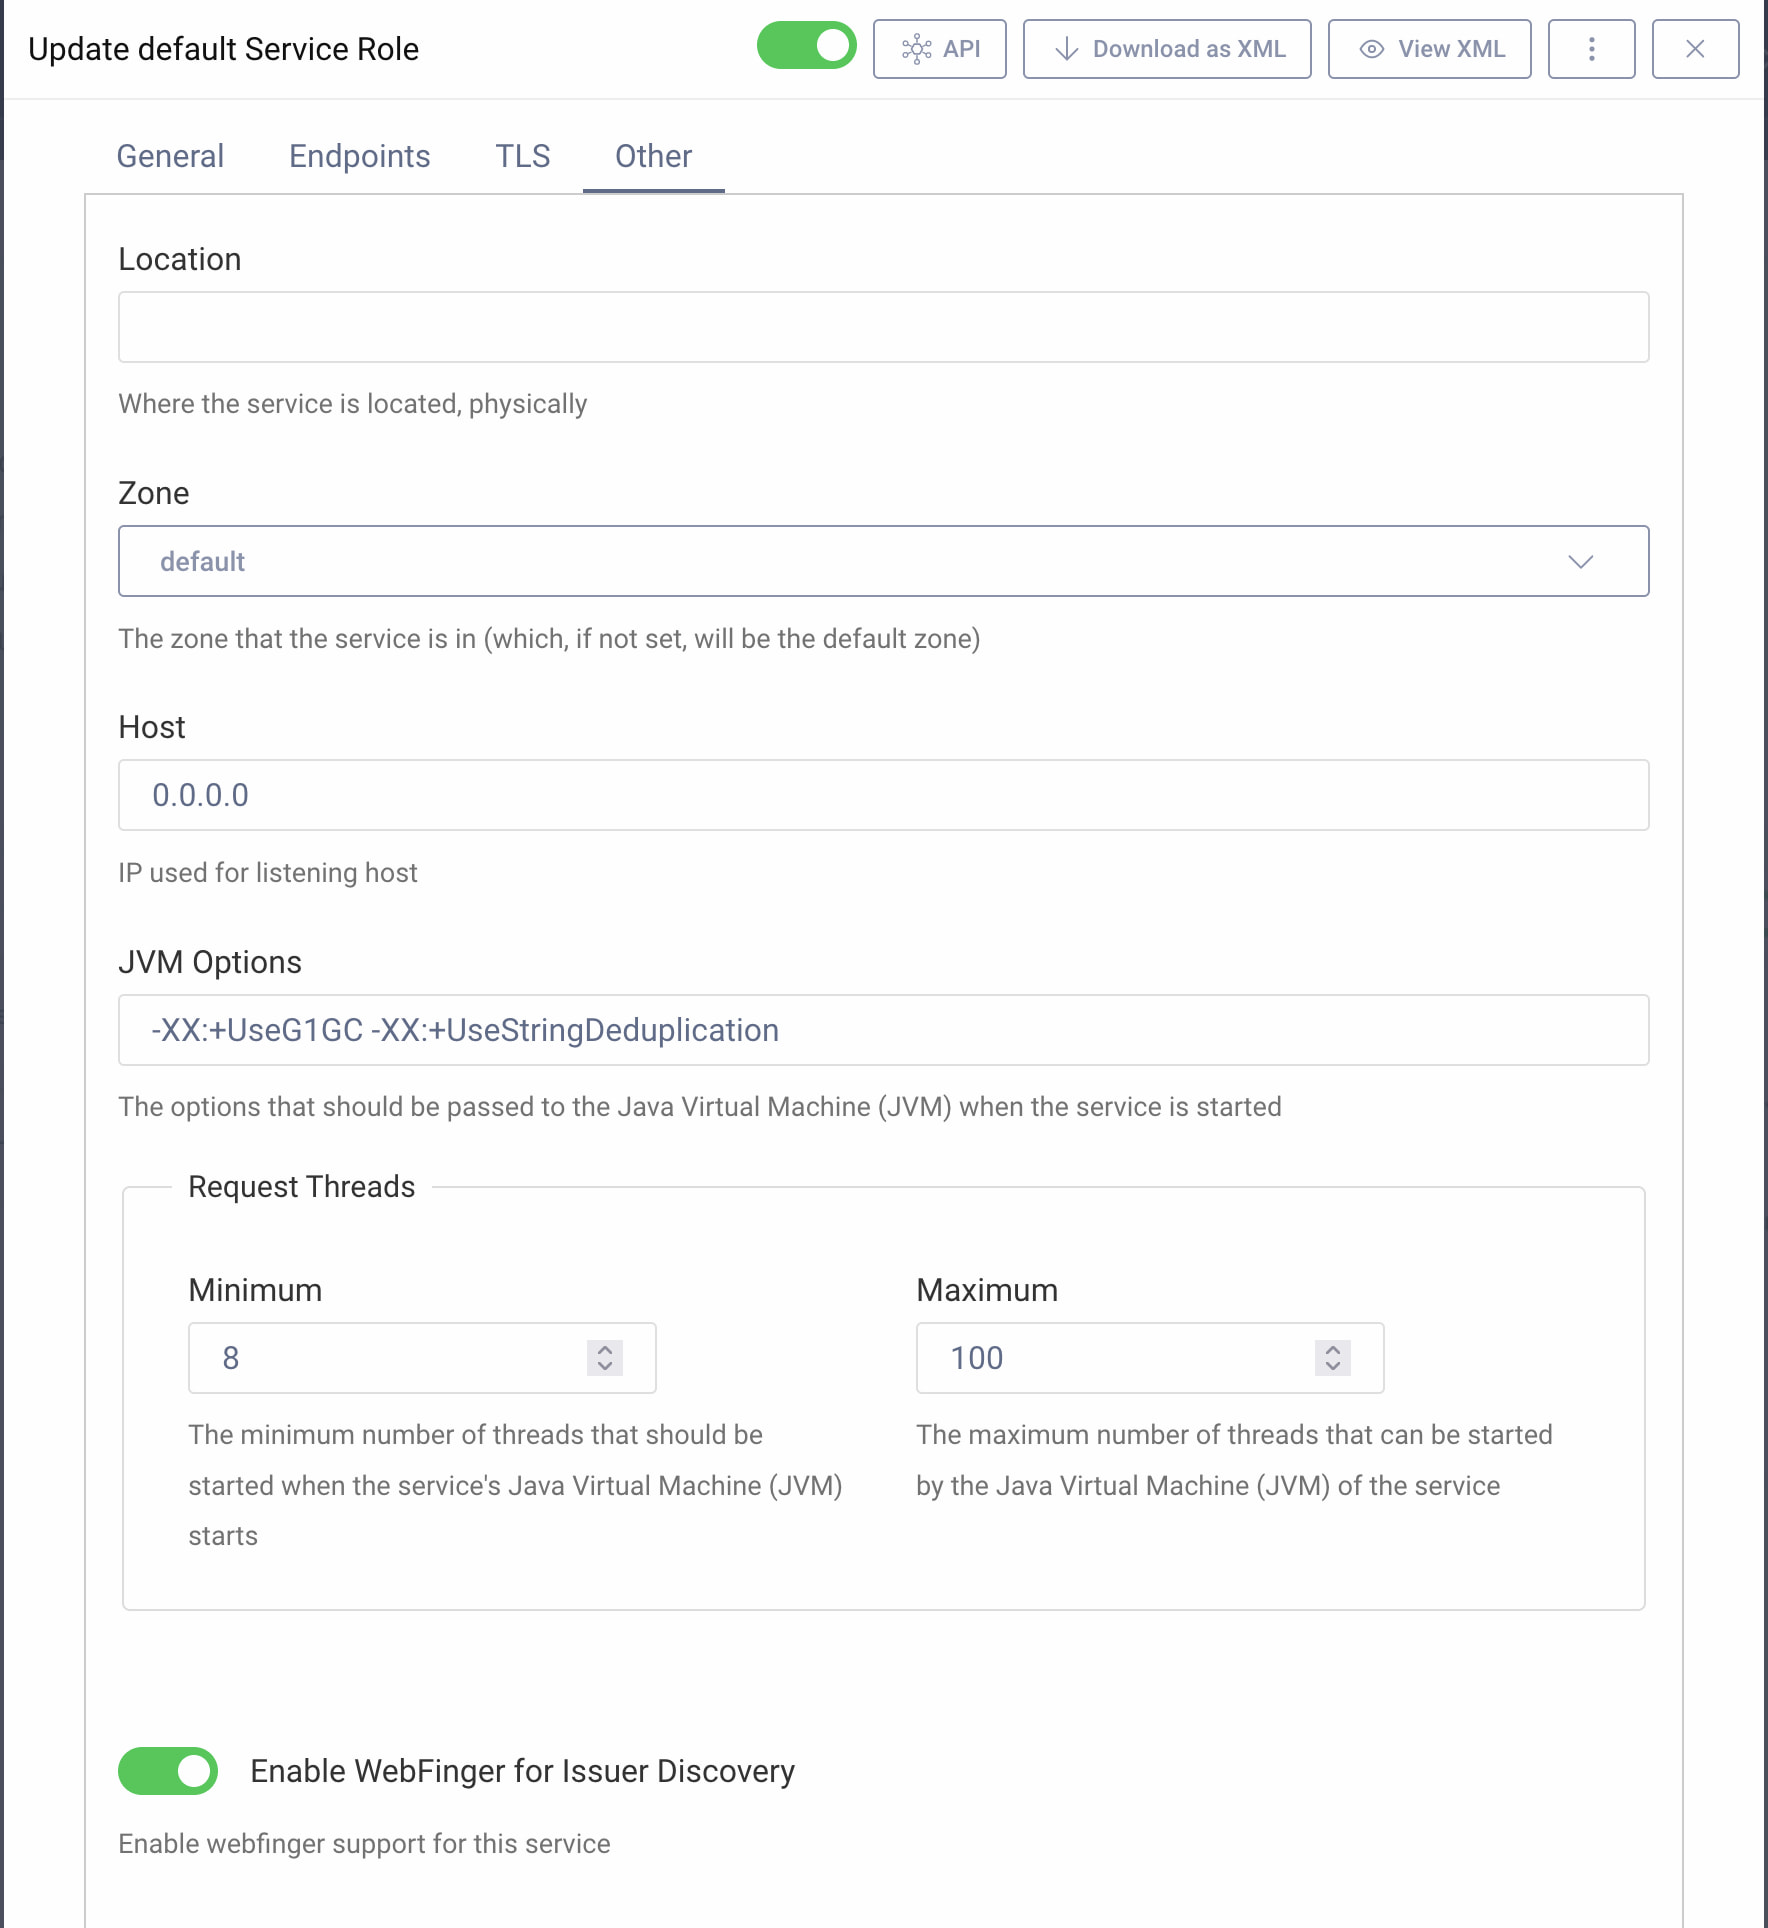
- In the Normal Mode, go to System and toggle the Enable WebFinger for Issuer Discovery option.
- In the Expert Mode, go to System -> Deployment, then click on the Default Service Role. Switch to the Other tab, then toggle the Enable WebFinger for Issuer Discovery option.
Configuring OAuth Tools
When you execute the ngrok script, a line in the output will display something like this:
To begin using this, click here: https://oauth.tools#new-env=https://demo-curity.ngrok.io/&webfinger=true
By visiting the listed URL in a browser, OAuth Tools will automatically initiate using the exposed ngrok URL and will automatically fetch all the endpoints using webfinger.
The next step is to configure client(s) in OAuth Tools. You can do it manually, but it's also possible to have the configuration populate automatically when initiated from the Curity Identity Server's Admin UI. To do so, go to the main page of a client: Profiles -> Token Service -> Clients, then click on the chosen client. Click on OAuth.tools -> Open in Web at the top of the page. This will open OAuth Tools and populate the configuration for that specific client.

Summary
A local installation of the Curity Identity Server cannot access OAuth Tools unless ports are opened, which would be quite tedious. Instead, you can use a reverse proxy like ngrok to securely expose the runtime endpoints of the Curity Identity Server to access OAuth Tools.
ngrok can be also useful for mobile development. If you need to make an emulator or device connect to a local instance of the Curity Identity Server. See the mobile setup page for an example setup.
Setting this up with the Curity Identity Server is a simple task, and you can do it either manually or using one of the provided configuration scripts.
Customer Stories
Learn how organizations run identity and API security at scale.
Read customer storiesWas this helpful?