Deploy to Google Kubernetes Engine (GKE)
On this page
Overview
This tutorial will enable any developer or an architect to quickly run the Curity Identity Server and the Phantom Token Pattern in Kubernetes using Kong Ingress controller or NGINX Ingress controller, via the Google Cloud Platform.
This installation follows the security best practice to host the Identity server and the APIs behind an Ingress controller acting as an Reverse proxy/API gateway. This will ensure that opaque access tokens are issued to internet clients, while APIs receive JWT access tokens.
This tutorial could be completed by using the Google Cloud Platform free tier option without incurring any cost.
Components and URLs
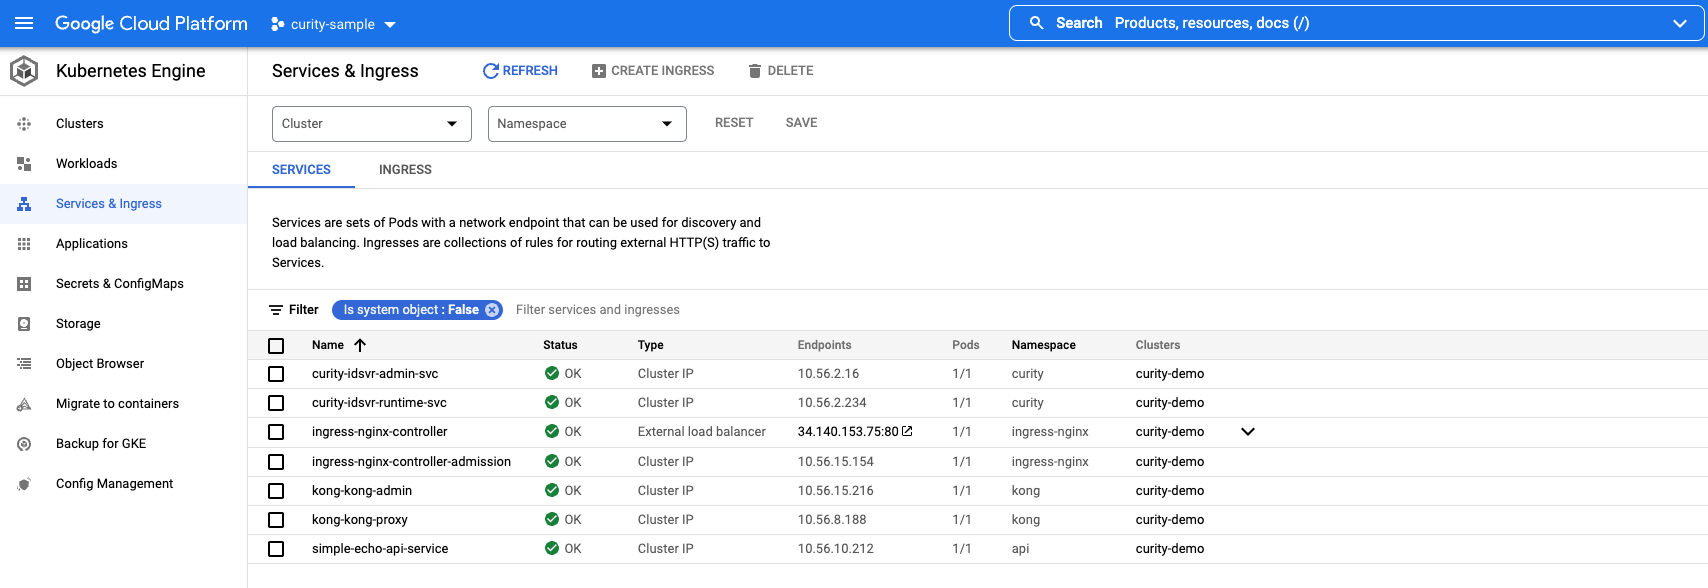
Following components are deployed in the k8s cluster by running ./deploy-idsvr-gke.sh --install
| Component | Base URL | namespace | Description |
|---|---|---|---|
| Curity Admin | https://admin.example.gke | curity | The URL for the Identity Server admin console |
| Curity Runtime | https://login.example.gke | curity | The URL for runtime nodes of the Identity Server |
| Example API | https://api.example.gke/echo | api | Upstream API proxy endpoint |
| Phantom Token Plugin | NA | NA | Plugin for transforming opaque tokens in to by value JWT tokens |
| NGINX Ingress controller | NA | ingress-nginx | NGINX Ingress controller for routing requests to different services in the k8s cluster, also acts as the gateway in front of the APIs and transforms opaque access tokens to JWTs |
| Kong Ingress controller | NA | kong | Kong Ingress controller for routing requests to different services in the k8s cluster, also acts as the gateway in front of the APIs and transforms opaque access tokens to JWTs |
Curity Admin URL is typically not exposed to the internet and kept internal but since this is a demo installation for evaluation and study purposes, the admin url has been exposed.
URLs
This tutorial will alias the load balancer public IP address to local development domain names, which provides an easy and free way for developers to use real world URLs. However in an enterprise setup, you would create globally resolvable custom internet domain names using a paid domain name service like google cloud DNS.
Installation
Installation will create a new private GKE cluster as per the configuration options defined in cluster-config/gke-cluster-config.json.
The deployment process is automated via a simple bash script.
./deploy-idsvr-gke.sh --install./deploy-idsvr-gke.sh --delete
Installation Prerequisites
The following prerequisites must be met before proceeding ahead with the installation.
- A GCP project and ensure that GKE API is enabled.
- gcloud CLI installed and configured.
- Helm
- kubectl
- OpenSSL
- jq
There are a few steps needed to initialize a new google cloud project and link the gcloud cli with the project
- Sign in to Google Cloud Console with your email address
- An initial project is auto-created by the GCP platform such as
My First Project - If required, sign up and add a credit card under Billing section
- Enable Kubernetes Engine API
- Running the CLI will prompt you to sign in with the same email, so that the CLI is linked to the project in the console
Please also copy a license file to the idsvr-config/license.json location. If needed, you can also get a free community edition license from the Curity Developer Portal.
Deployment
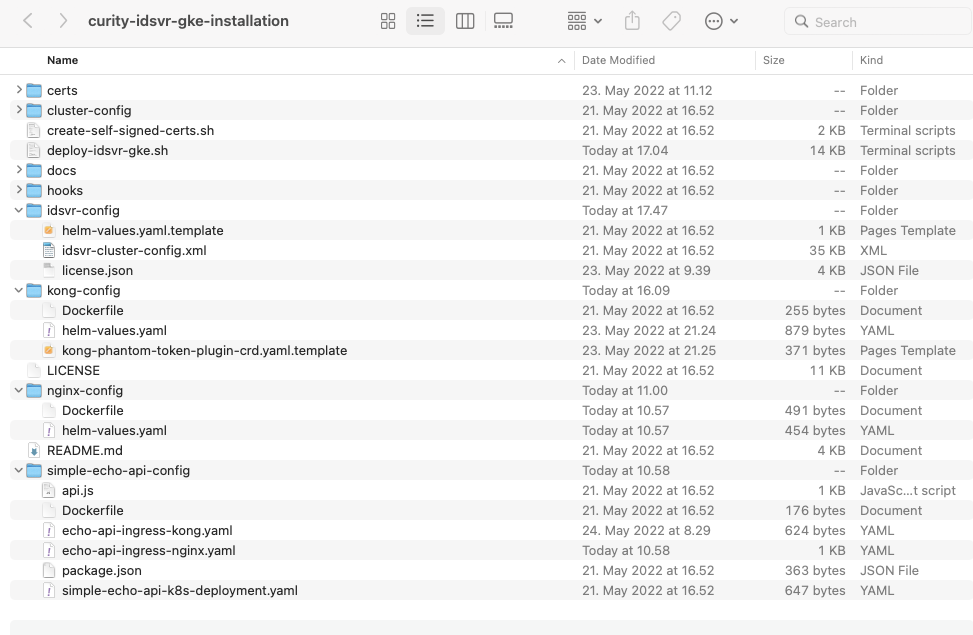
First clone the installation repository to your local computer
git clone https://github.com/curityio/curity-idsvr-gke-installationcd curity-idsvr-gke-installation
Run the installation
./deploy-idsvr-gke.sh --install
The installation script prompts for input choices, and one of the choices is which Ingress controller to deploy. Once selected, the ingress controller is deployed with a customized docker image containing the required plugins.
Add following entry to the /etc/hosts file after the installation is completed to access the systems.
< LoadBalancer-IP > admin.example.gke login.example.gke api.example.gke
Stop the environment
./deploy-idsvr-gke.sh --stop
Start the environment
./deploy-idsvr-gke.sh --start
View logs
kubectl -n curity logs -f -l role=curity-idsvr-adminkubectl -n curity logs -f -l role=curity-idsvr-runtimekubectl -n ingress-nginx logs -f -l app.kubernetes.io/component=controllerkubectl -n kong logs -f -l app.kubernetes.io/component=controllerkubectl -n api logs -f -l app=simple-echo-api
Here are a few useful kubectl commands
kubectl get namespaces # Get all namespaces in the clusterkubectl get nodes -o wide # Get all of the worker nodes in the clusterkubectl get pods -n curity # Get all pods running the curity namespacekubectl get pods -n kong # Get all pods running the kong namespacekubectl get pods -n ingress-nginx # Get all pods running the ingress-nginx namespacekubectl get pods -n api # Get all pods running the api namespacekubectl get ingress -n curity # Get ingress rules defined in the curity namespacekubectl -n ingress-nginx get svc ingress-nginx-controller -o jsonpath="{.status.loadBalancer.ingress[0].ip}" # Get public ip address of the load balancerkubectl -n kong get svc kong-kong-proxy -o jsonpath="{.status.loadBalancer.ingress[0].ip}" # Get public ip address of the load balancer
Later, when you have finished with this tutorial, run the following command to free cloud resources
./deploy-idsvr-gke.sh --delete
Trust Self signed root CA certificate
All of the URLs are accessible over https for secure communication. In the demo setup, self-signed certificates are used, but since they are not trusted by default by the browser, you must add the root CA certificate to the operating system's truststore to prevent untrusted certificate warnings.

Add the self signed root ca certificate certs/example.gke.ca.pem to the operating system trust store.
| Operating System | Location |
|---|---|
| macOS | Key Chain / System / Certificates |
| Windows | Microsoft Management Console / Certificates / Local Computer / Trusted Root Certification Authorities |
Identity Server Configuration
The idsvr-config/helm-values.yaml.template file contains the Identity server deployment configuration. You can add any additional configurations to the file if needed.
An exhaustive set of configuration options can be found in the github repository.
NGINX & Kong Ingress Controller Configuration
Before using NGINX or Kong Ingress controllers, you must add the phantom token plugin as shown in the following Dockerfile examples:
FROM k8s.gcr.io/ingress-nginx/controller:v1.2.0USER www-data# Download the phantom token module from Curity GitHub repoADD --chown=www-data:www-data 'https://github.com/curityio/nginx_phantom_token_module/releases/download/1.2.0/alpine.ngx_curity_http_phantom_token_module_1.19.10.so' /usr/lib/nginx/modules/ngx_curity_http_phantom_token_module.soRUN ln -s /usr/lib/nginx/modules/ngx_curity_http_phantom_token_module.so /etc/nginx/modules/ngx_curity_http_phantom_token_module.so
FROM kong:3.0.0-alpine# Fetch from luarocks, and set git options if requiredUSER rootRUN git config --global url."https://".insteadOf git:// && \git config --global advice.detachedHead false && \luarocks install kong-phantom-token 2.0.0USER kong
nginx-config/Dockerfile and kong-config/Dockerfile builds a custom NGINX & Kong Ingress controller image containing the phantom token plugin binaries.
For more details about usage and configuration of plugins in NGINX & Kong Ingress controllers in the kubernetes environment, please refer to the Integrating Plugins with Kubernetes article.
Testing
Run the following steps to test the phantom token flow, these steps will be same irrespective of the type of Ingress controller deployed :
1. Obtain an opaque (a.k.a reference token) access token using client credentials grant type
curl --location --request POST 'https://login.example.gke/oauth/v2/oauth-token' \--header 'Content-Type: application/x-www-form-urlencoded' \--data-urlencode 'client_id=simple-echo-api' \--data-urlencode 'client_secret=Password123' \--data-urlencode 'scope=read' \--data-urlencode 'grant_type=client_credentials'
The response returned to the client includes an opaque access token.
{"access_token":"_0XBPWQQ_453276d1-8c29-4913-be07-e1f16b0323e3","scope":"read","token_type":"bearer","expires_in":299}
2. Call the API proxy endpoint using the opaque access token
curl https://api.example.gke/echo -H 'Authorization: Bearer _0XBPWQQ_453276d1-8c29-4913-be07-e1f16b0323e3' | jq .
3. Observe that the opaque access token was transformed in to a by-value access token (= JWT) by the phantom token plugin and passed to the upstream simple-echo-api call. API logs it and also returns the JWT token as response for easy verification.
kubectl -n api logs -f -l app=simple-echo-apiSimple Echo API listening on port : 3000JWT token echoed back from the upstream API = eyJraWQiOiIxMjEyNzc5MTk1IiwieDV0IjoiN25LNEFDeDA3VHVWd0Q1d0pvejByYmR2YVhFIiwiYWxnIjoiUlMyNTYifQ.eyJqdGkiOiJjNGNjZTJkYy1hODdiLTQwMmEtOWY2Ny01ZTBmZDlhMmQ1ZjgiLCJkZWxlZ2F0aW9uSWQiOiI1OTYxYzI5ZS0zOWE1LTQ3NTItODVlNC1kODE1OGZlZTg2N2QiLCJleHAiOjE2NTIzMzQ4NDYsIm5iZiI6MTY1MjMzNDU0Niwic2NvcGUiOiJyZWFkIiwiaXNzIjoiaHR0cHM6Ly9sb2dpbi5leGFtcGxlLmdrZS9-Iiwic3ViIjoiNmEzNzVhMzAxYmJlNGQ4ZjliMjg5MmFiMjRkOWJkZjIzNTVmYjUyZTFjZWJiY2I0ODkwMTUyNWMwYWNkYjZiNyIsImF1ZCI6InNpbXBsZS1lY2hvLWFwaSIsImlhdCI6MTY1MjMzNDU0NiwicHVycG9zZSI6ImFjY2Vzc190b2tlbiJ9.wx2mumnlq_YVTfbxUdJXtwhwAANTkC7avBLhg5G-gi52Sc8veD8PMM3ZwszkE_3ejDAtXpizAI7mWnzMy45cHMTviJUbxjJf7-xsi3izKE8d-tmECfEJGRwCXmlG0kguwKwC1IStExU6-KBGQ1sfftkDBbp3mYsFDTGYxumtm0wInBf0_tuKP1m625h_Xs-S-4pBBRa7BvDGCq7bNzE8kbnRELQXXJxExEgMIeLtvaCg5nK5KYMfA20Ah-X65tkX4XbXZnrd8IkQK0nwsNMC0jzauw66PmsvHB2jEvR-QmQBx7D_Pgme62nqcvMDzPavzzsj5Pi4PGJ75XpFa9ptGw
Let's have a look at the decoded JWT, you can use OAuth Tools to decode JWT tokens and run various OAuth flows.
eyJraWQiOiIxMjEyNzc5MTk1IiwieDV0IjoiN25LNEFDeDA3VHVWd0Q1d0pvejByYmR2YVhFIiwiYWxnIjoiUlMyNTYifQ.eyJqdGkiOiJjNGNjZTJkYy1hODdiLTQwMmEtOWY2Ny01ZTBmZDlhMmQ1ZjgiLCJkZWxlZ2F0aW9uSWQiOiI1OTYxYzI5ZS0zOWE1LTQ3NTItODVlNC1kODE1OGZlZTg2N2QiLCJleHAiOjE2NTIzMzQ4NDYsIm5iZiI6MTY1MjMzNDU0Niwic2NvcGUiOiJyZWFkIiwiaXNzIjoiaHR0cHM6Ly9sb2dpbi5leGFtcGxlLmdrZS9-Iiwic3ViIjoiNmEzNzVhMzAxYmJlNGQ4ZjliMjg5MmFiMjRkOWJkZjIzNTVmYjUyZTFjZWJiY2I0ODkwMTUyNWMwYWNkYjZiNyIsImF1ZCI6InNpbXBsZS1lY2hvLWFwaSIsImlhdCI6MTY1MjMzNDU0NiwicHVycG9zZSI6ImFjY2Vzc190b2tlbiJ9.wx2mumnlq_YVTfbxUdJXtwhwAANTkC7avBLhg5G-gi52Sc8veD8PMM3ZwszkE_3ejDAtXpizAI7mWnzMy45cHMTviJUbxjJf7-xsi3izKE8d-tmECfEJGRwCXmlG0kguwKwC1IStExU6-KBGQ1sfftkDBbp3mYsFDTGYxumtm0wInBf0_tuKP1m625h_Xs-S-4pBBRa7BvDGCq7bNzE8kbnRELQXXJxExEgMIeLtvaCg5nK5KYMfA20Ah-X65tkX4XbXZnrd8IkQK0nwsNMC0jzauw66PmsvHB2jEvR-QmQBx7D_Pgme62nqcvMDzPavzzsj5Pi4PGJ75XpFa9ptGw

Summary
You have learned how to deploy Curity Identity Server and manage custom plugins with Kong & NGINX Ingress Controllers in the Google Kubernetes Engine and tested the workings of phantom token flow. For further information, please refer to Phantom Token Flows.
Customer Stories
Learn how organizations run identity and API security at scale.
Read customer storiesWas this helpful?