Migrating to Passkeys
On this page
This tutorial explains some techniques you can use when migrating from password to passkey logins with the Curity Identity Server. The content starts with the basics of passkeys activation and onboarding. Next, account recovery ensures that users are never blocked if they lose their passkey. Finally, you can take finer control over usability, as demonstrated by a code example that you can run on a development computer.
Enable Passkeys
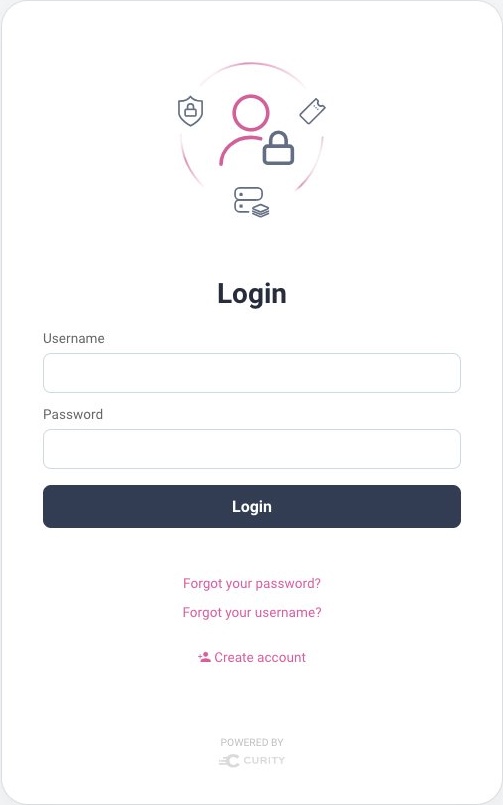
To roll out passkeys, start by creating a new Passkeys Authenticator. If you configure your client to use specific authenticators, ensure that you add the passkeys authenticator. If the client does not use specific authenticators it will automatically use all authenticators. When more than one authenticator is used by a client, users will see an authentication selection screen. This enables passkey logins while continuing to support password logins:

For passkeys to work you must use HTTPS external URLs for the Curity Identity Server. HTTPS is typically already configured for deployed environments. On a local computer, the Exposing the Curity Identity Server Using ngrok tutorial explains one way to enable HTTPS URLs.
Categorize Users
Next, classify users based on the authentication methods you want to allow and whether the user is new or existing. In the following example, both passwords and passkeys are supported for both new and existing users.
| User Type | Description |
|---|---|
| Existing + Password | Existing users who want to continue to use password logins. |
| Existing + Passkey | Existing users who want to upgrade to passkey logins. |
| New + Password | Future users who register and want to use password logins. |
| New + Passkey | Future users who register and want to use passkey logins. |
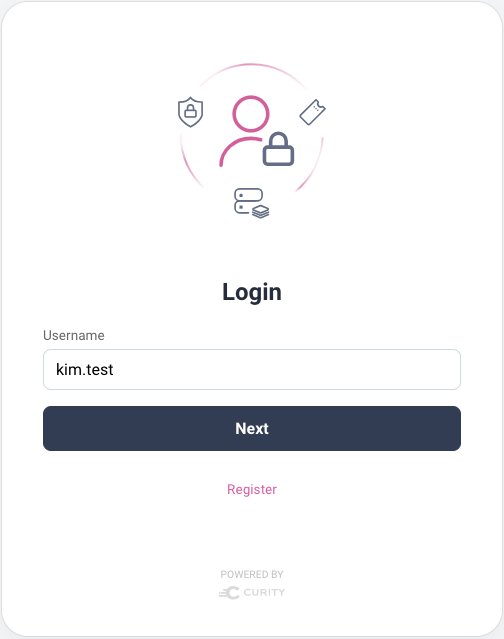
Existing users who authenticate using passwords can continue to select the password login option, to invoke the HTML form authenticator. If future users need to run a self-signup flow and create a password they can use the Create Account link on the HMTL form's login page. Therefore it is straightforward to continue to support password users:
Passkeys Creation
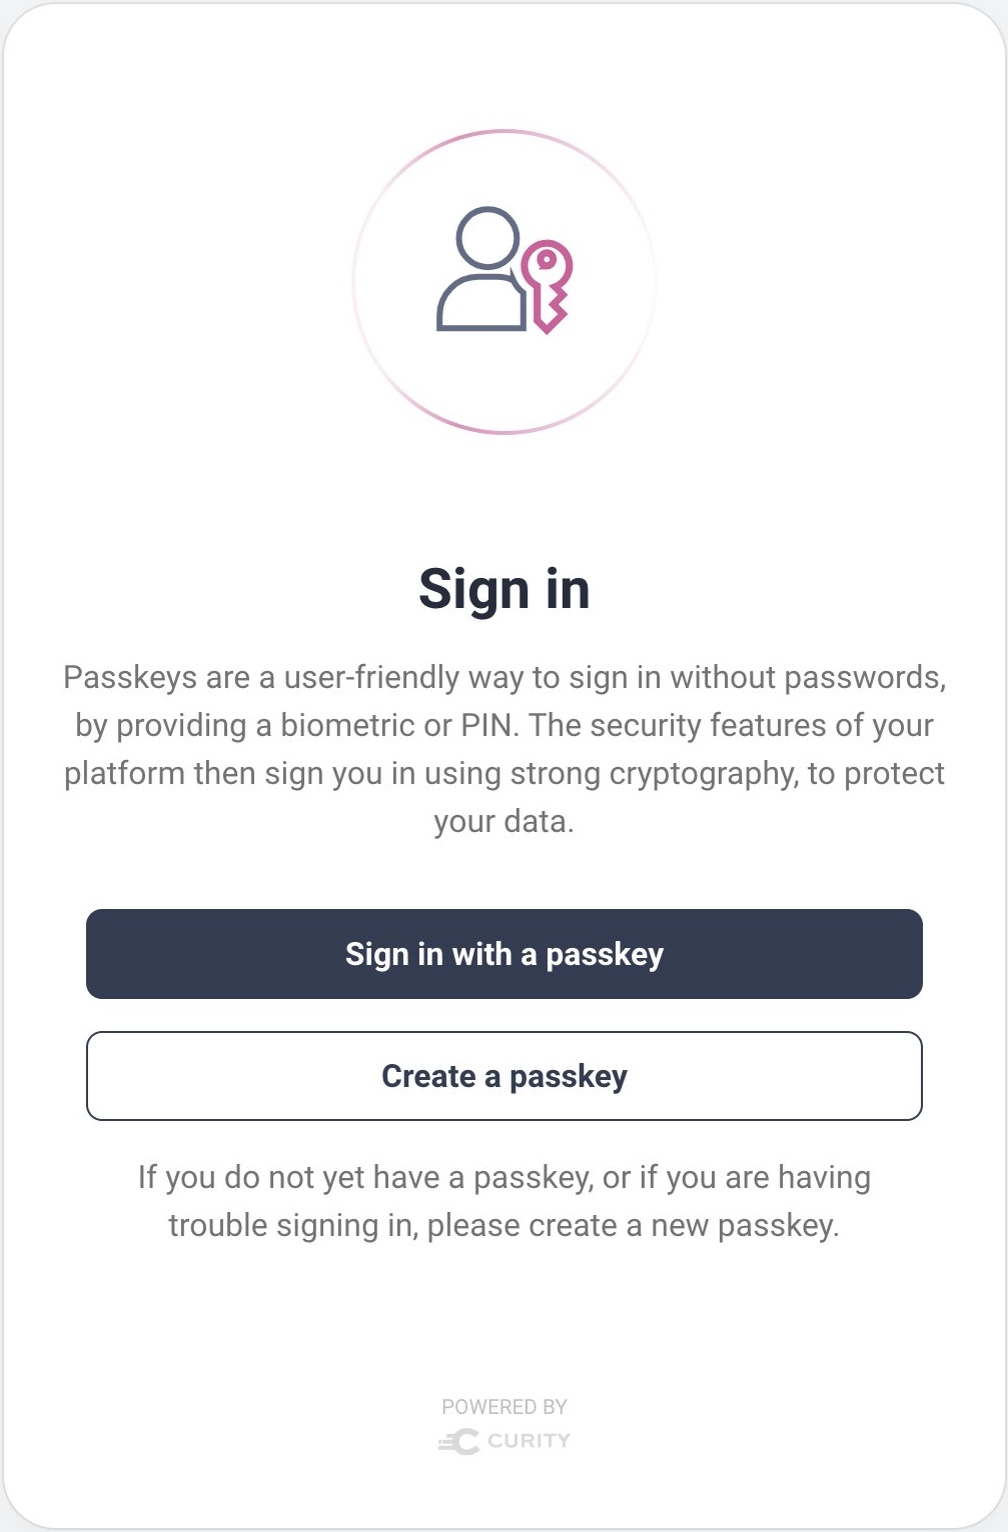
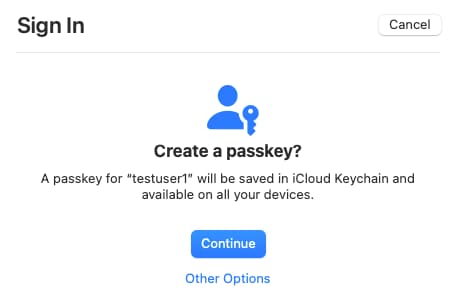
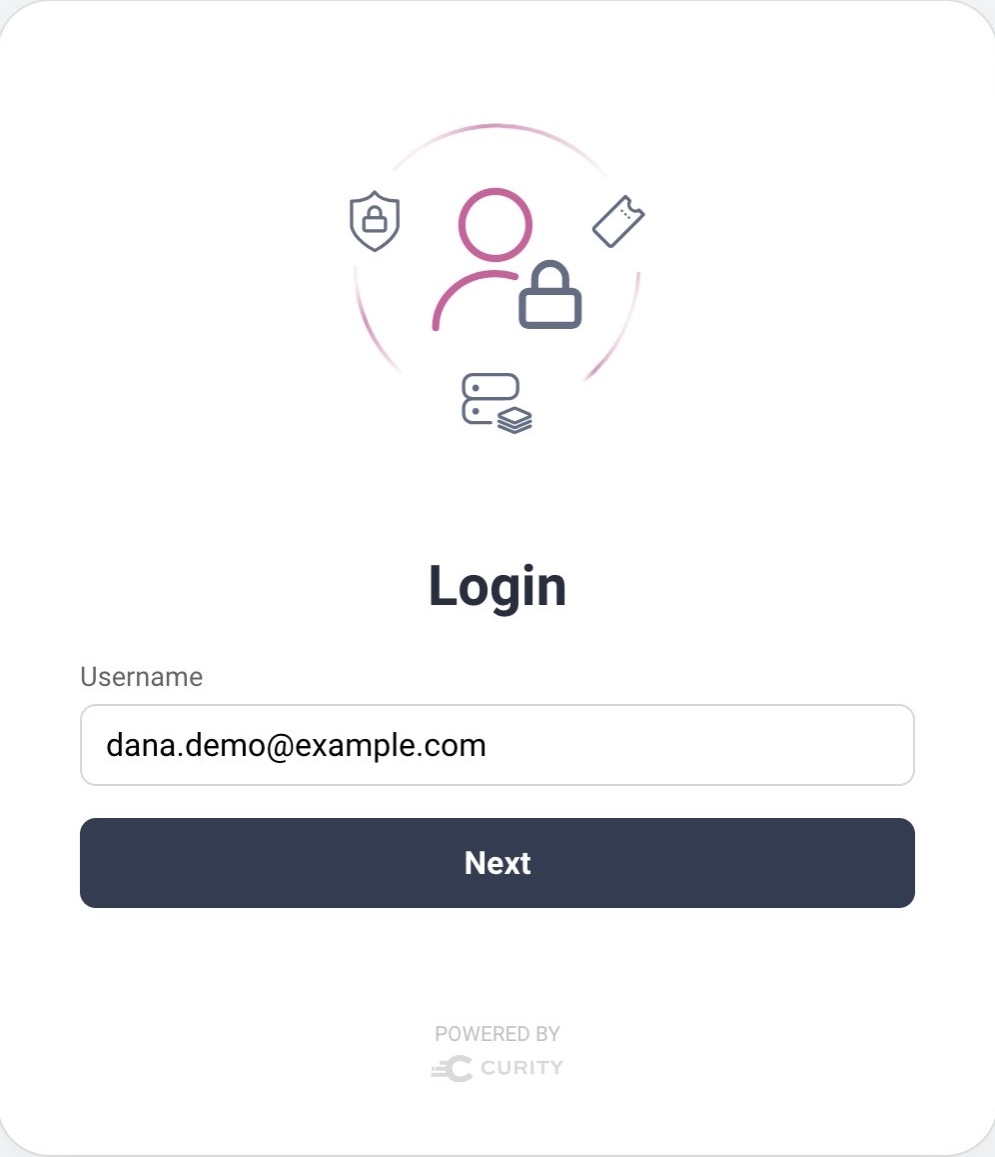
To start using passkey logins, a user must register a passkey, which requires the use of a registration authenticator, so that the user proves their identify before updating their account with the public key. When the user clicks Create a Passkey, the registration authenticator can prompt for a username:
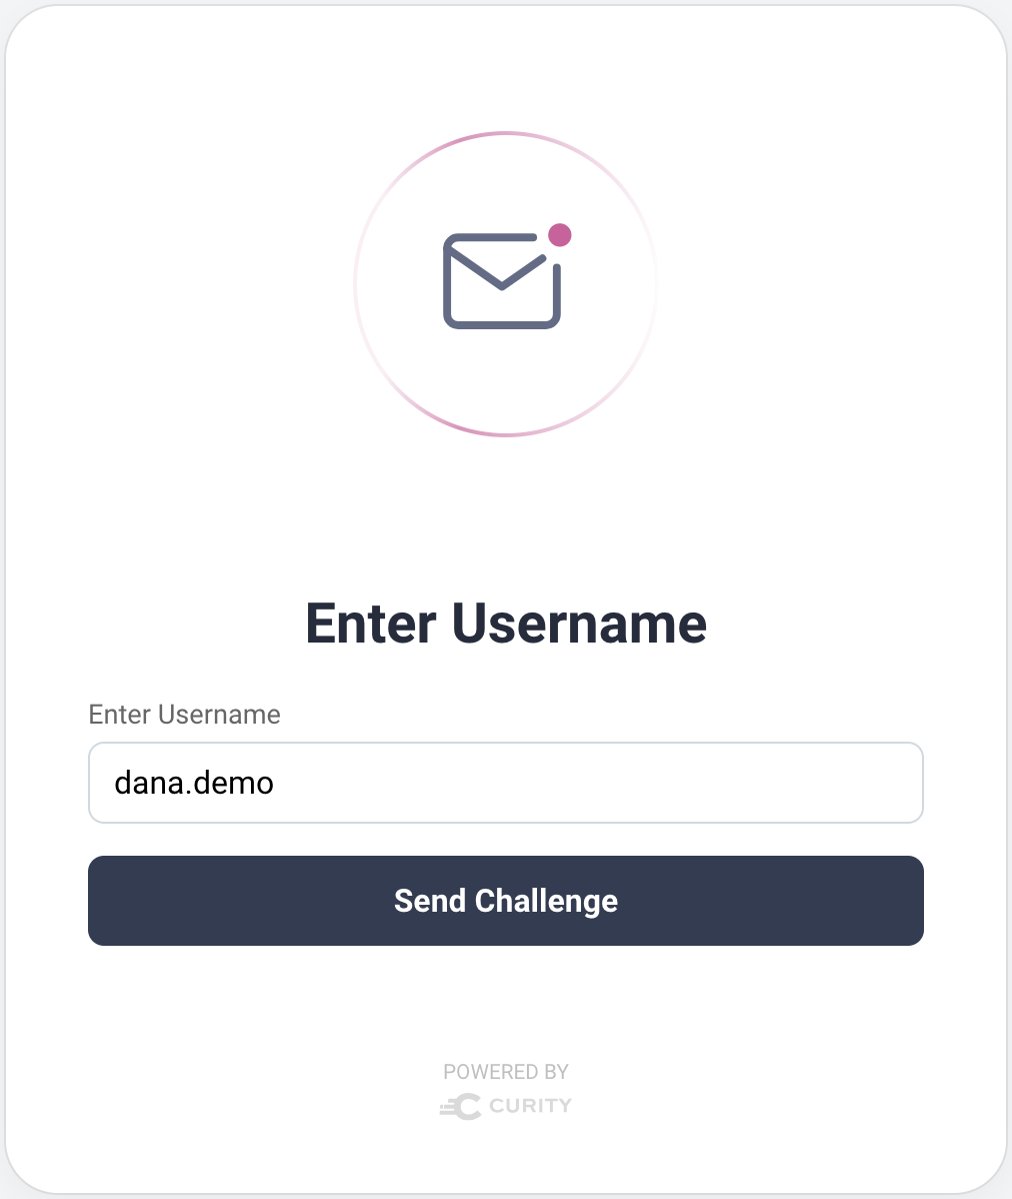
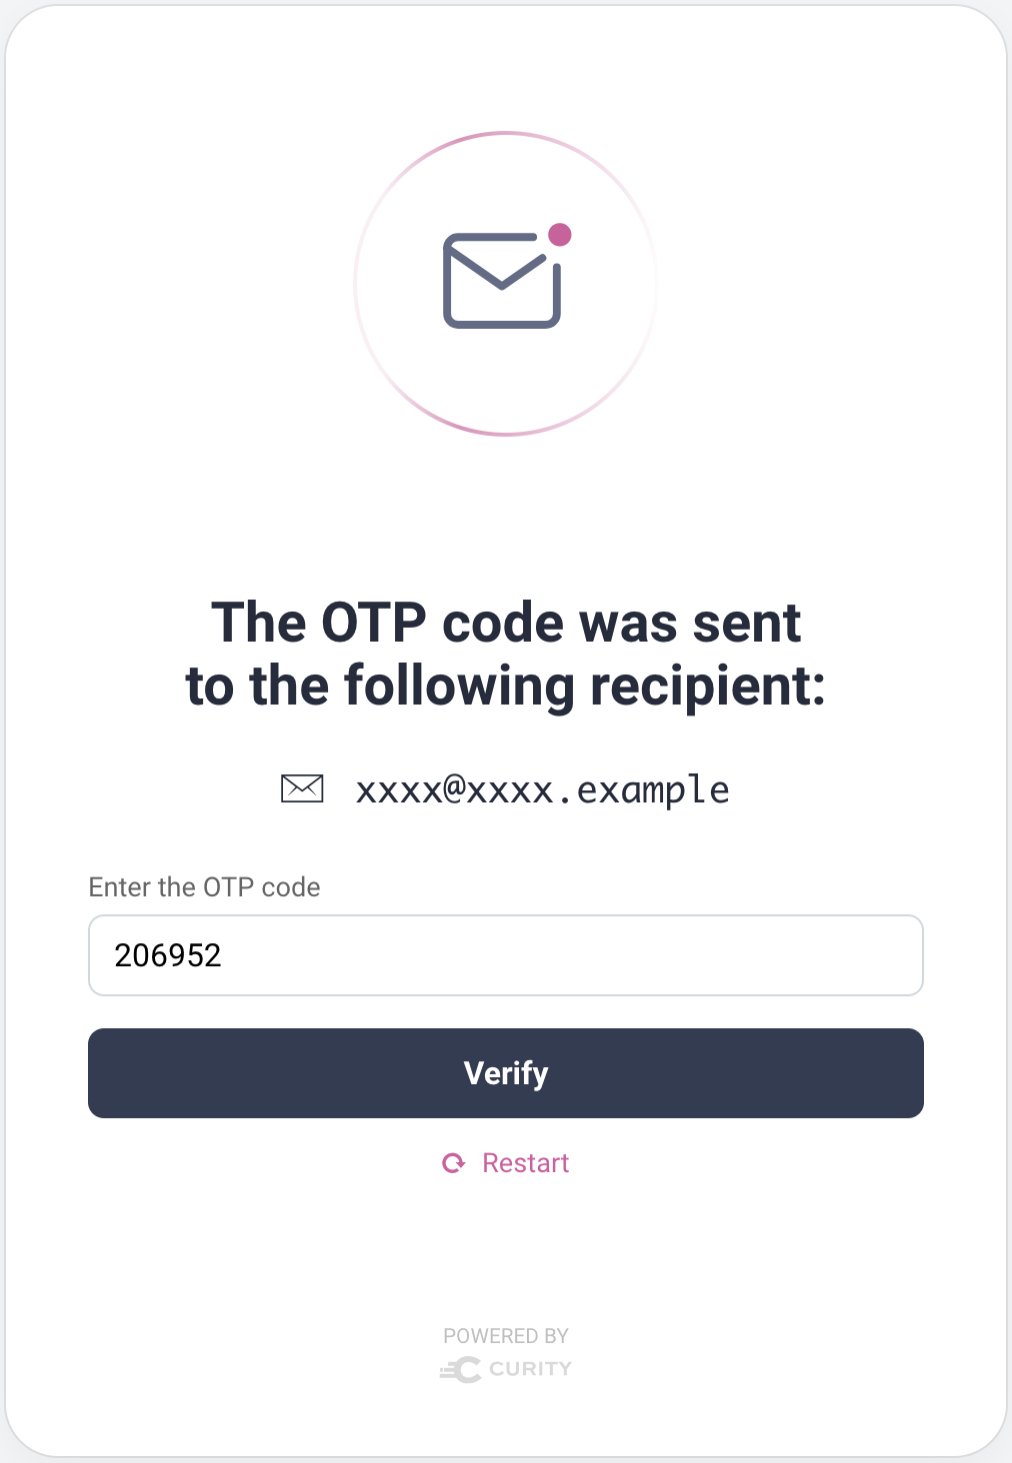
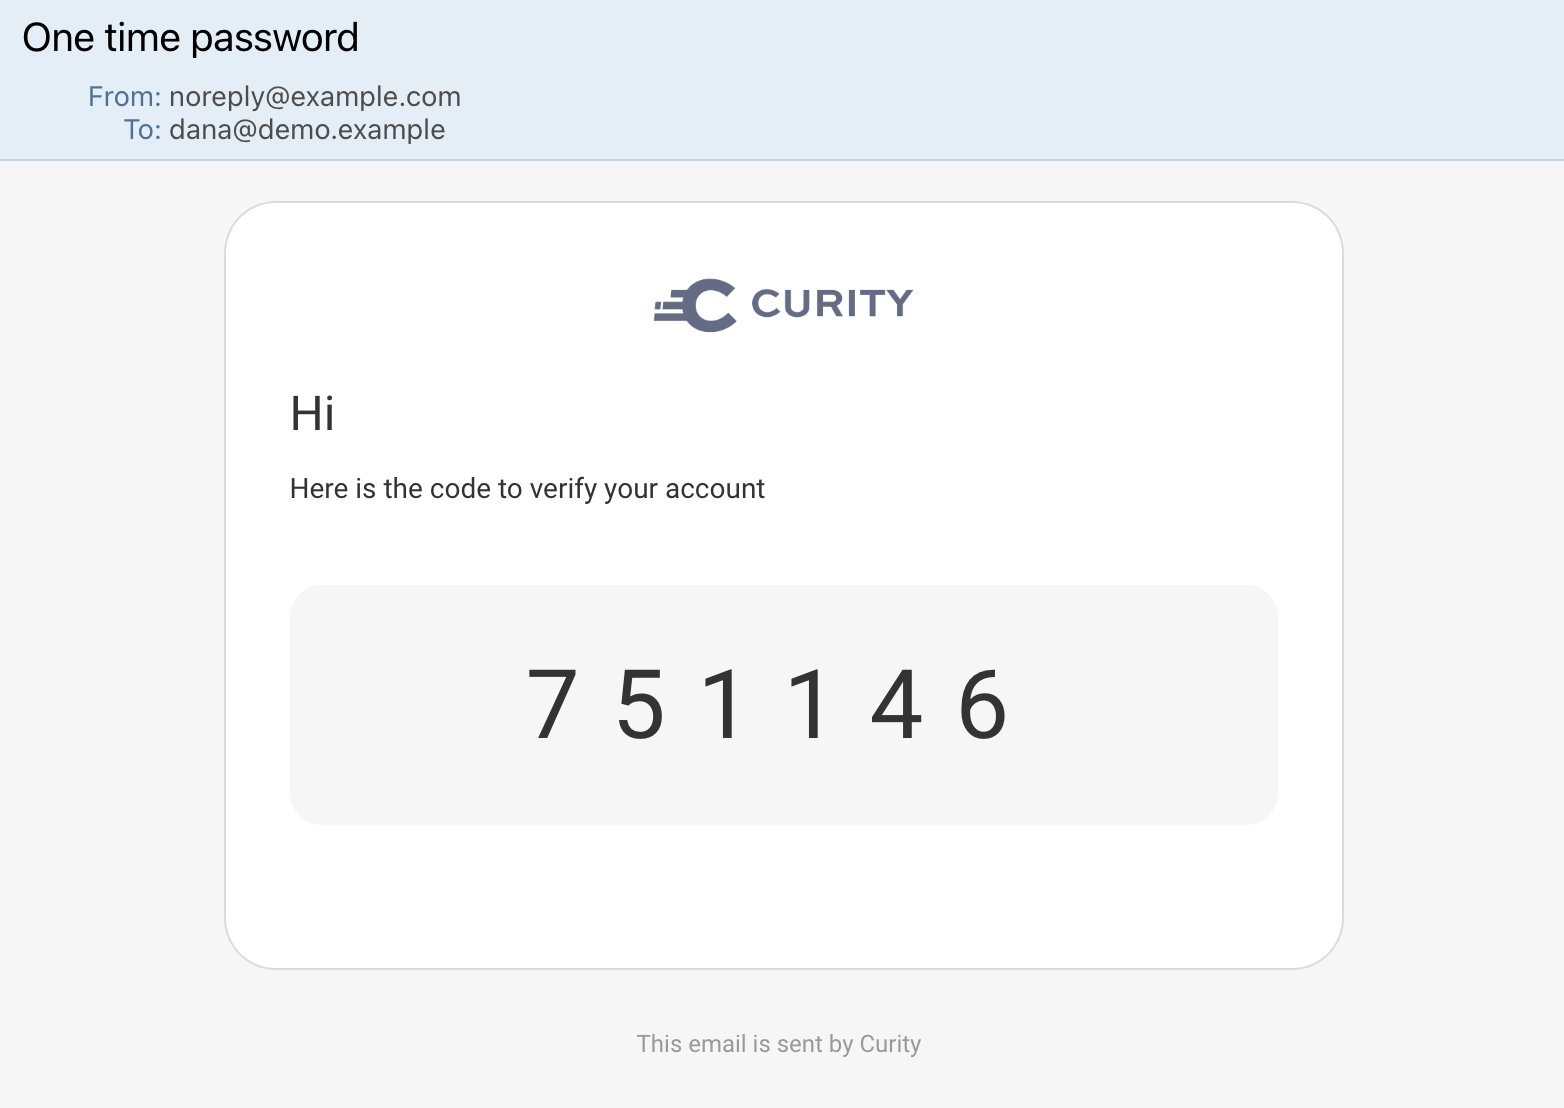
In the following example, the email authenticator is configured as the passkeys registration authenticator. The email authenticator presents a prompt for a username to identify the user. An email is then sent to the email address configured against the entered user account. The email authenticator then prompts for a One Time Password (OTP), which the user can retrieve from their inbox and enter:
Next, the browser's passkey registration dialog is invoked, and the user follows prompts to create a key pair. The Curity Identity Server stores the passkey's public key against the verified user account. Whenever the user authenticates with their passkey, the Curity Identity Server identifies the same user account as previously, and issues the same claims to tokens.
Passkeys Dialogs
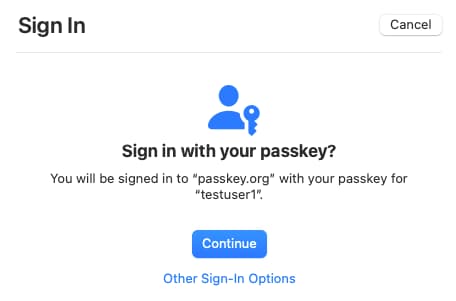
The browser dialogs are straightforward to follow, and all future logins in the same browser have a slick user experience. When prompted, the user provides a second factor to prove their presence, such as by entering the device PIN or providing a fingerprint biometric.
Account Creation for Passkeys Users
Running the passkeys authenticator in a standalone manner is not the only option. In some use cases, you may need to enable a self-signup flow for users who will use passkey logins. To do so, place a username authenticator in front of the passkeys authenticator, so that you can identify the user before authenticating them, and trigger a self-signup flow if necessary. This can be done in two ways, depending on your requirements.
- If you only have basic requirements, where all users of a particular client will use passkey logins, you can use a built-in action bundle to enable account creation for new users.
- Alternatively, you can take finer control over signup. Use authentication actions to provide a passkeys registration sequence for users who want to sign up and then log in with passkeys.
In the Admin UI, navigate to Profiles → Authentication Service → Actions → Action Bundles. Click New Action Bundle and select the Create an account using passkeys option. Then set details similar to those shown in the following dialog:
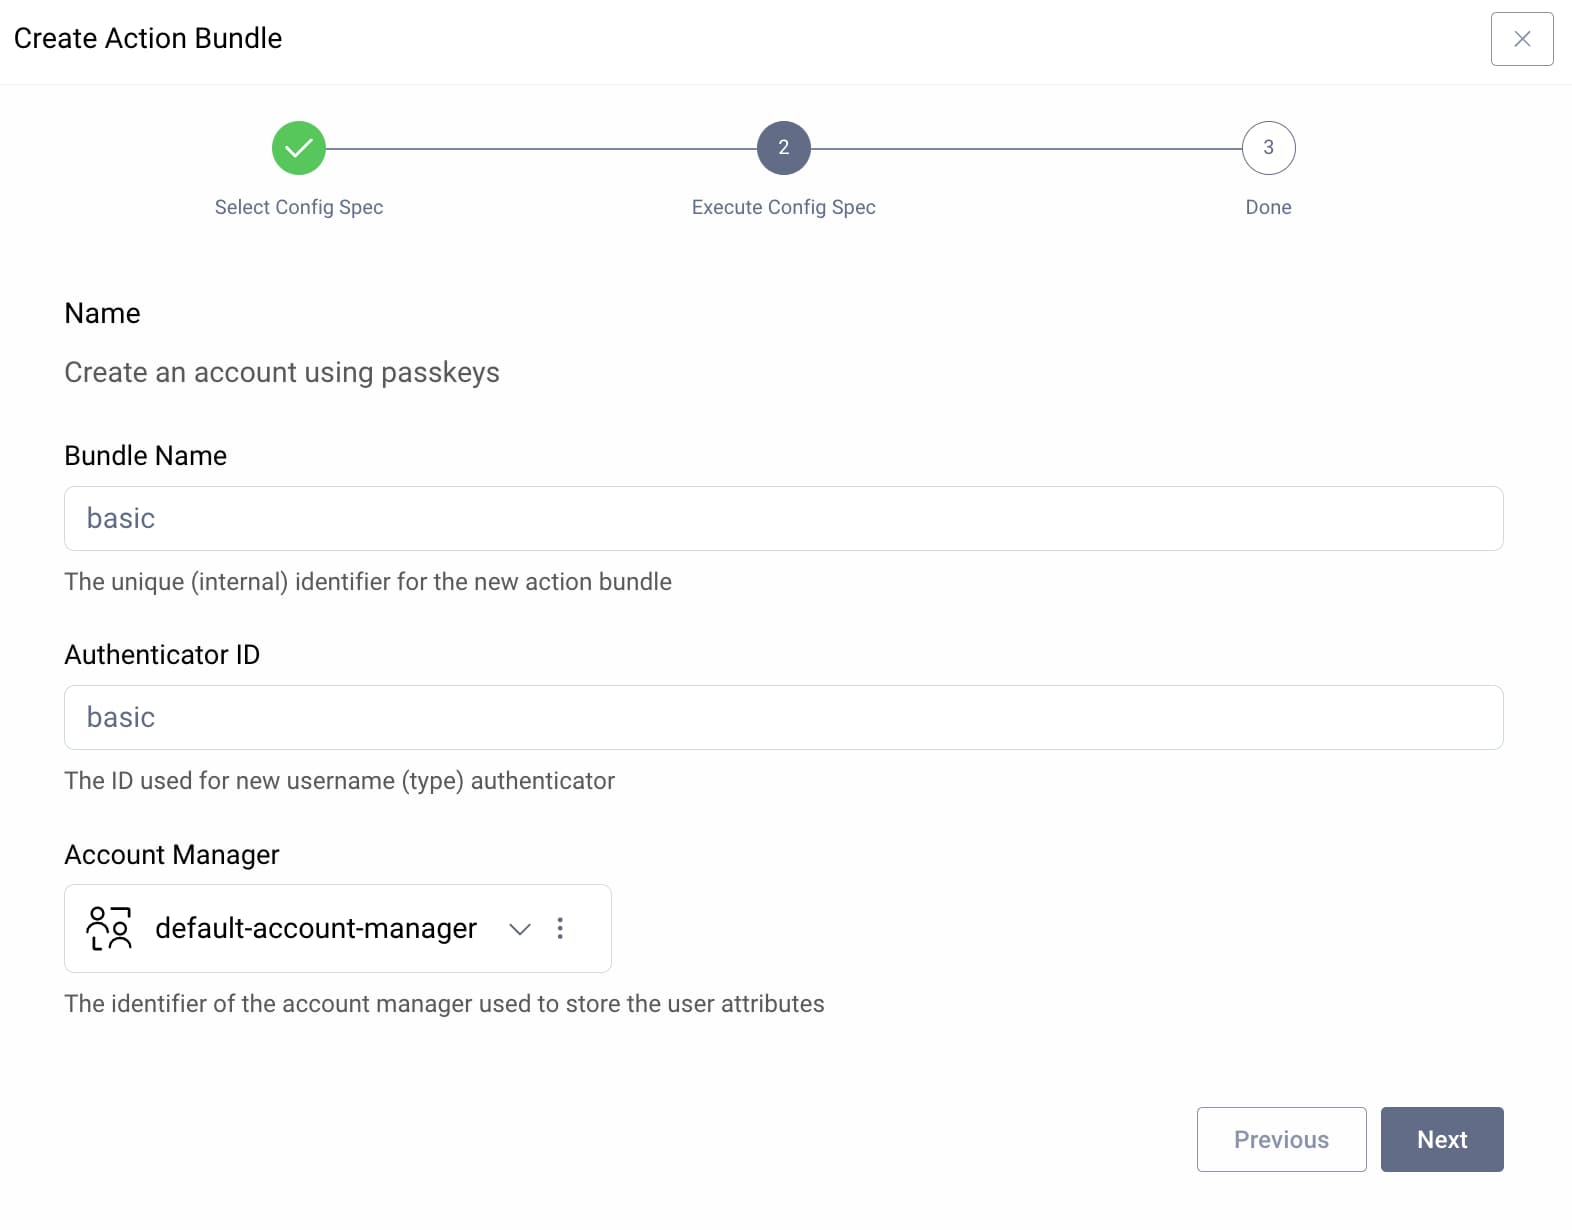
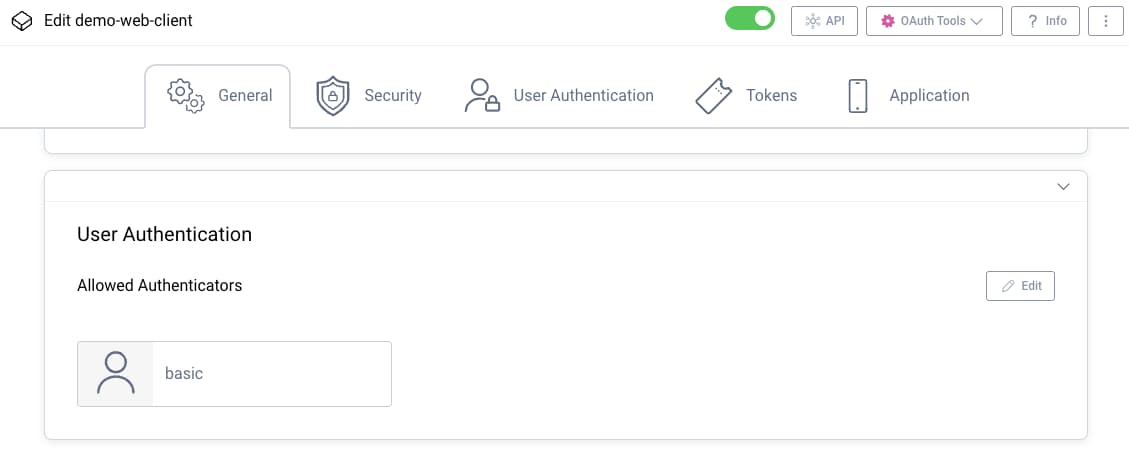
In this example, a username authenticator named basic is created. Next, navigate to Profiles → Token Service → Clients and locate your client. Under its General settings, ensure that this is the only allowed authenticator and commit changes:
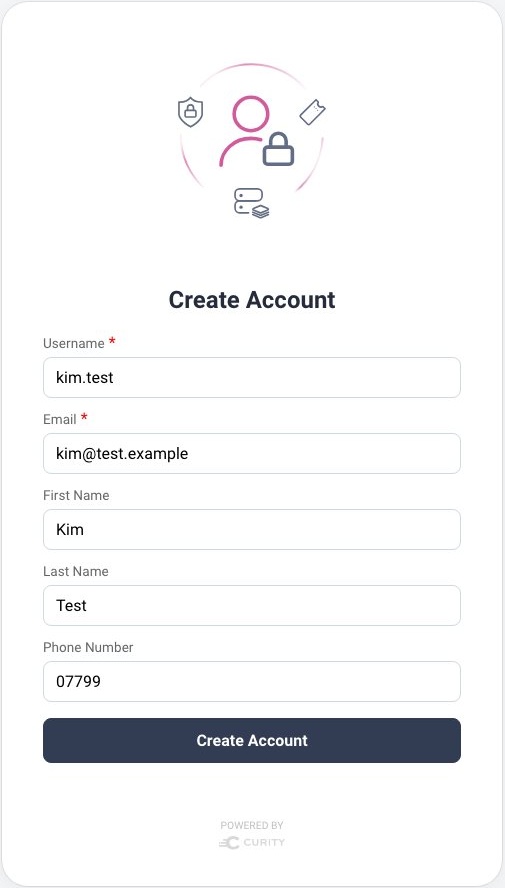
When users run a login flow, they then see the following forms. New users click the Register option to create their account, after which they can register a passkey:
The action bundle creates a signup action that can be inspected in the Admin UI by navigating to Profiles → Authentication Service → Actions → basic_signup authentication action. The action contains the following settings and you can enable custom fields if required:
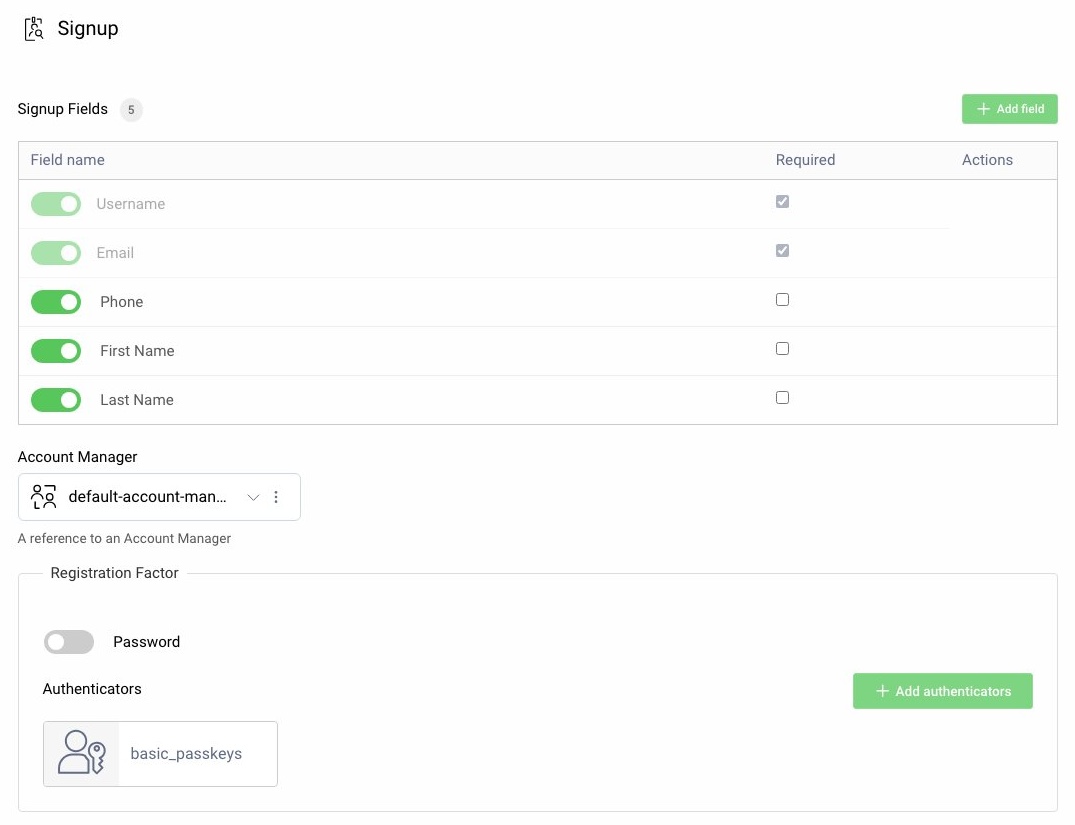
When using the signup action you must configure two passkeys authenticators, for registration and login. The passkeys authenticator for registration uses the signup action to manage account creation. The passkeys authenticator for login has different settings, to manage passkey registration.
Passkeys Account Recovery
Users often access the same application across different browsers and devices. In some cases, passkeys can synchronize, yet you cannot always rely upon this. The Passkeys - Design your Solution article explains the current technology support on various platforms.
When a new browser or device does not support synchronization, the user will not be able to log in with their existing passkey. Yet the user can recover by re-performing the registration ceremony, to create a new passkey for the new browser or device. You can customize user messages for the passkeys authenticator to give the user a hint on how to recover:
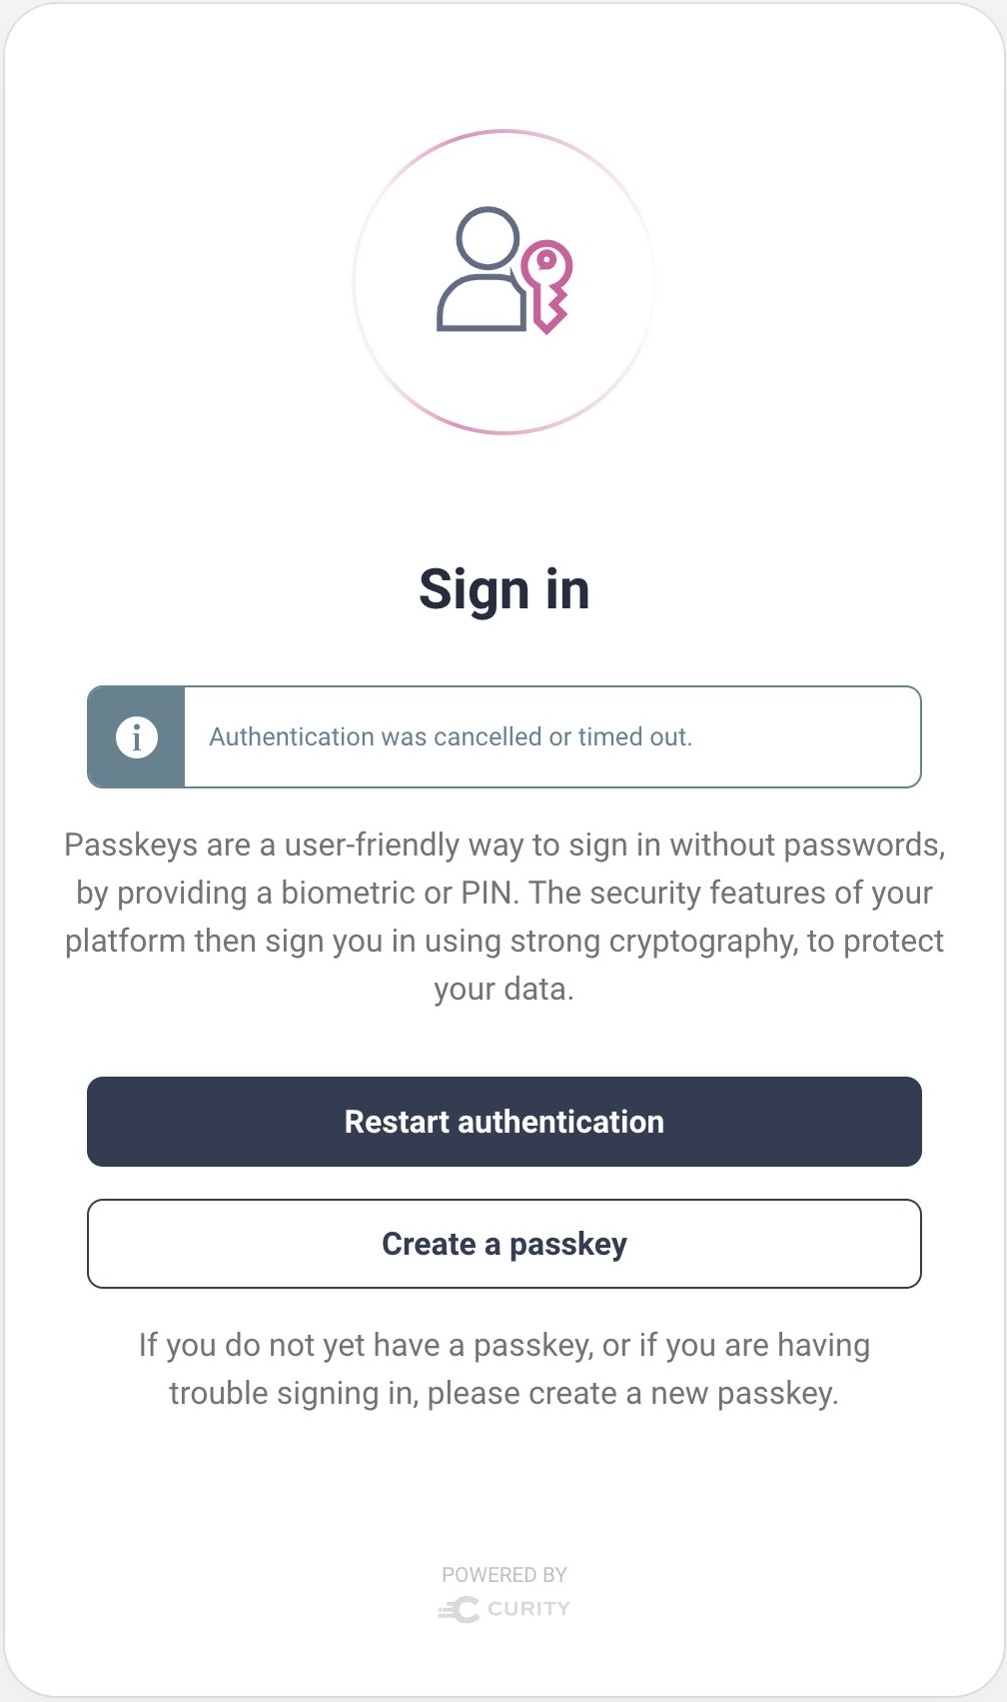
The user can select the Register new passkey option and re-run the registration ceremony. The Curity Identity Server then adds the public key of the new passkey to the user's account. Note that you can register multiple public keys against each user account. This enables users to recover from any lost passkey scenario.
Removing Password Logins
In some use cases, you may want to customize behavior so that passkey users no longer see password login options. Meanwhile, you encourage password users to upgrade to passkeys whenever they sign in. You can enable this with authentication actions, to provide a user routing sequence as illustrated here:
In this example, the sequence first identifies the user with the username authenticator, then looks up account data to see if any public keys are registered. If so, the user is routed directly to the passkeys authenticator and no longer sees the password option.
Example Deployment
You can use the GitHub repository referenced at the top of this page to run a working example that uses techniques described in this tutorial. The example setup assumes that you use OAuth Tools as a test client that connects to a local Docker-based instance of the Curity Identity Server using ngrok. You will also need a license file for the Curity Identity Server with support for passkeys, such as a trial license. Copy the license file into the repo's root folder.
Deploy the System
Next, run the following commands to deploy the Curity Identity Server, along with a PostgreSQL database that stores account data and public keys for registered passkeys:
export USE_NGROK=true./deploy.sh./apply-use-case.sh ./config/4-configure-migrating-to-passwordless.xml
The script outputs an OpenID Connect metadata URL similar to this:
The OpenID Connect Metadata URL is at: https://4099-2-26-218-80.eu.ngrok.io/oauth/v2/oauth-anonymous/.well-known/openid-configuration
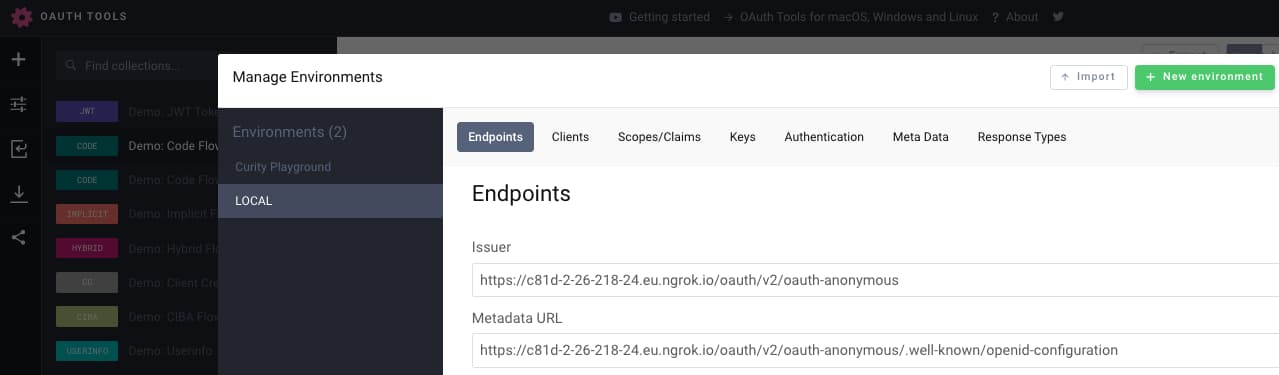
In OAuth Tools, create a new workspace and paste this URL into the Metadata URL field:
You will then need to run a code flow in OAuth Tools with the following settings:
Client ID: demo-web-clientClient Secret: Password1Scope: openid
Note that redeploying the containers clears user accounts, so that you can test onboarding and subsequent logins, for both password and passkey users.
Test User Flows
Use the example deployment to test various scenarios including those listed below. These will enable you to review both the user experience and account recovery behaviors:
| Test Action | Expected Outcome |
|---|---|
| Create a new user with password logins. | The user creates an account and can log in with a password credential. |
| Upgrade the user to use passkey logins. | After registering a passkey the user no longer sees a password login option. |
| Create a new user with passkey logins. | The user creates an account, registers a passkey and only ever signs in with passkeys. |
| Delete the passkey from the browser. | The user can register a new passkey and recover. |
| Switch to a different browser | Re-run OAuth Tools in another browser and register a new passkey if required. |
The example deployment includes an instance of the Maildev SMTP Server that you can use to simulate email verification for any test user account when registering or re-registering passkeys. When the email authenticator is triggered, browse to the maildev inbox at http://localhost:8080 and copy the received OTP code, then paste it into the email authenticator:
Example Actions
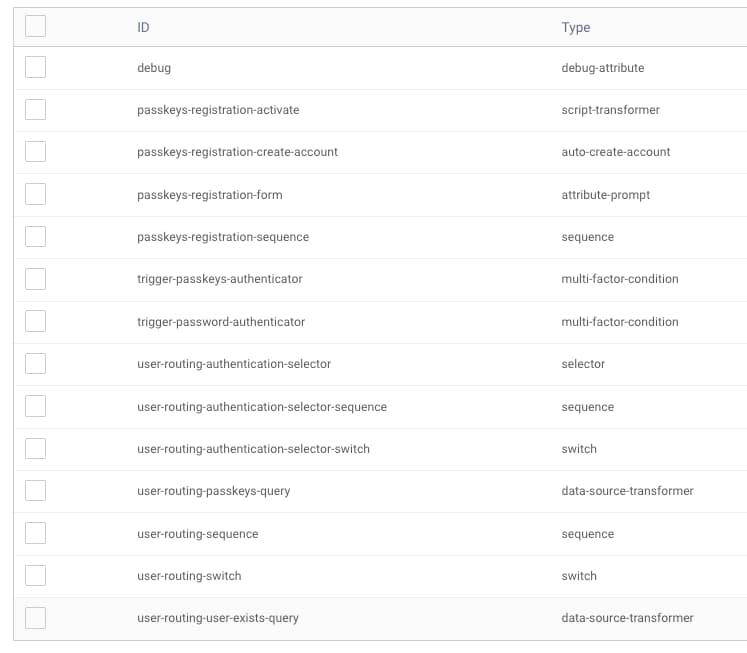
Follow the instructions in the GitHub repo's README file to log into the admin UI and view authentication actions. These include the passkeys registration sequence and user routing sequence that tutorial describes. You can study them and integrate into your instances of the Curity Identity Server.
Account Storage
You can query the account data for your test users from the PostrgreSQL database using these connection details:
Host: localhostPort: 5432User: postgresPassword: Password1Database: idsvr
Alternatively, you can use the shell to query the database. Enter the following commands to first connect to the PostgreSQL container:
CONTAINER_ID=$(docker ps | grep postgres | awk '{print $1}')docker exec -it $CONTAINER_ID bashexport PGPASSWORD=Password1 && psql -p 5432 -d idsvr -U postgres
Then, select the created user accounts and their registered public keys:
select * from accounts;select * from devices;
You will see that upgrading from passwords to passkeys reuses the existing account. When the Curity Identity Server issues access tokens to clients, they will have the same user identity and claims as they had previously. Therefore, upgrading to passkeys will not have any adverse effects on your APIs.
Conclusion
When migrating to passkeys, start by classifying users. Ensure that users can continue to sign in and that you can onboard new users. Also use a registration authenticator that enables account recovery when required. By following the steps in this tutorial you will be able to migrate to passkeys, to improve security while also enabling a modern user experience.
Customer Stories
Learn how organizations run identity and API security at scale.
Read customer storiesWas this helpful?