Verified Claims and Identity Assurance
On this page
OpenID Connect for Identity Assurance (OIDC4IDA) is a draft for an extension to OpenID Connect that allows the OpenID provider (or authorization server) to communicate the verification status of certain claims that it issues in tokens. The verification status indicates "what, when, how, according to which rules and using what evidence" the authorization server applied to get the values of certain claims. In this way, the framework enables use cases that require strong assurance of the identity data about a user.
Introduction to Verified Claims
Verified claims are a set of claims with a verification status. To distinguish verified claims from other claims, the OIDC4IDA specification introduces a new standardized claim called verified_claims. This claim is an object (or array of such objects) with two elements, claims and verification, where claims contains key-value pairs of identity attributes about a user. The verification element is an object that indicates how the authorization server verified the claims. At a minimum the verification indicates which trust framework the authorization server applied when it verified the claims. Study the following example:
"verified_claims": {"claims": [{"given_name": "Alex"},{"last_name": "Anonymous"}],"verification": {"trust_framework": "eidas","evidence": [{"type": "document","document_details": {"type": "idcard"},"check_details": [{"check_method": "vdig"},{"check_method": "vcrypt"},{"check_method": "auth"}]}]}}
There are many ways on how to perform an identity verification. For example, you can check physical documents or use Verifiable Credentials to verify a user's identity. Refer to the official documentation of OpenID Connect for Identity Assurance for a comprehensive description of the schema of the verified_claims element. When it comes to the Curity Identity Server, you can treat verified claims as just another type of custom claim. For example, assume some claims in your Curity Identity Server always meet the requirements of a specific trust framework. In this case you can simply map such claims to a custom claim called verified_claims.
Configure Verified Claims
You can set up verified claims as a composite claim that contains all the claims that meet the requirements of a certain trust framework. For that, you need to create a new composite claim.
- Navigate to Profiles → Token Service → Scopes
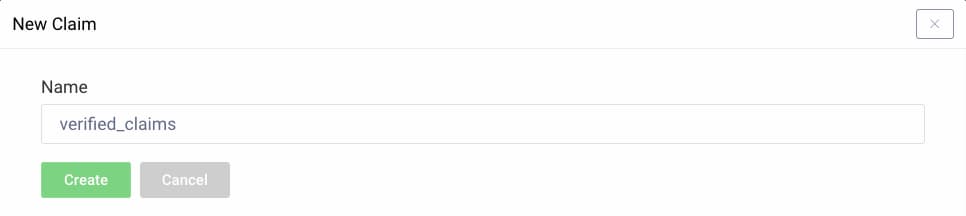
- In the Claims column click + New.
- Enter
verified_claimsas the name. - Click Create.
Now, configure the claim in the claims editor.
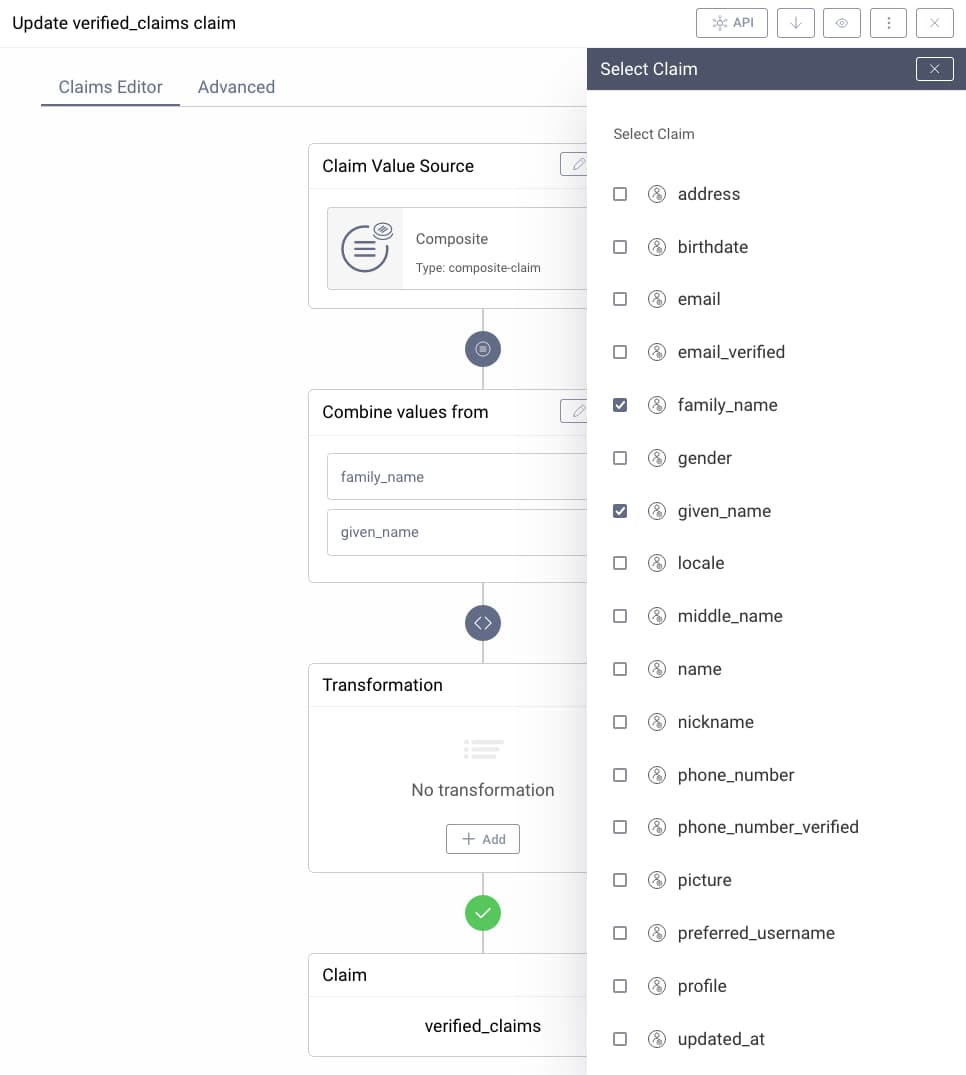
- Choose Composite as the source for the claim.
- Click the pencil ✎ symbol in the box that says Combine values from.
- Select all the claims that you want to end up as verified claims.
Add a transformation script to transform the selected claims into verified claims.
- In the claims editor, click the + Add button of the Transformation box.
- Return a JSON object as specified by OIDC4IDA.
- Specify an element
claims. - Add all the claims that were verified to that element. In the simplest case, use the automatically generated value from the combined claims list of this composite claim, e.g.
"claims": attributes["verified_claims"] - Add a verification status and specify the trust framework, e.g., eIDAS (
"trust_framework": "eidas"). You can specify any trust framework and add more details to the status.
- Specify an element
The following screenshot shows an example configuration of verified claims that indicates that both the given_name and family_name of a user were verified in a way that confirms to eIDAS.
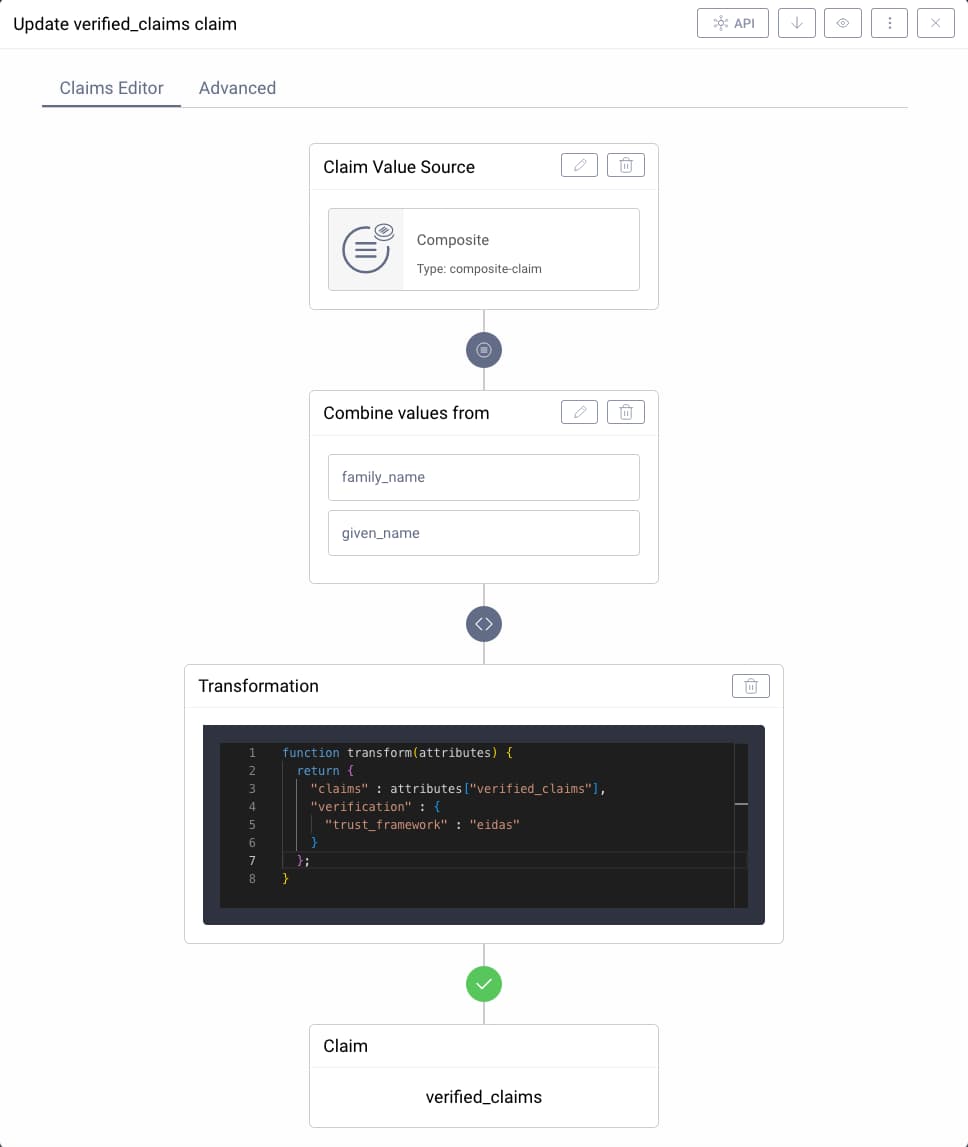
You can copy and paste the code for the transformation script of this tutorial.
View Code for Transformation Script
function transform(attributes) {return {"claims" : attributes["verified_claims"],"verification" : {"trust_framework" : "eidas"}};}
If necessary, adapt the content of the verifiable_claims element. For example, you can change claim names, do more advanced transformation of claim values, or add more details to the verification status. Use the input variable attributes to access the selected claims. For example, to load the value of the given_name claim, write attribute["verified_claims"]["given_name"]. Check out the product documentation on transformation procedures for more guidance on how to script a transformation. For reference, here is another example that renames the given_name claim to first_name and family_name to last_name.
function transform(attributes) {return {"claims" : {"first_name": attributes["verified_claims"]["given_name"],"last_name": attributes["verified_claims"]["family_name"]},"verification" : {"trust_framework" : "eidas"}};}
Issue Verified Claims
When you set up a custom claim as in Configure Verified Claims, you can issue verified claims just as any other claim in the Curity Identity Server. This means, that you need to assign the verified_claims claim to a scope and configure a claims mapper that adds the claim to a token. We have a comprehensive guide on that topic. Check out how to design tokens. At the end, a token such as an ID token can include both unverified and verified claims as visualized in the following example:
{"exp": 1711532616,"nbf": 1711529016,"iat": 1711529016,"iss": "https://authorization-server.example/oauth/v2/oauth-anonymous","aud": "ida-test","sub": "anna.a","verified_claims": {"claims": {"family_name": "Anonymous","given_name": "Anna"},"verification": {"trust_framework": "eidas"}},"preferred_username": "anna.a","name": "Anna","given_name": "Anna","family_name": "Anonymous","nickname": "annaan","auth_time": 1711529012,"acr": "urn:se:curity:authentication:openid-wallet:wallet","amr": "urn:se:curity:authentication:openid-wallet:wallet"}
Conclusion
The extensive and very flexible features with regard to claims, claim values and token issuance allows you to implement a great variety of use cases with the Curity Identity Server including OpenID Connect for Identity Assurance (OIDC4IDA). This tutorial showed just one approach with a static trust framework. You may want to check out custom token issuers and token procedures for more dynamic ways to issue tokens.
Customer Stories
Learn how organizations run identity and API security at scale.
Read customer storiesWas this helpful?