Token Designer Overview
On this page
Claims, Tokens and Mappers
This tutorial shows how to configure the relation between scopes, claims and tokens, and assumes some knowledge in the subject. If you're not familiar with the concept of claims, then have a look at Introduction to Claims and Claims explained. These articles give a thorough overview.
In the Curity Identity Server, Claims Mappers are used to map scopes requested by the client into claims which end up in a concrete token or the response of the userinfo endpoint. The admin UI's Token Designer can be used to conveniently setup these relations.
Demo video
The following video shows how to configure mapping of scopes into claims and claims into tokens.

Designing Tokens Using the Admin UI
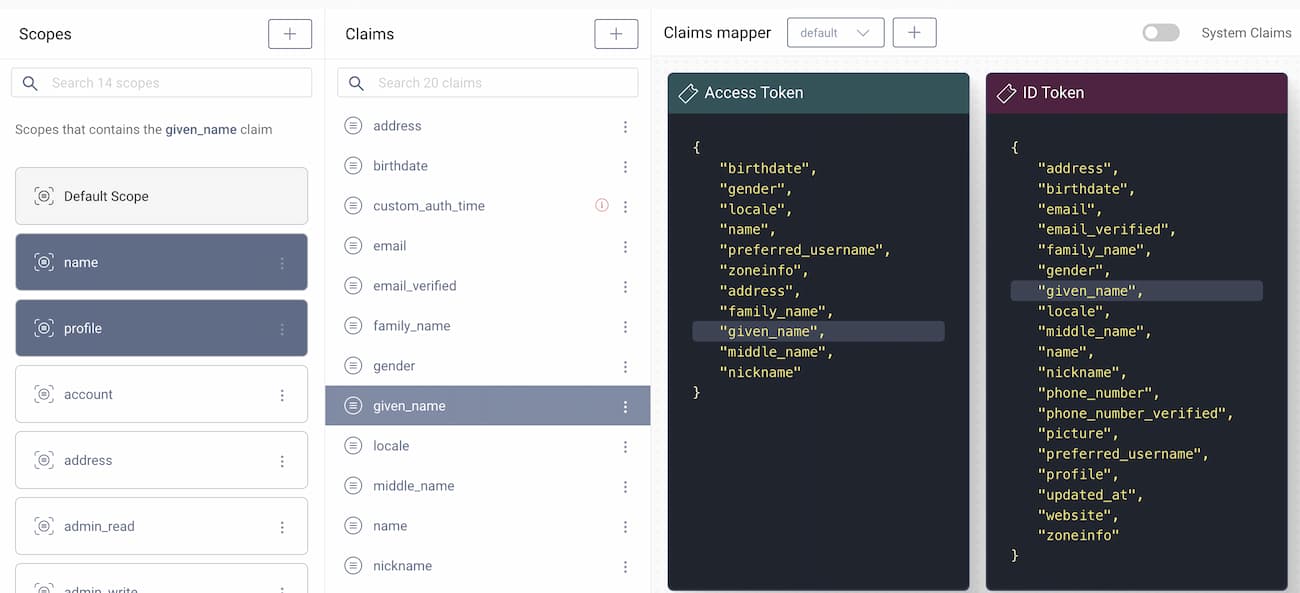
To configure claims mappings for a given Token Service profile go to Profiles -> Token Service -> Scopes. The Token Designer page will open.
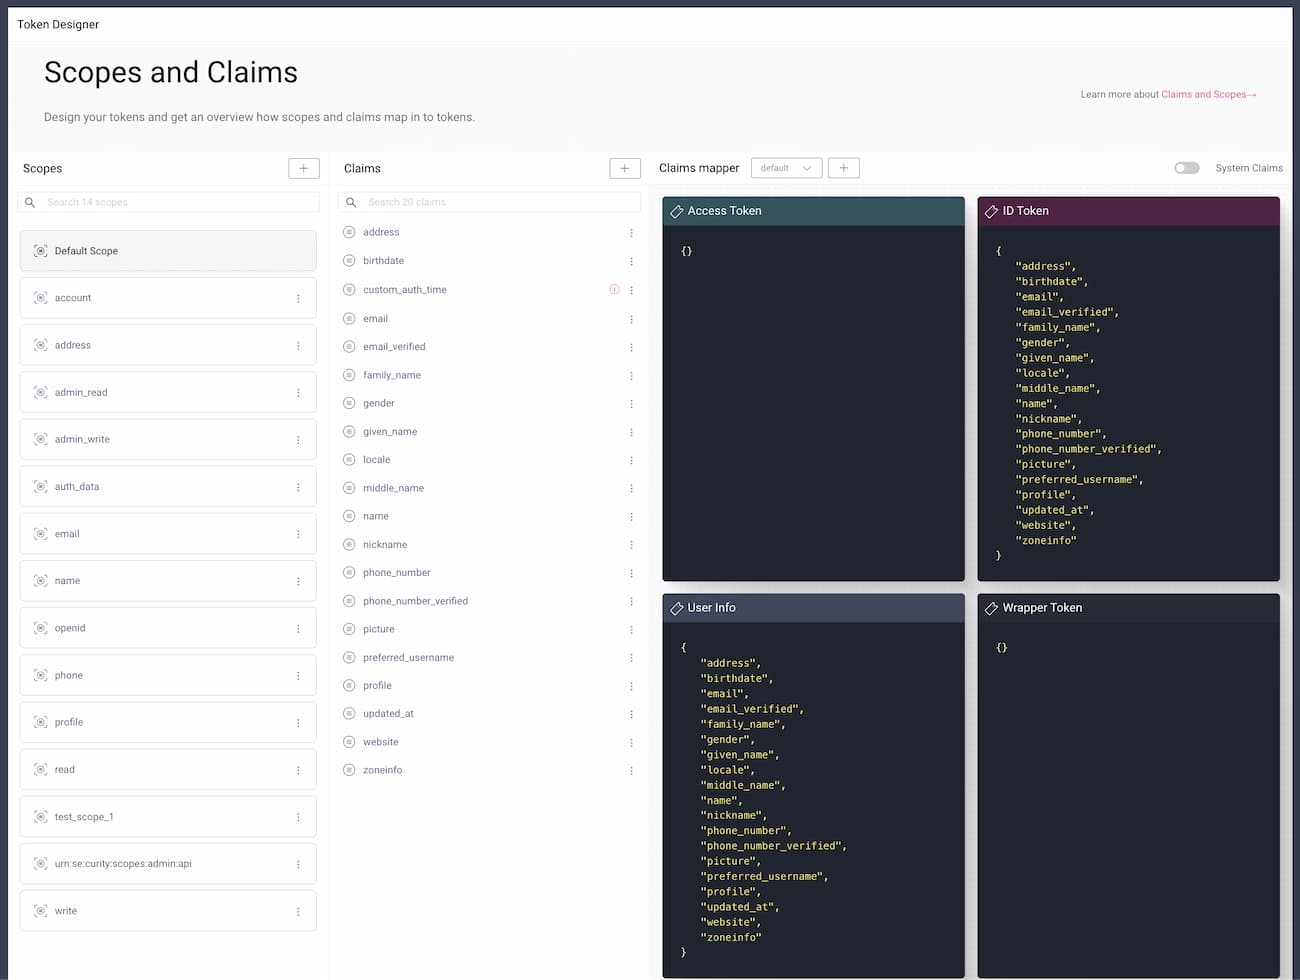
In the first column you will find the list of all scopes defined for this profile. In the middle column there is a list of the profile's claims. In the last column, you can see four panels — lists of claims which are added to the Access Token, the ID Token, the Wrapper Token, and to the response to the /userinfo endpoint. Above the token panels there is a dropdown to choose the Claims Mapper that should be configured (or you can create a new one by clicking the + button).
Enabling the Wrapper Token
If you don't see the panel for a wrapper token in the Token Designer, then you need to enable wrapper tokens. Go to Token Service → Token Issuers and toggle the Use Wrapped Opaque Tokens option. The Curity Identity Server will then issue opaque tokens wrapped in a JWT that contains some metadata about the token and the claims configured with the Token Designer. Such tokens are used in specific scenarios, like routing users to correct data-processing regions.
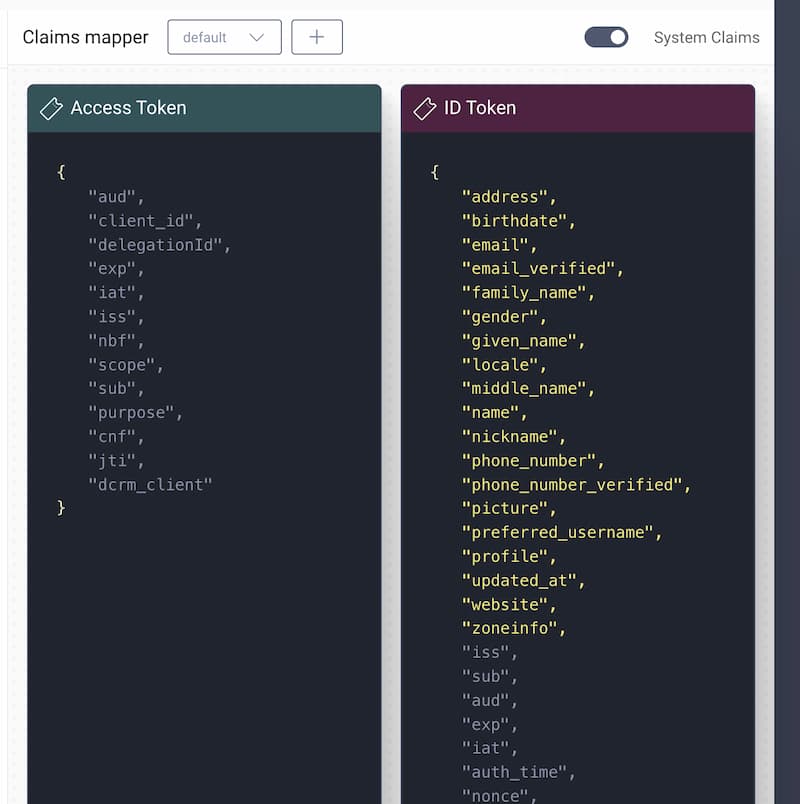
The System Claims toggle can be used to show system claims that are added to tokens. These claims cannot be modified or removed from tokens, nor from the /userinfo response.
Managing Claims in Tokens
To add a claim to one of the tokens simply drag and drop the claim into the chosen token panel. If you want to remove a claim from a token, hover over the claim in the chosen panel, then click on the red — sign next to the claim name.
You can also drag and drop a scope directly to a token panel to add all claims of a scope to the given token.
Managing Claims in Scopes
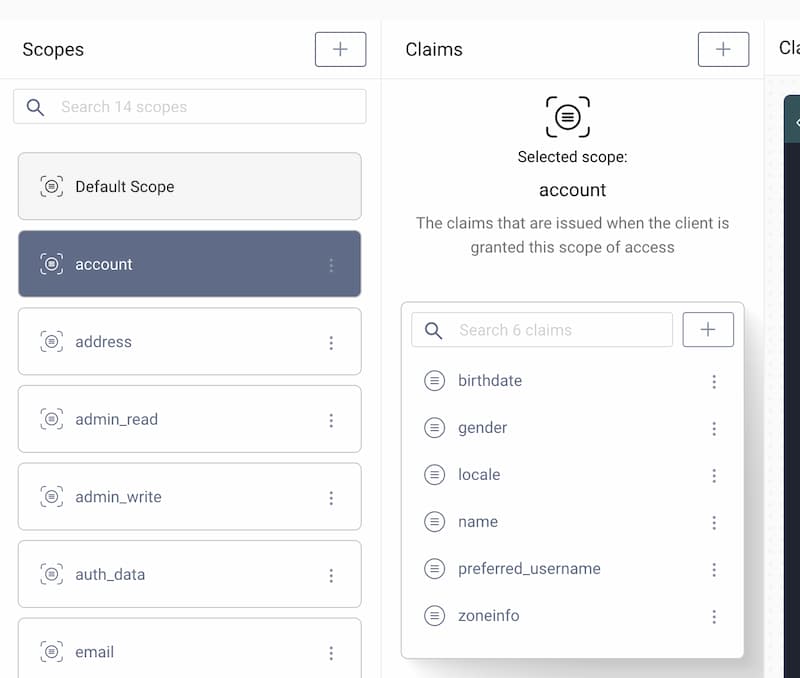
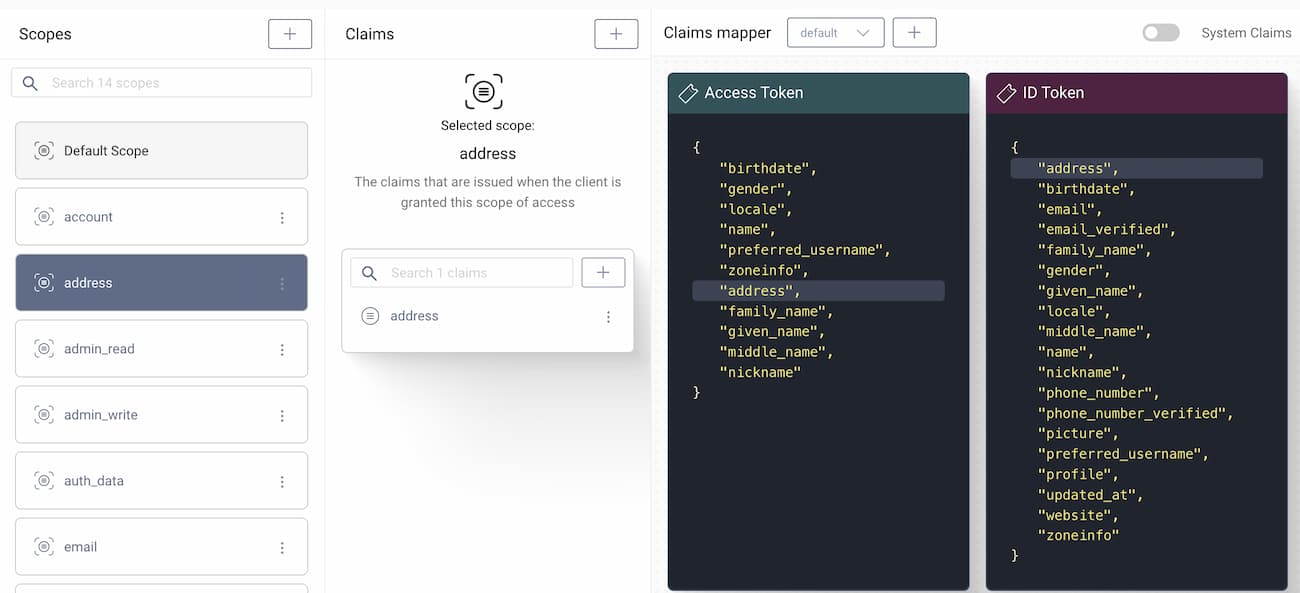
When you select a scope in the first column, then the second column filters the claims list to show claims associated with the given scope. These claims will also be highlighted in the token panels, so you can easily check which claims will end up in which token.
To add a claim to the scope click on the + button on the filtered list. You can add a chosen claim by clicking on the + sign next to the claim name.
To remove a claim from a scope click on the three dots next to the chosen claim's name. In the menu select Remove from scope.
Finding Scope-Claim Relations
You can quickly find relations between scopes, claims and tokens starting either way:
- Select a scope, to view its claims. Claims of the selected scope will become highlighted in token panels.
- Select a claim on the list of claims to view scopes to which the claim is related. The selected claim will also be highlighted in token panels.
- Select a claim in one of the token panels and the associated scopes in the first column will get selected. The same claim will also get highlighted in other token panels.
The Default Scope
The default scope is a special scope which all tokens have assigned automatically and is available to all clients. It doesn't have to be requested explicitly by clients. Any token issued by the Token Service will have claims associated with the default scope (if the claim is included in the given token).
Managing Scopes
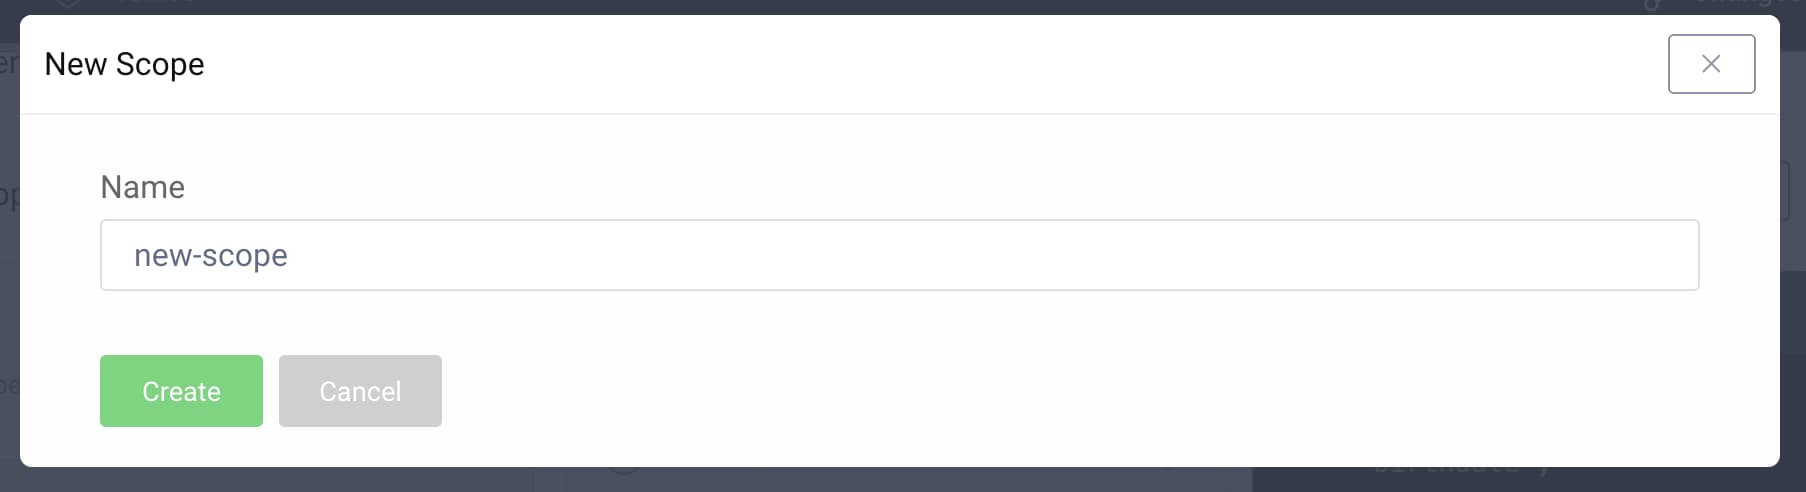
To add a scope, click on the + button at the top of the scopes list, then enter a name for the scope.
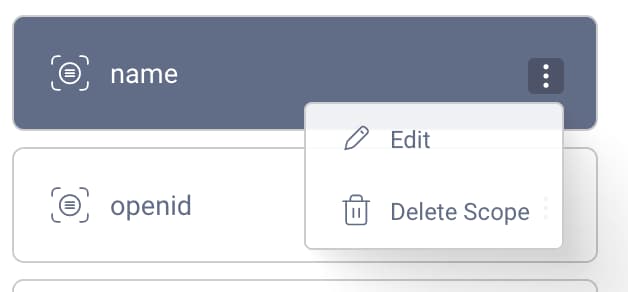
To edit or delete a scope click on the three dots next to the scope's name and choose the appropriate option from the dropdown menu.
Managing Claims
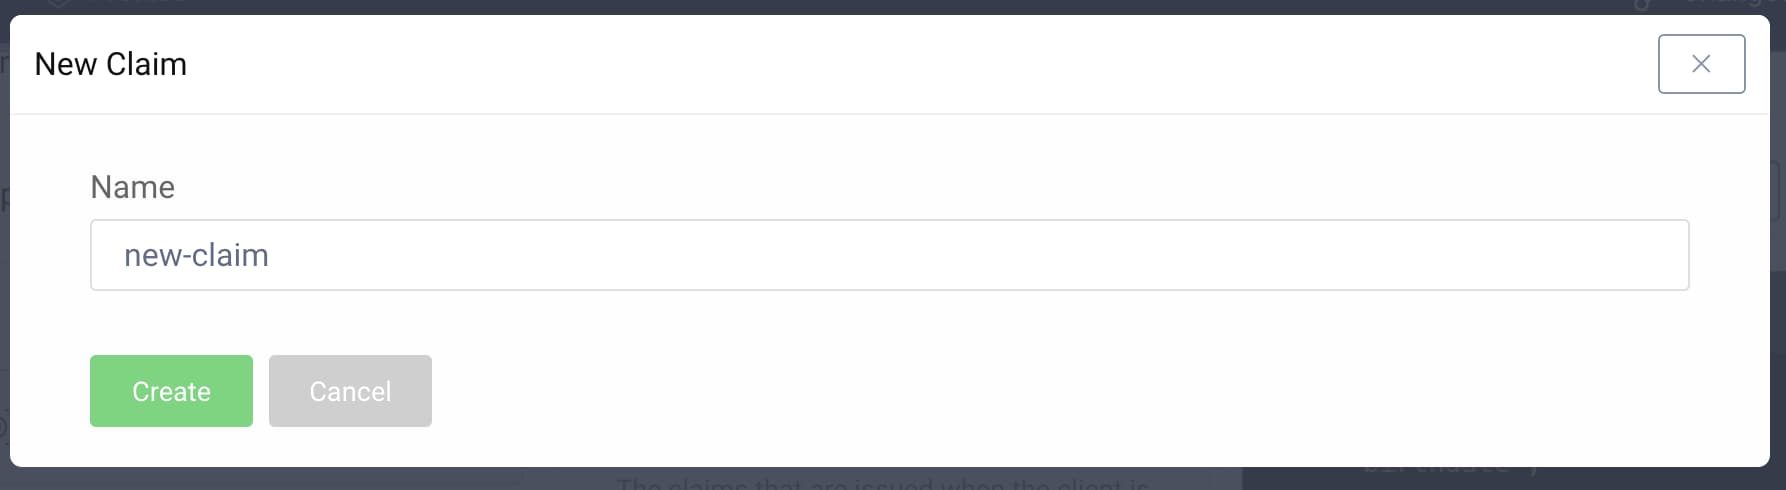
To add a claim, click on the + button at the top of the claims list, then enter a name for the claim.
Next, you have to configure a value provider for the claim, so that the Curity Identity Server knows how to fill that claim's value. See the Working with Claims tutorial to learn how to configure a value for a claim.
The newly created claim is not assigned to any scope, nor token. You will see a red mark next to the claim's name indicating that the claim is not assigned anywhere.
To edit or delete a claim click on the three dots next to the claim's name and choose the appropriate option from the dropdown menu.
Conclusion
The Token Designer gives you a simple and intuitive UI for managing scopes, claims, their relations, and their mappings to tokens. This feature allows you to quickly change claims which end up in a token. However, remember that claims in the token should be viewed as an API contract between the Authorization Server and the consumer of the token (e.g. an API service or a Policy Agent). Changing claims in a token should be viewed as a potentially breaking change for the consumer and should be made with caution in a live system.
Customer Stories
Learn how organizations run identity and API security at scale.
Read customer storiesWas this helpful?