Configure an Authenticator
On this page
The most common login method is username and password. The Curity Identity Server provides an authenticator called html-form that is suitable for setting up a login with username and password. It uses a Credential Manager to verify the credentials, which in turn uses a data source. It can also be configured with an Account Manager to allow for user self-signup.
This tutorial makes use of the Credential Manager and Account Manager that were created as part of the First Configuration Tutorial.
Setup
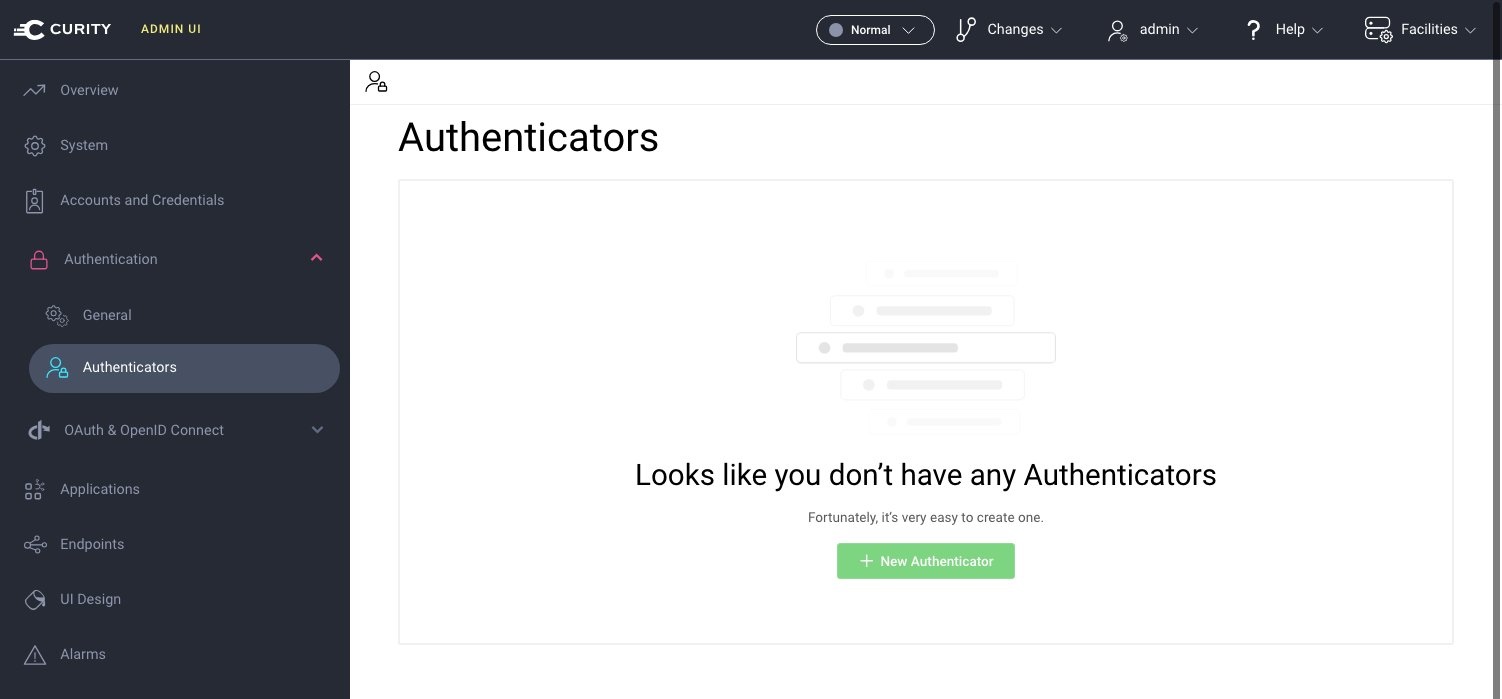
Select Authentication -> Authenticators from the sidebar menu to go to the Authenticators page.

Add a new Authenticator
Click New Authenticator on the authenticator page, and type the name username-password. Select the HTML-Form Authenticator type in the grid of authenticators and click next.

Configure Credential Manager and Account Manager
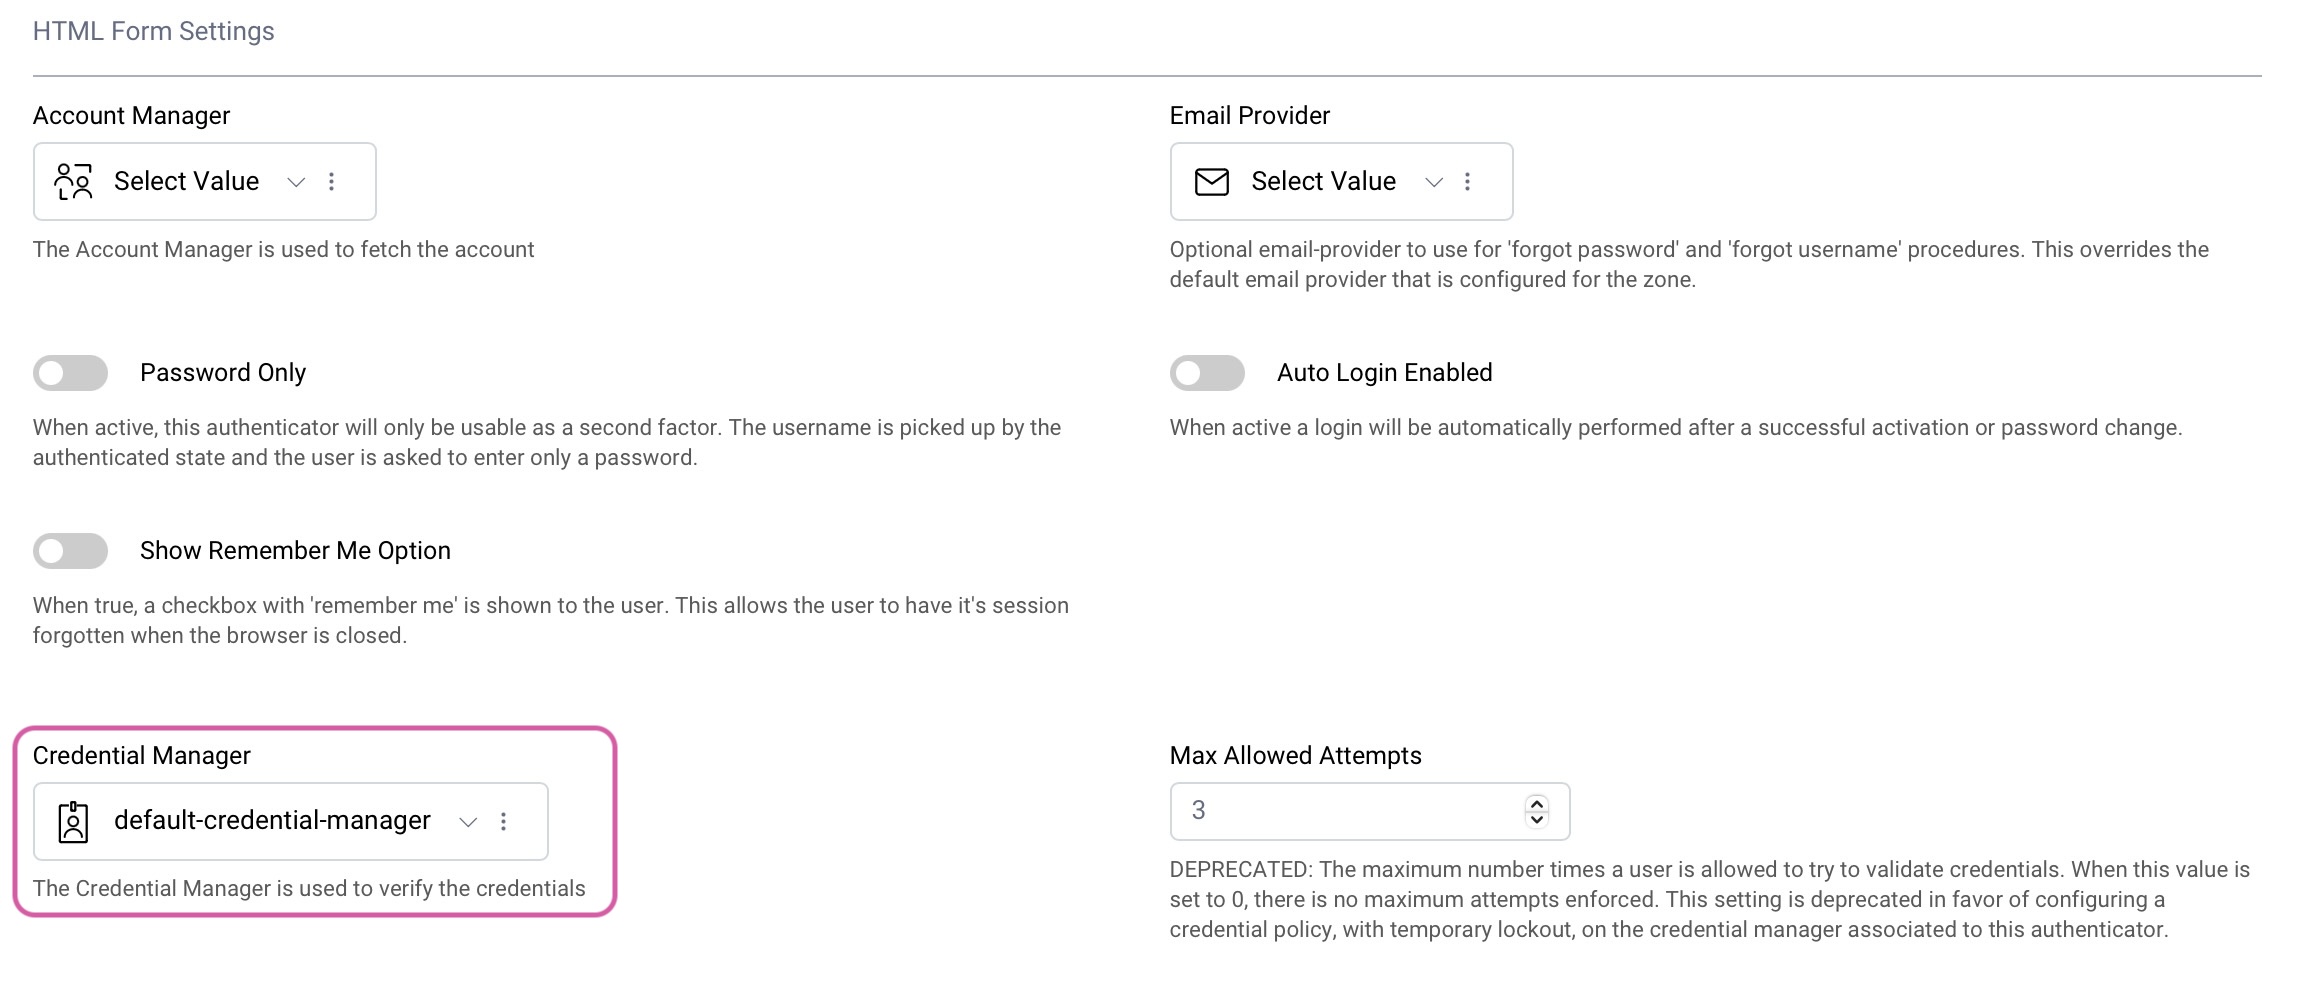
The HTML Form authenticator needs a Credential Manager in order to verify credentials and optionally an Account Manager for user registration. Select the default-account-manager as account manager and default-credential-manager as credential manager.

Commit the Changes
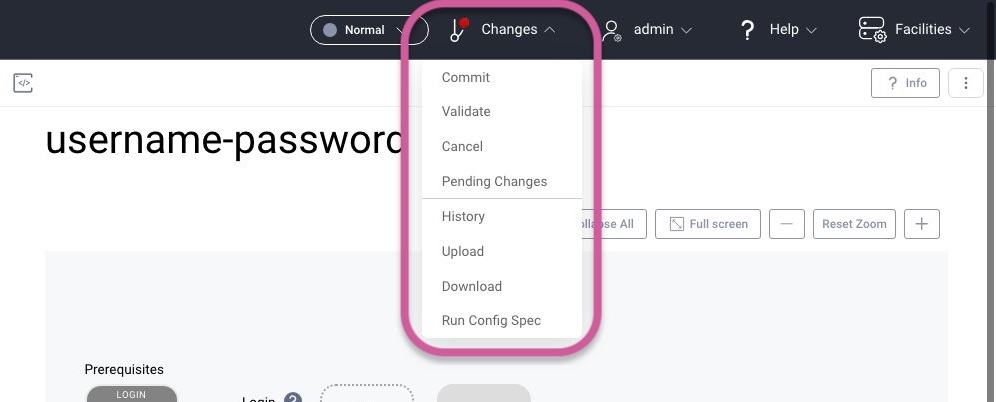
Commit the changes via the Changes menu.

Commit Message
Optionally add a commit message.

Next Steps
Now your first authenticator is configured. The next step is to configure an OAuth client.

Join our Newsletter
Get the latest on identity management, API Security and authentication straight to your inbox.

Start Free Trial
Try the Curity Identity Server for Free. Get up and running in 10 minutes.
Start Free Trial


