
Passkeys Authenticator
On this page
Passkeys provide strong multi-factor user authentication and protect against both phishing attacks and server breaches. They are therefore much more secure than passwords. This tutorial explains how to quickly get passkeys authentication working for OAuth clients, in both browser flows and native flows.
Prerequisites
Before using passkeys for user authentication in your apps, first understand the main behaviors, which are described in the What are Passkeys? article as well as how passkeys work. Ensure that you test passkeys on all of the platforms where your apps will run, to understand any limitations. Passkey device support is still evolving, so some behaviors may only work on a subset of operating systems and browsers.
Configure Passkeys Authentication
Starting from version 8.6 of the Curity Identity Server, use the dedicated Passkeys Authenticator to enable passkeys authentication in the simplest way. Alternatively, e.g. in versions prior to 8.6, configure passkeys authentication with the WebAuthn Authenticator, and select the option passkeys-or-user-verifying-devices. Both authenticators use the same data store for passkeys, so you can change from one to the other if required.
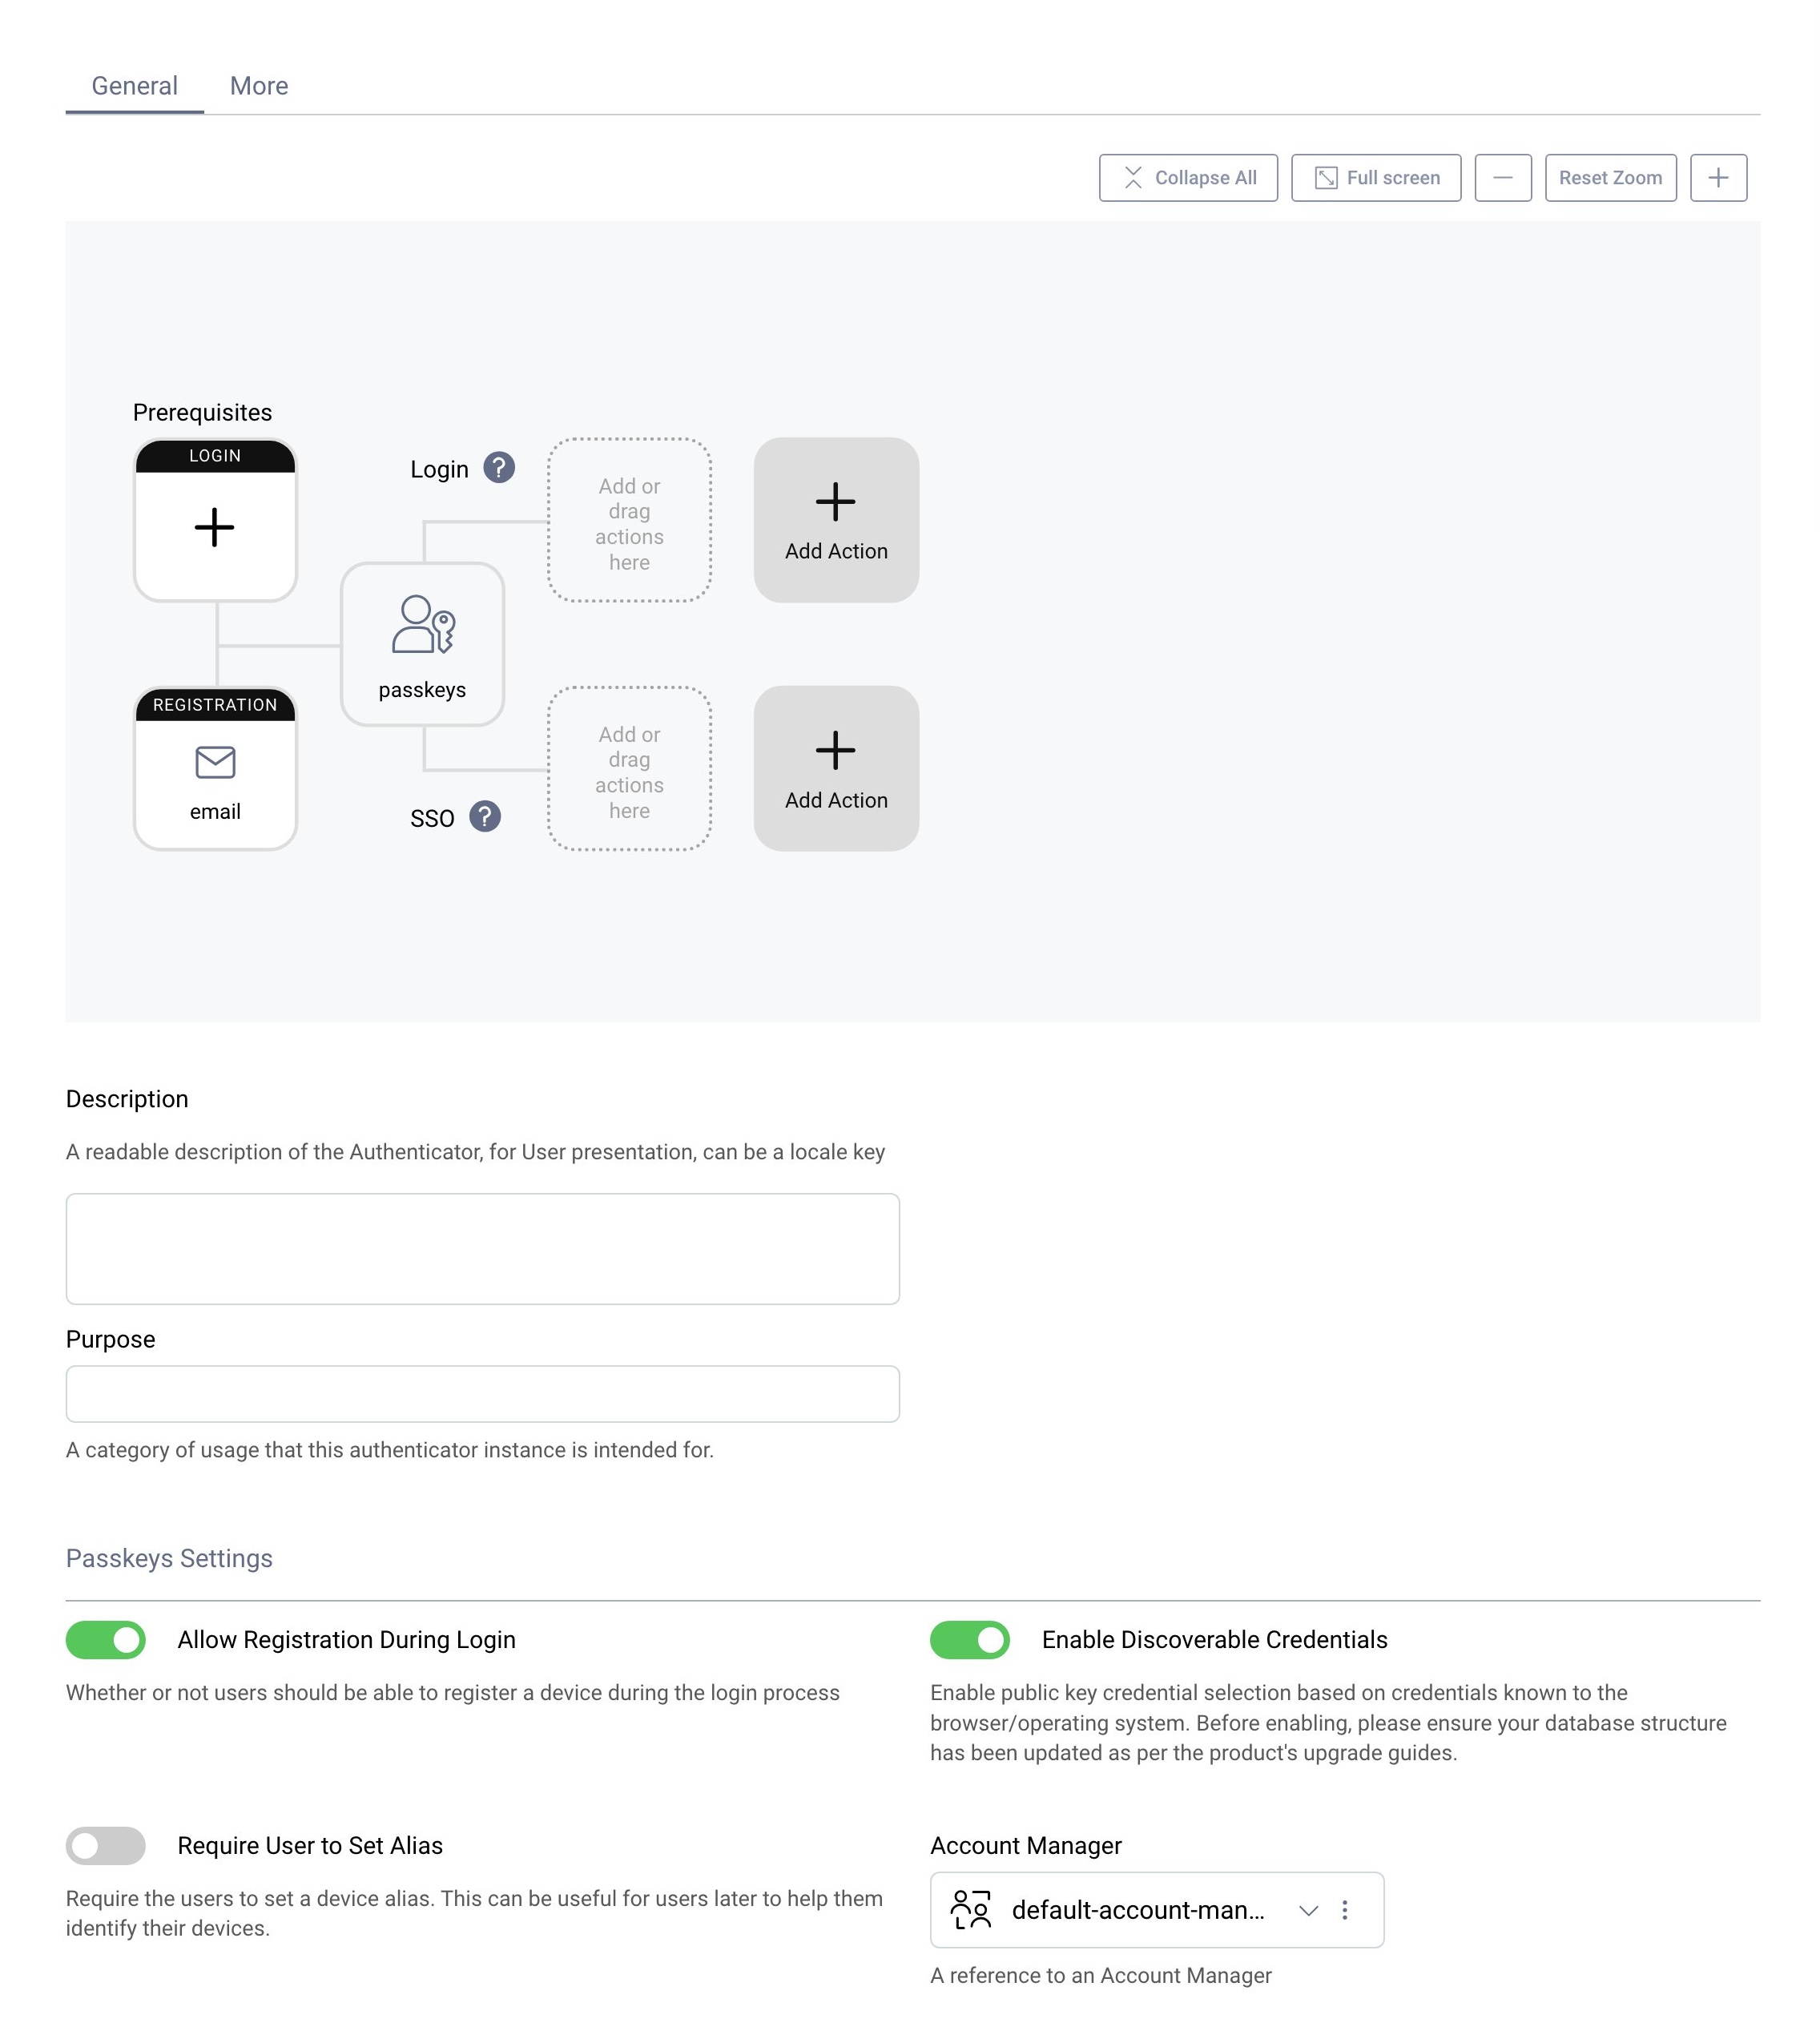
Users who need to register a passkey must first authenticate using an existing authentication method. This is managed by configuring a registration authenticator. In this screenshot, email verification is used.
Run an OAuth Code Flow
To use passkeys authentication in an application, simply run a code flow for a client configured to use the passkeys authenticator. The two main options are to use a browser based flow or a native flow. A brief overview is provided in the following sections. For browser based flows, you can use OAuth Tools as a test client.
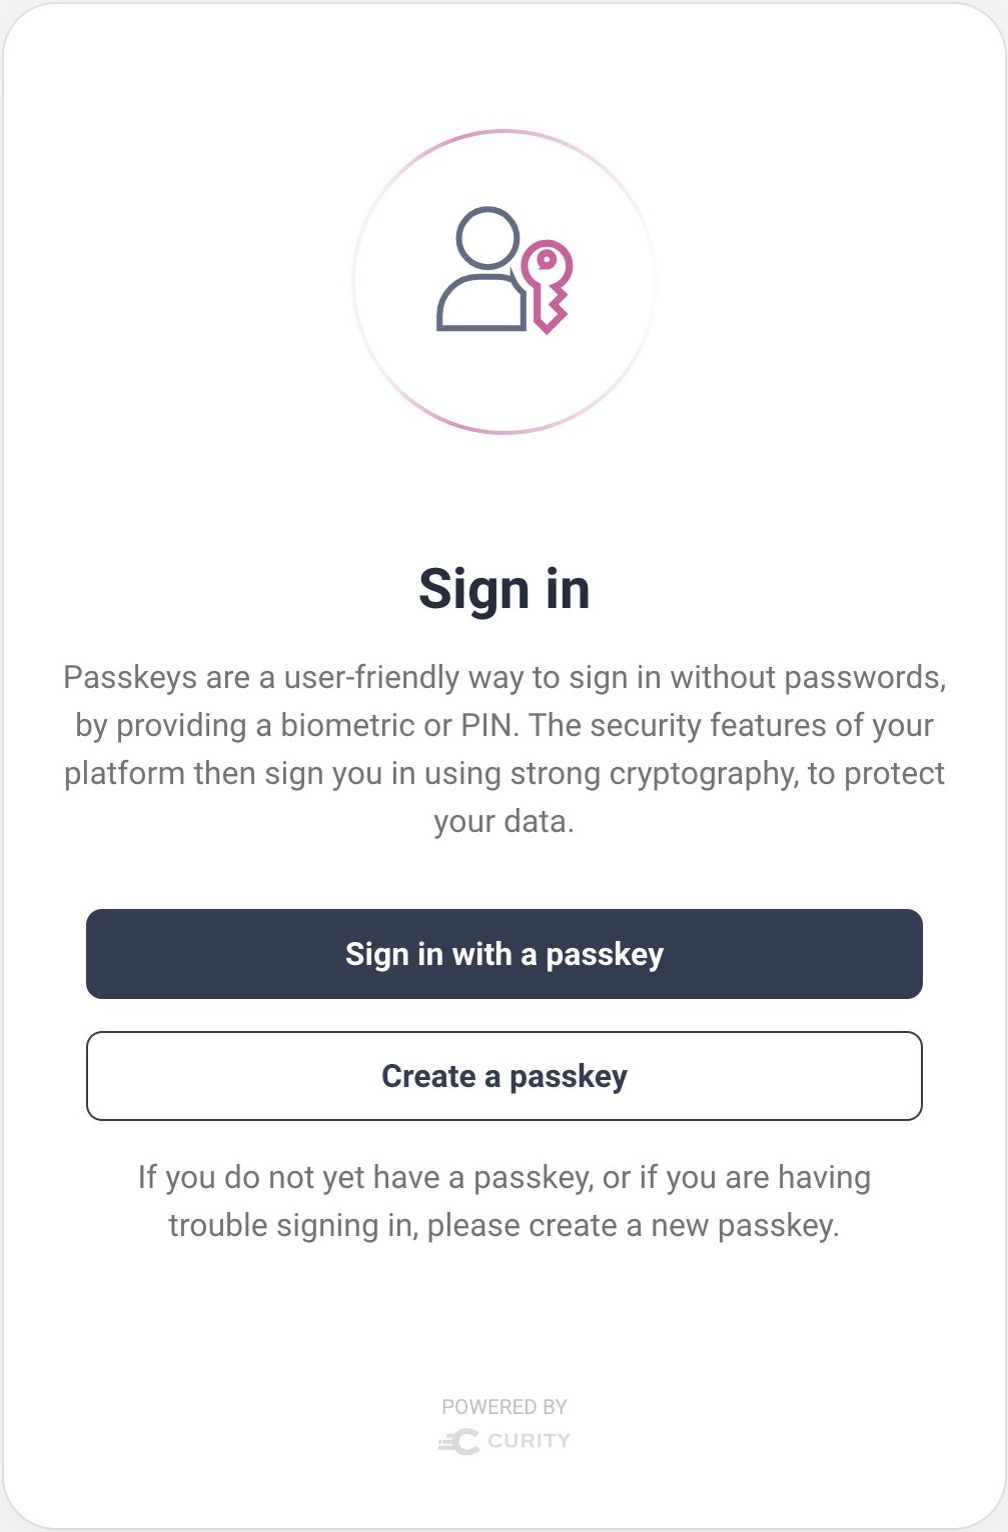
Use Passkeys in Browser Flows
Users who do not yet have a passkey must follow prompts to create one. As an example, the following screenshot shows the dialog presented by the Safari browser. On that platform, the passkey is then synchronized to other devices using the iCloud keychain:
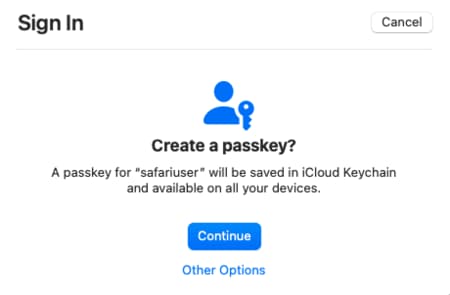
Passkeys provided by the browser are usually the default option, yet other ways to use passkeys are also possible. In this example, Other Options could be selected. One of these is to use a passkey from a mobile device, by scanning a QR code using the mobile device's camera. Another is to insert a hardware security key in the USB port, then enter its configured PIN:

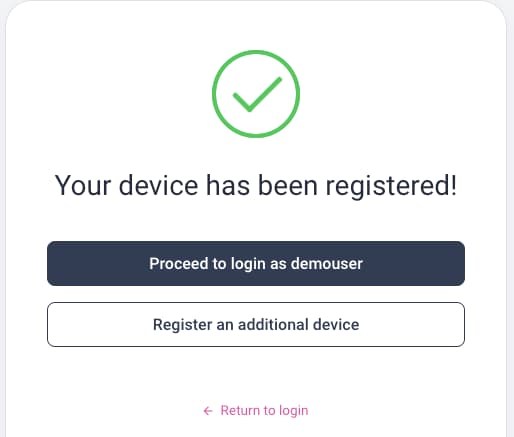
After creating a passkey you are prompted for a second authentication factor, such as a biometric or the device's PIN or password. The Curity Identity Server then saves the passkey's public key against the user account, in the devices table of the database schema. The following screen is then presented. On all subsequent logins, simply use the passkey when prompted, and again provide the second factor.
Use Passkeys in Native Flows
Mobile apps can also use Android native or iOS native APIs, to use passkey user authentication with a fully native and browserless user experience. The user prompts displayed and ways in which passkeys can be used are similar to those for browser based flows.
Yet use of these APIs requires some extra configuration, to bind the app to the Curity Identity Server, which then does the cryptographic validation. See the Mobile Logins using Native Passkeys tutorial for details on the technical setup. The following short video demonstrates the native user experience when using passkeys on iOS:
Review the User Experience
When you configure the passkeys authenticator, test with the Enable Discoverable Credentials flag both enabled and disabled and choose the option with your preferred user experience. Activating discoverable credentials has the following characteristics:
- Users do not need to provide a username to identify themselves on every login.
- The Curity Identity Server cannot identify whether the user has an existing passkey before a login begins.
- The user may trigger authentication system dialogs before registration system dialogs and fail to sign in.
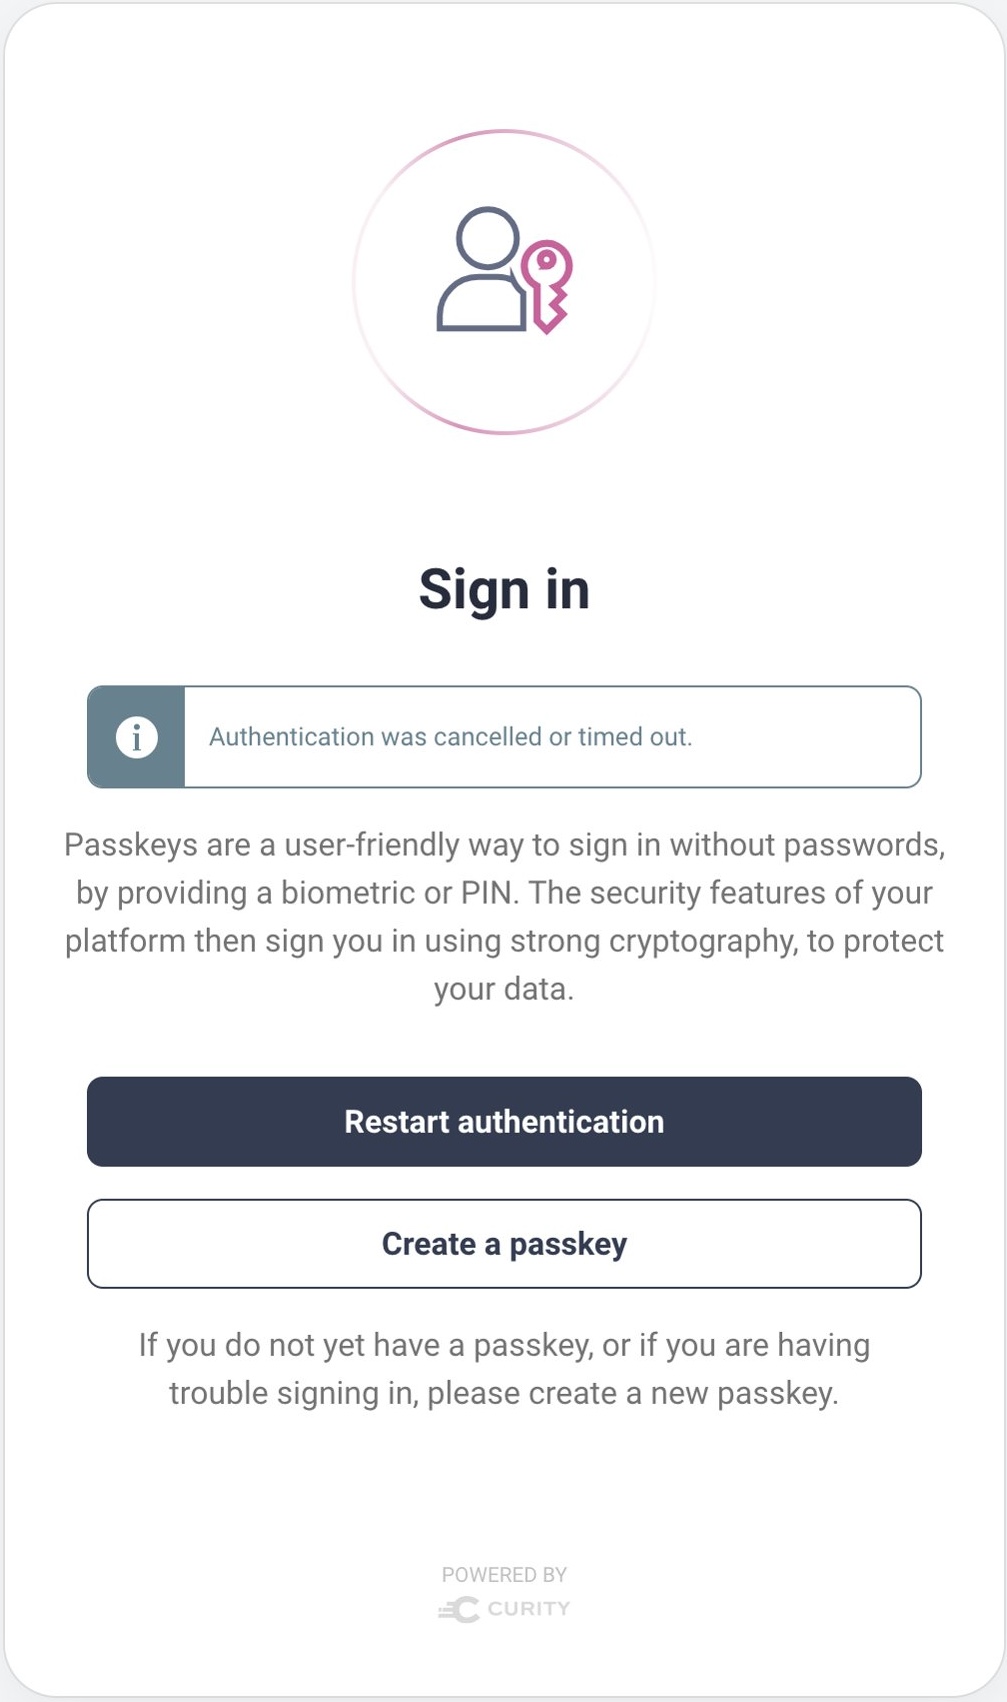
The Curity Identity Server follows FIDO Alliance UX Guidelines for Passkey Creation and Sign-ins to ensure that a user who selects the wrong option can easily recover.
Conclusion
Passkeys provide a highly secure, yet user-friendly experience. Passkeys enable users to manage their identity in the same way across many applications. To integrate passkey authentication into an app that uses the Curity Identity Server, simply activate the passkeys authenticator. Once user authentication is complete, the app will then be able to use access tokens to securely interact with APIs. Doing so results in a modern end-to-end security architecture.

Join our Newsletter
Get the latest on identity management, API Security and authentication straight to your inbox.

Start Free Trial
Try the Curity Identity Server for Free. Get up and running in 10 minutes.
Start Free Trial


