
Integrate a SAML Website
On this page
Many existing websites use the Web Browser SSO Profile from the Security Assertion Markup Language (SAML) 2.0 security standard, to manage user authentication and the initiation of a secured web session. Each website then acts as a SAML Service Provider and runs a flow to authenticate users at a SAML Identity Provider (IdP).
You can use the Curity Identity Server as a SAML Identity Provider, though it does not yet support all features from the SAML 2.0 Web Browser SSO Profile. Read more about supported features in the SAML IdP Profile section of the product documentation. This tutorial explains how to integrate a SAML-secured website with the Curity Identity Server.
Typically, you will integrate SAML websites with the Curity Identity Server as part of a phased security modernization. To learn more about ways to safely modernize, see the Migrating from ADFS tutorial.
Create a SAML IdP Profile
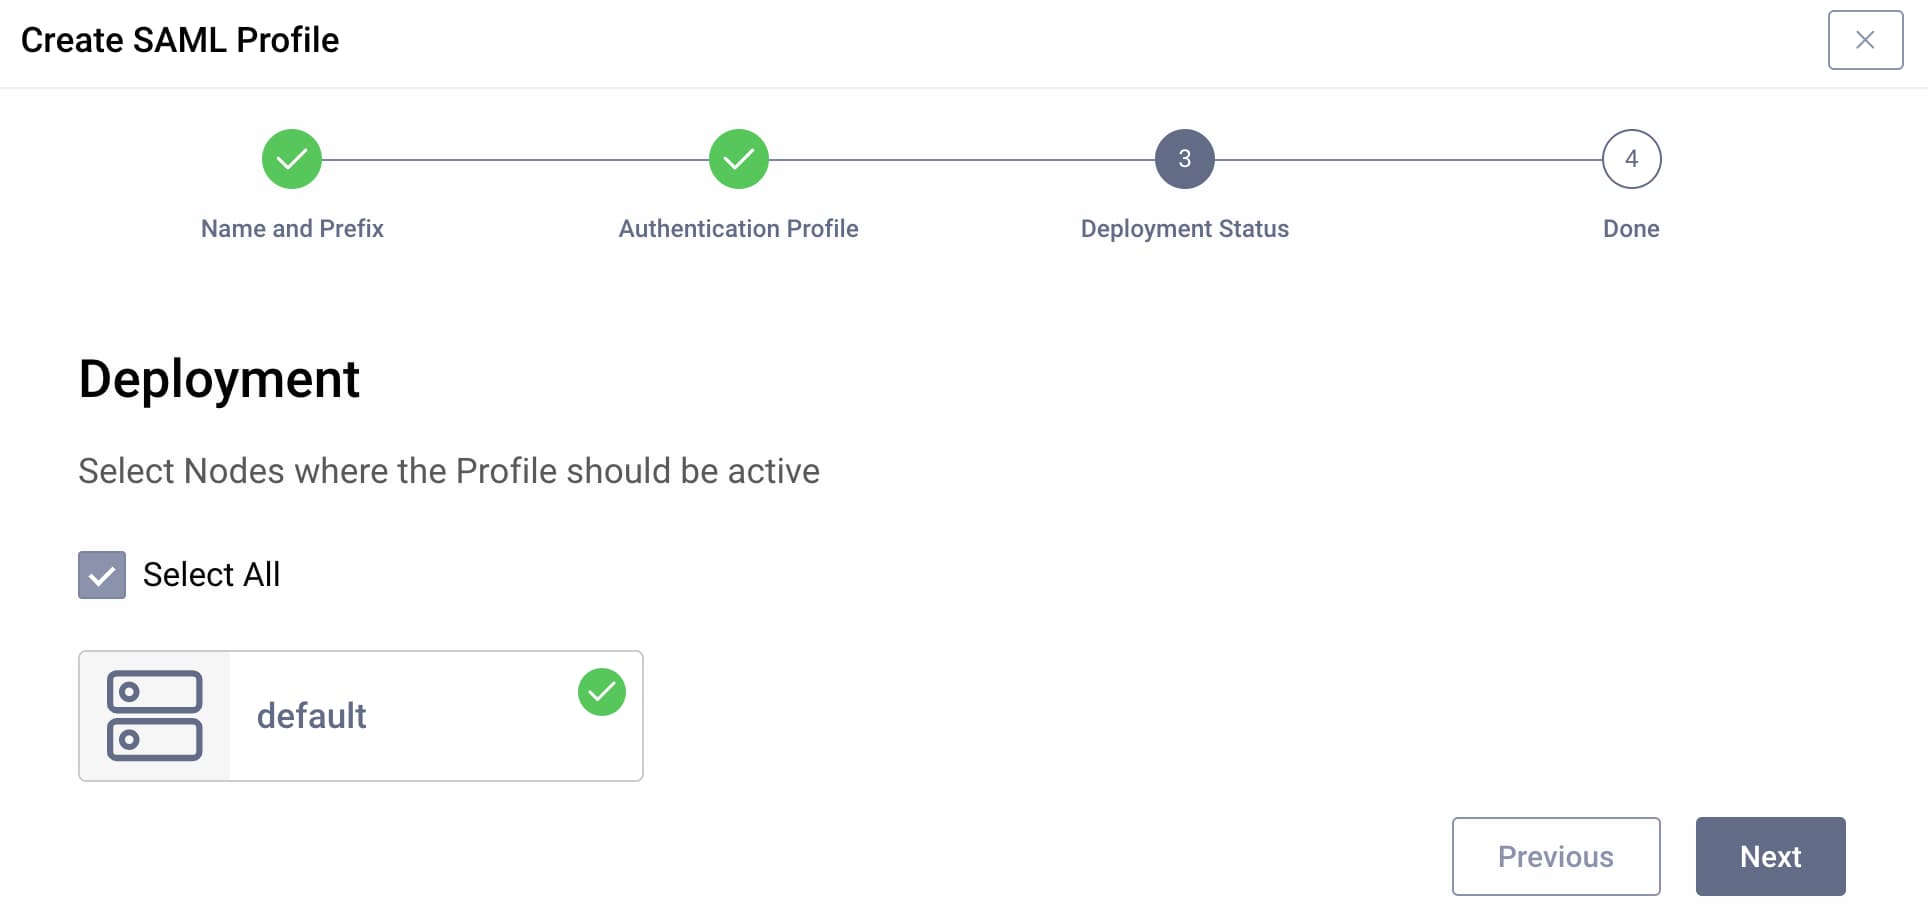
To enable SAML endpoints, first ensure that you have a suitable license and then use the Admin UI's + New Profile option to create a SAML IdP Profile. Follow the profile creation wizard, provide a URL prefix such as /saml, select the Authentication Service and deploy SAML endpoints to a service role.
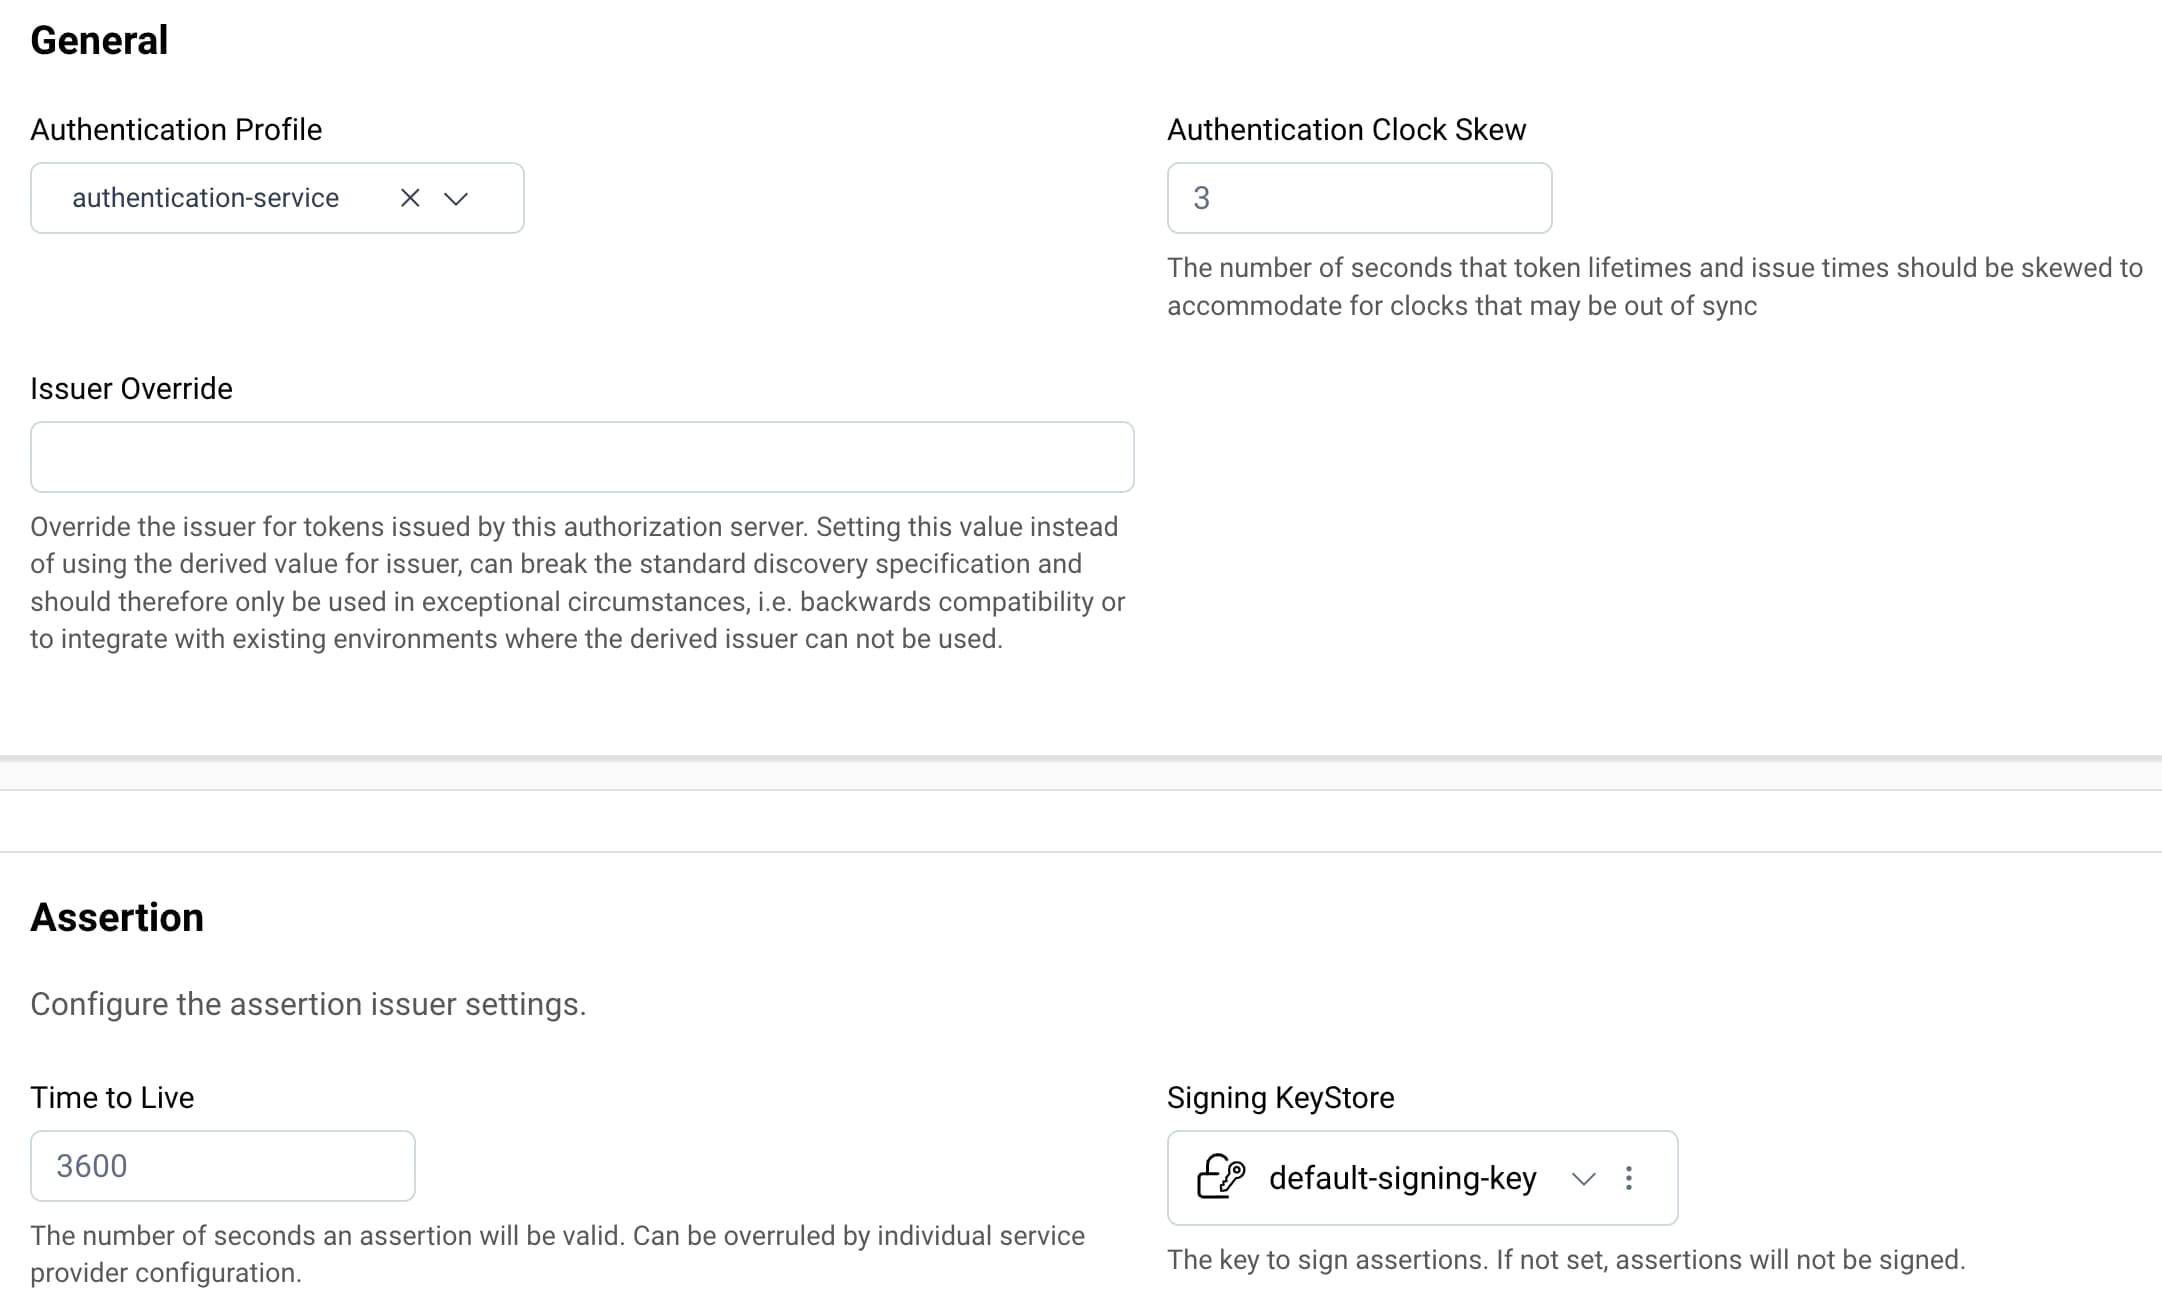
Next, configure basic settings and specify the key with which the Curity Identity Server signs assertions. You can use the same key that signs OAuth tokens.
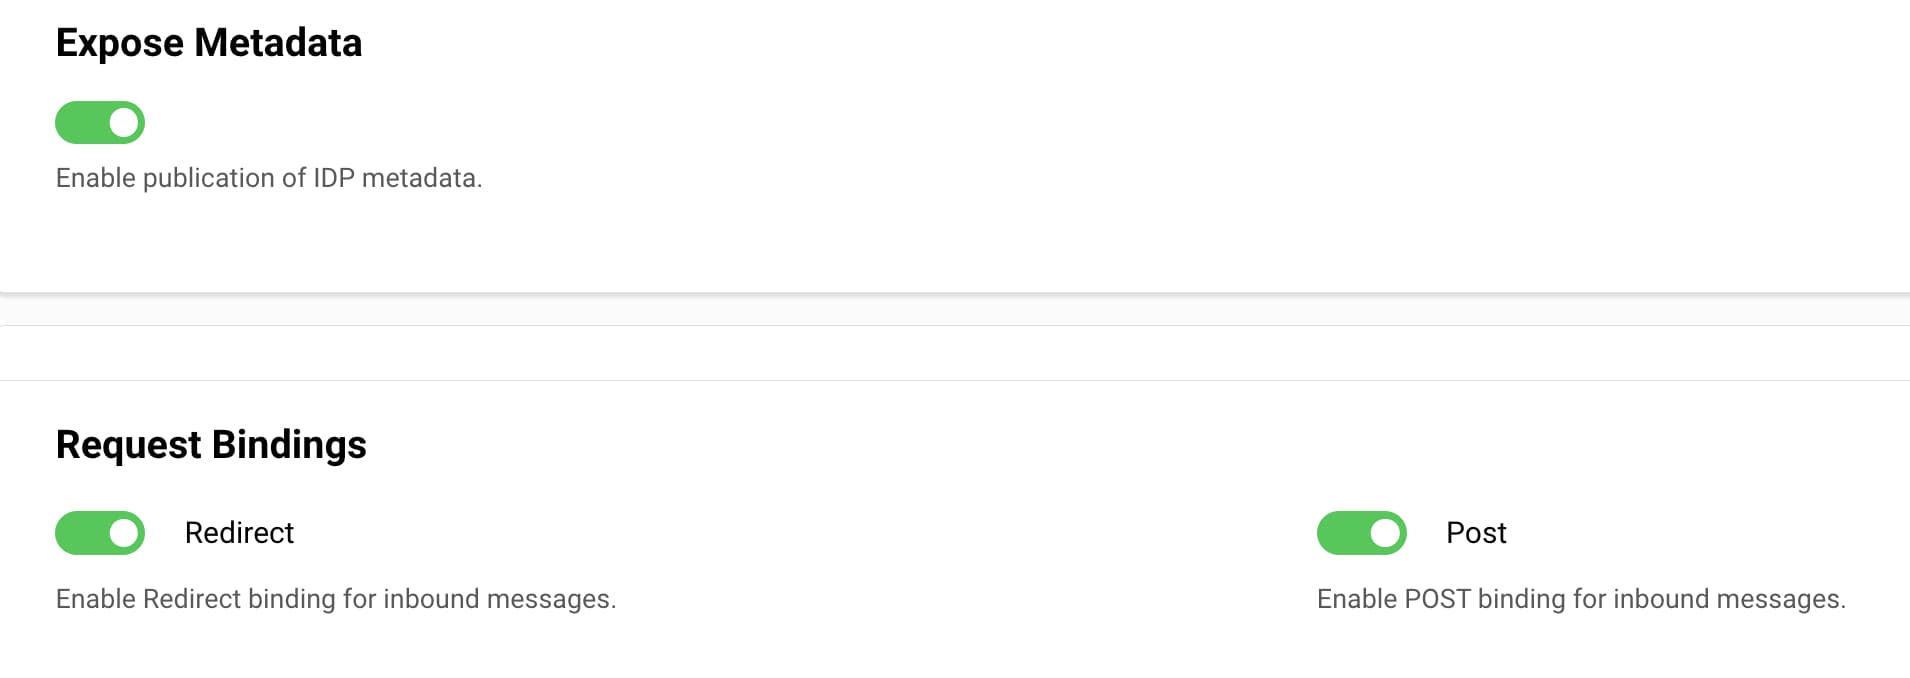
Finally, enable the allowed SAML bindings for inbound SAML authentication requests from applications. Optionally, expose a metadata endpoint that SAML websites can connect to.
Typical endpoint locations are shown in the following table, where /saml is the URL prefix for the SAML profile. The metadata URL is also the default Entity ID for the Curity SAML Identity Provider unless you set an issuer override.
| Endpoint Type | Example URL |
|---|---|
| SAML SSO | https://login.example.com/saml/sso |
| SAML Metadata | https://login.example.com/saml/sso/metadata |
SAML websites can call the metadata endpoint to get information about the configuration of the SAML Identity Provider, like the enabled bindings. The following XML shows an example response. Websites should use the metadata endpoint to download the X509 certificate with which to cryptographically verify SAML assertions.
<EntityDescriptorxmlns="urn:oasis:names:tc:SAML:2.0:metadata" entityID="https://login.example.com/saml/sso/metadata"><IDPSSODescriptor protocolSupportEnumeration="urn:oasis:names:tc:SAML:2.0:protocol"><KeyDescriptor use="signing"><X509Data><X509Certificate>MIIDUzCCAjugAwIBAgIJAPbBvB8X ... 9gP+d6Iushmx58</X509Certificate></X509Data></KeyDescriptor><NameIDFormat>urn:oasis:names:tc:SAML:1.1:nameid-format:unspecified</NameIDFormat><SingleSignOnService Binding="urn:oasis:names:tc:SAML:2.0:bindings:HTTP-Redirect" Location="https://login.example.com/saml/sso"/><SingleSignOnService Binding="urn:oasis:names:tc:SAML:2.0:bindings:HTTP-POST" Location="https://login.example.com/saml/sso"/></IDPSSODescriptor></EntityDescriptor>
Integrate Data Sources
You typically need a data source that stores user accounts. The SAML website may need to use usernames and passwords to authenticate users. You can use the default database of the Curity Identity Server and choose your preferred SQL or NoSQL data source for user accounts.
Data sources include an Attribute Query to provide source attributes for SAML assertions. Use the Facilities menu of the Admin UI to inspect the query and ensure that it returns the required source attributes. Start with a simple query of the following form.
SELECT * from accounts WHERE username = :subject
In some deployments you may need to use an existing data source that contains user accounts and passwords. The Curity Identity Server can integrate with existing data sources to authenticate users and read attributes from their accounts.
For example, you can use the HTML Form Authenticator to authenticate users with Active Directory credentials. To do so, use the Facilities menu of the Admin UI to integrate an LDAP data source and a Credential Manager that uses it. The product documentation explains the detailed steps to Configure an LDAP backend for the HTML Forms Authenticator.
The LDAP data source provides the main configuration. Select source attributes using standard LDAP names. If you choose the View XML option in the Admin UI, the XML should look similar to the following.
<data-source><id>ActiveDirectoryUserstore</id><ldap xmlns="https://curity.se/ns/conf/data-access/ldap"><hostname>myadserver</hostname><port>636</port><ldaps>true</ldaps><tls><disable-hostname-verification>false</disable-hostname-verification><use-truststore>true</use-truststore></tls><client-id>cn=Directory Manager,ou=admins,dc=curity,dc=se</client-id><client-secret>password</client-secret><ldap-server-type>active-directory</ldap-server-type><default-root>ou=Users,dc=curity,dc=se</default-root><account><search-filter-account-id>sAMAccountName={}</search-filter-account-id></account><attributes><ldap-attribute-to-fetch>email</ldap-attribute-to-fetch><ldap-attribute-to-fetch>givenName</ldap-attribute-to-fetch><ldap-attribute-to-fetch>sn</ldap-attribute-to-fetch></attributes></ldap></data-source>
Issue User Attributes to SAML Assertions
Next, you need to issue user attributes to the SAML assertion with the website's preferred attribute names. The Curity Identity Server can resolve user attributes in many ways. To configure the issuance or attributes, navigate to Profiles → SAML → Attributes → Attribute Value Providers and create one or more of the following Attribute Value Providers:
| Type | Description |
|---|---|
| Data Source Attributes Provider | Read attributes from a data source, like a SQL or LDAP store. |
| Authentication Subject Attributes Provider | Read attributes that authenticators provide. |
| Authentication Context Attributes Provider | Read attributes that authentication actions provide. |
| Script Attributes Provider | Get attributes using scripted logic, such as from REST APIs. |
| Attributes Provider Plugin | Implement a custom SAML Attribute Provider plugin. |
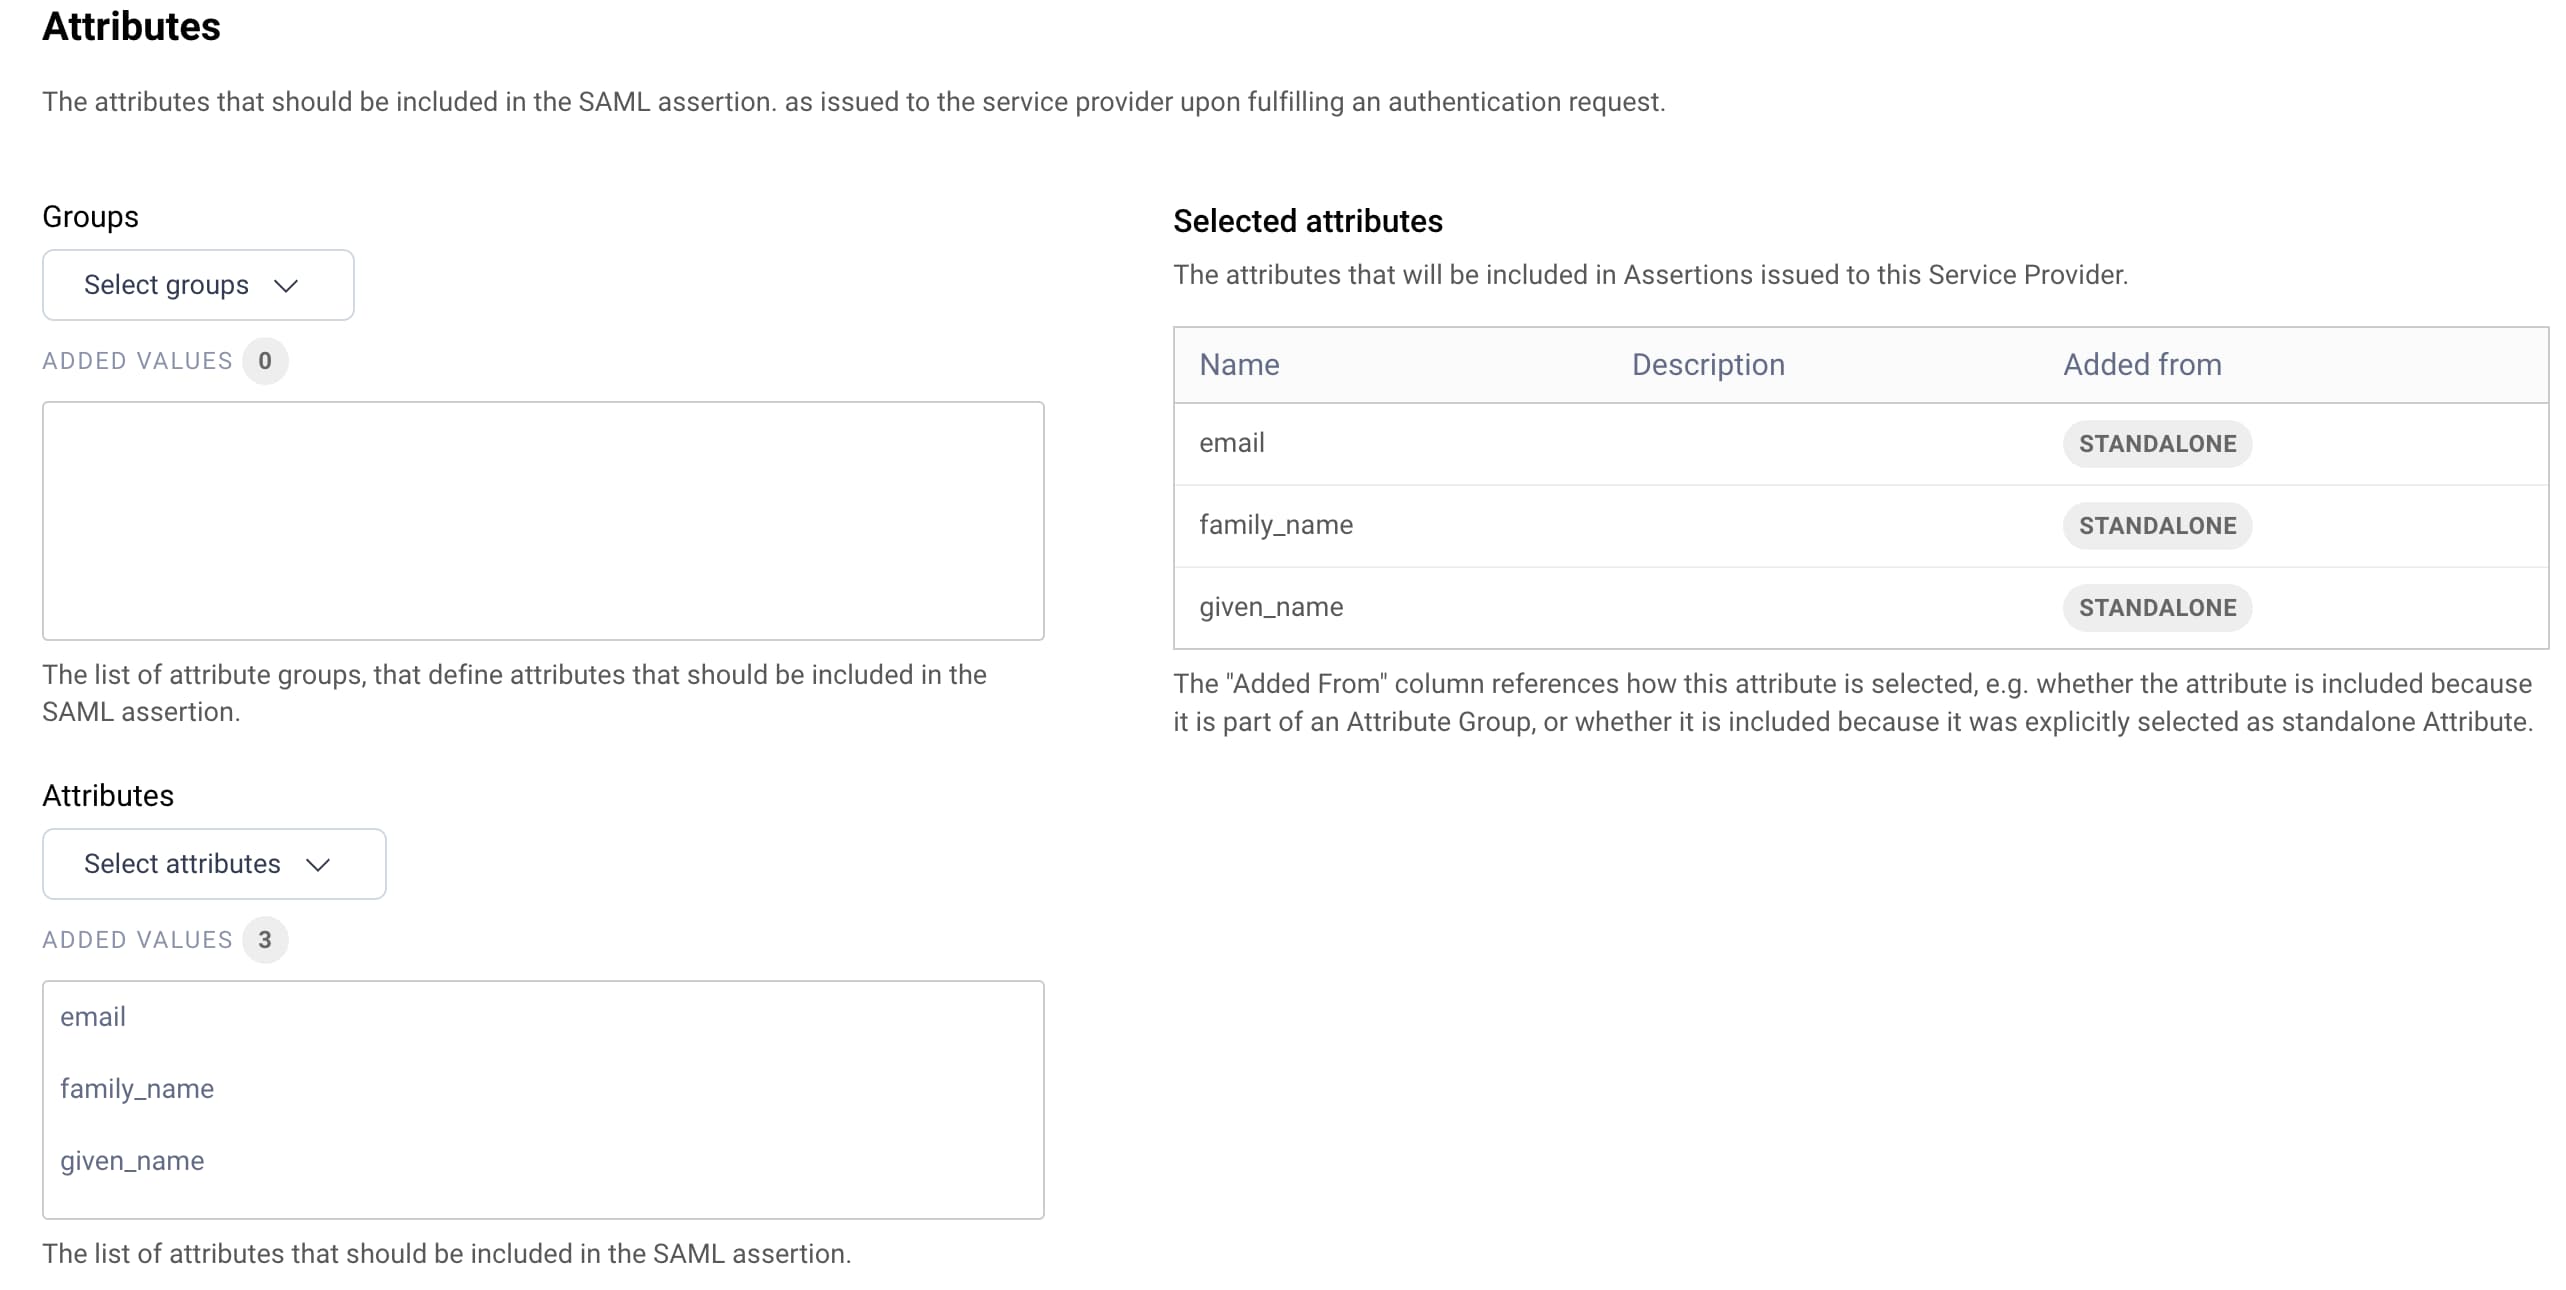
Most commonly, create a Data Source Attributes Provider to reference source user attributes from the data source. Then use the Admin UI to define SAML attributes that use the Data Source Attributes Provider. Assign each attribute the name that will get issued to the SAML assertion and select the source attribute name under Selected Attributes. The following example transforms an LDAP sn attribute to a family_name attribute for the SAML assertion.

When you use a SQL or NoSQL data source, the Curity Identity Server can store arbitrary custom user attributes against user accounts. To enable that, the data schema uses a JSON attributes field. One way to retrieve those attributes is to use the database provider's support for querying JSON data. In PostgreSQL, for example, you could use the following syntax to retrieve the value for the given_name attribute as a top-level field.
SELECT *, attributes->'name'->'given_name' from accounts WHERE username = :subject
The Authentication Subject Attributes Provider, Authentication Context Attributes Provider and Script Attributes Provider provide additional ways to issue attributes to SAML assertions. To understand how to set subject or context attributes during user authentication, see the Authentication Actions tutorials. Define SAML attributes in the Admin UI to receive those values during SAML assertion issuance.
Finally, you can use the Admin UI to create Attribute Groups, to make it easier to reference the same sets of attributes for multiple websites. For further options on resolving attributes, see the Attributes and Attribute Groups documentation in the SAML IdP Profile section of the product documentation.
Register a SAML Service Provider
In the Admin UI, create a SAML Service Provider and assign it a name. The name becomes the Entity ID of the SAML Service Provider. Provide the following settings to enable the website to run a SAML flow against the Curity Identity Server:
- The SAML Request Binding with which the Curity Identity Server should receive authentication requests.
- The Assertion Consumer Service URL to which the Curity Identity Server returns SAML responses.
- The Attributes or Attribute Groups to include in SAML assertions.
The following screenshot shows some example settings:

You can optionally configure various other properties. For SAML websites that sign authentication requests, configure the signing verification key under the Security tab. Use the Attributes tab to reference the attributes the website receives in SAML assertions.
Implement Authentication Workflows
SAML web clients can use any Authenticators or Authentication Actions to take control over authentication workflows in many possible ways. To get integrated, start with a simple option like the HTML Form Authenticator, where the user signs in with a username and password.
For some SAML migrations it can be important to integrate with existing authentication systems. When required, the Curity Identity Server's SDKs enable custom authenticators so that you are never blocked and can deliver your preferred login user experiences.
Integrate a SAML Website
Finally, your SAML website can integrate with the Curity Identity Server's endpoints, receive SAML assertions and cryptographically verify them. You can run the SAML 2.0 Example Website on a local computer to understand how to implement a complete application security lifecycle. SAML website migrations often only require deployment work, like changes to environment variables, and should require zero or minimal development work.
Conclusion
The Curity Identity Server can run as a SAML Identity Provider to implement the most essential parts of the SAML 2.0 Web Browser SSO Profile. You can integrate the Curity Identity Server with existing data sources and authentication systems, control user attributes returned to websites, and deploy anywhere. You can migrate a SAML website to the Curity Identity Server as part of a phased security modernization strategy.

Join our Newsletter
Get the latest on identity management, API Security and authentication straight to your inbox.

Start Free Trial
Try the Curity Identity Server for Free. Get up and running in 10 minutes.
Start Free TrialWas this helpful?