
On this page
The getting started with authentication plugins tutorial explains the core concepts that you must understand to develop a custom authentication plugin. You develop HTML and native login forms, which can use any custom logic or data to authenticate your users. Once you understand the getting started tutorial and its wizard-based authenticator you are well on your way to mastering the plugin system.
This tutorial explains a variety of additional techniques that you can use in authentication plugins. You can experiment with these techniques by adapting the code of the getting started plugin, whose GitHub link is provided at the top of this page. Use the plugin's automated deployment to see your changes take effect whenever you change plugin code.
Use Password-Related Logic
The getting started tutorial shows how to validate passwords in custom screens using the plugin SDK. To learn more about customizing password-related flows, you can use (or adapt) the Username Password Authenticator to replace the built-in HTML Form authenticator.
The code for the Username Password authenticator shows how to use a number of password-related flows, including the following use cases:
- Implement account recovery using the SDK's EmailSender to send the user a reset email.
- Implement a registration form to manage self signup and, optionally, account activation.
The Username Password Authenticator GitHub Repository includes documentation to explain each flow. It also provides an automated deployment to enable end-to-end testing on a development computer. This includes use of a mock email server, so that you can process emails for any test user account.
Use Composition
Custom authenticators can run standalone or as part of a multi-factor authentication workflow. A more powerful way to implement the example from the getting started tutorial would be to use composition. For example, you might implement a complex flow using the following building blocks:
- First, use the built-in HTML Form authenticator to verify an account ID and password.
- Then, run the built-in Email or SMS authenticator to further verify that the correct user is present.
- Then, use a custom authenticator to verify custom information about the user.
- Finally, use the built-in Request Acknowledgement authentication action to present a success message.
In this example, the HTML Form authenticator is the main factor that would return an AuthenticationResult to the Curity Identity Server, containing the user's identity. The other authenticators are secondary factors that use the same identity.
Authentication Actions
Authentication actions can also present an HTML user interface and are sometimes simpler to develop than a full authentication plugin.
Use Dynamic Forms
An authenticator sometimes needs to use logic to decide whether to bypass a particular login form. For example, the built-in Email authenticator could be run standalone, or after a Username authenticator has already identified the user. When the Email authenticator is run standalone, it must prompt for a user:
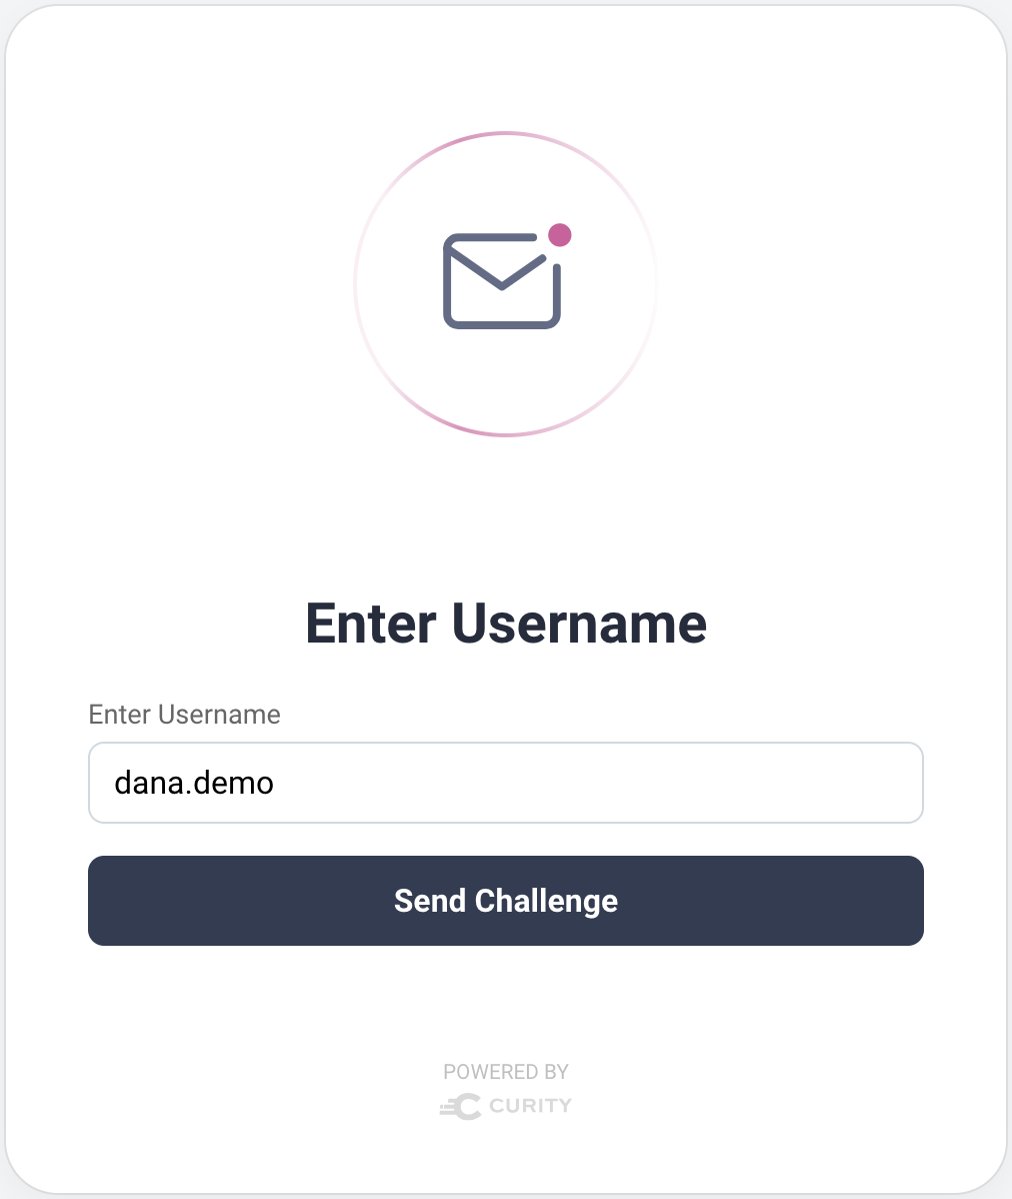
If you need to use this technique in a custom plugin, you can inject an AuthenticationState parameter to see if the user is already authenticated. Then, redirect in the get method of your UsernameRequestHandler if there is no need to capture a username. More generally, you can use this mechanism to render forms dynamically based on any data, such as that stored in your plugin's SessionManager.
class UsernameRequestHandler(private val _config: ExamplePluginConfig,private val authenticatedState: AuthenticatedState) : AuthenticatorRequestHandler<UsernameRequestModel>{override fun get(requestModel: SuccessRequestModel, response: Response): Optional<AuthenticationResult>{if (authenticatedState.isAuthenticated){throw _config.exceptionFactory.redirectException("${_config.authenticatorInformationProvider.fullyQualifiedAuthenticationUri}/next",RedirectStatusCode.MOVED_TEMPORARILY}return Optional.empty()}}
Use Secured HTTP Routes
When developing plugins, you should understand how your login forms are secured, so that an unauthorized party cannot access them. During a browser-based flow, authentication screens are secured using the following workflow:
- The client initiates a code flow.
- The authorization server validates input parameters such as
client_idandredirect_uri. - The authorization server issues a temporary cookie to secure access to the HTTP endpoints of login forms.
- The browser sends the cookie on every authentication request to the authorization server.
Native forms instead use token-based security:
- The client sends a cryptographic signature to the authorization server to attest its identity before authentication begins.
- The authorization server issues an authentication access token (AAT) to secure the HTTP endpoints of login forms.
- The client runs a code flow by sending authentication API requests with the AAT.
- The client sends the AAT on every authentication request to the authorization server.
Use Anonymous HTTP Routes
Yet some authentication screens are invoked externally, such as a reset password option sent by email. These endpoints are declared as anonymous routes in the plugin descriptor. The username password authenticator provides some anonymous routes that you can study:
override fun getAnonymousRequestHandlerTypes(): Map<String, Class<out AnonymousRequestHandler<*>>> =mapOf("set-password" to UsernamePasswordSetPasswordRequestHandler::class.java,"activate-account" to UsernamePasswordActivateAccountLandingRequestHandler::class.java,)
This type of route works differently and is secured by a time-based input value. For example, a forgot password handler can use the SDK's NonceTokenIssuer to issue a nonce, which is a short-lived number that can only be used once. The nonce can be included as a URL query parameter in an email link sent to the user's inbox.
When a set password handler runs, it can introspect the nonce to ensure that it is still valid. This logic can run in a GET handler and use a GET request model. If the nonce is invalid due to expiry, the handler can present recovery options to allow the user to retry, then process user actions in its POST handler.
Use Autofill
To manage autofill in HTML forms you can use the browser's built-in autocomplete behavior to remember values, or set it to off when you want to force the user to supply a value every time a login form runs. You can also use the SDK's UserPreferenceManager to save values like a username to a cookie.
When using the Hypermedia Authentication API, the flow is cookieless. Therefore you need to store autofilled values for native forms using client-side code, such as to Android shared preferences or to iOS UserDefaults.
Use Extended Form Logic
The getting started tutorial used only simple input controls and labels, but you can use other elements, like checkboxes or dropdowns in the standard way. You can also populate dropdowns from server data. The following example demonstrates how you can combine server-side variables with client-side controls. For example, you might add a list to your plugin configuration:
interface ExampleAuthenticatorPluginConfig : Configuration{List<String> getApprovedRegions();}
Next, make the data available to the view context:
override fun preProcess(request: Request, response: Response): UserCredentialsRequestModel{val data = HashMap<String, Any>(2)response.setResponseModel(templateResponseModel(data,"authenticate/usercredentials"), ResponseModelScope.ANY)response.putViewData("REGIONS", _regions, Response.ResponseModelScope.ANY);return UserCredentialsRequestModel(request)}
Next, add a field to the request model to allow the user's selection to be posted to the server:
static class Post{@NotBlank(message = "validation.error.region.required")private final String _region;}
You can then update HTML to enable a user to select a region during login:
<label for="region">#message("authenticator.example.authenticate.view.region")</label><select id="region" name="region" class="block full-width mb1 field-light $!_errorClass">#set($regions = $_context.REGIONS)#foreach($region in $regions)<option value=$region>$region</option>#end</select>
For HAAPI you would update the representation so that the API response enables the frontend to render a selector control:
val regions = model.viewData["REGIONS"] as List<String>?fields.addSelectField("region",Message.ofKey("authenticator.example.authenticate.view.region")) { options: FormActionSelectFieldOptions ->regions?.forEach { region ->options.addFormActionSelectorOption(Message.ofLiteral(region), region)}}
Finally, once authentication completes, you can add the entered value to the context attributes. Doing so enables you to use the data later in authentication actions or when issuing claims from authentication to OAuth tokens.
val contextAttributes = mapOf("region" to model?.region)val authenticationAttributes = AuthenticationAttributes.of(subjectAttributes,ContextAttributes.of(contextAttributes))return Optional.of(AuthenticationResult(authenticationAttributes))
Use Client SDKs
You can include SDKs in plugins, to include custom logic. You might do so to render input controls in custom ways, such as using a date picker control. To use client SDKs in HTML forms, add the JavaScript files to the resources/webroot/assets folder of your plugin.
The iProov authentication action plugin uses a solution for face biometrics that requires a client-side SDK. You can study its code to see how the SDK is retrieved using npm install and then copied to the assets folder. HTML forms are then able to use the iProov client-side events:
<script type="module" $_nonceAttr src="/assets/iProovMe.js"></script>function run() {const iProovMe = document.querySelector("iproov-me");iProovMe.addEventListener("ready", iProovEvent);iProovMe.addEventListener("started", iProovEvent);iProovMe.addEventListener("cancelled", iProovEvent);iProovMe.addEventListener("streaming", iProovEvent);iProovMe.addEventListener("streamed", iProovEvent);iProovMe.addEventListener("progress", iProovEvent);iProovMe.addEventListener("passed", iProovEvent);iProovMe.addEventListener("failed", iProovEvent);iProovMe.addEventListener("error", iProovEvent);iProovMe.addEventListener("unsupported", iProovEvent);iProovMe.addEventListener("permission", iProovEvent);iProovMe.addEventListener("permission_denied", iProovEvent);}
Use External Redirects
You may want to use a particular identity system for authentication, but find that it requires vendor specific behavior. When this is the case, using the built-in OIDC behavior may result in technical issues. If there is no existing Curity solution in the product or our authentication plugins, you can develop your own integration. Usually, the plugin does not need to show a user interface and needs to follow a redirect and wait approach.
Such a plugin can use a main request handler and a callback request handler. The main request handler simply updates its session and redirects to the external system. The callback request handler receives and validates the response. Both request handlers implement their logic using a get method. There are a number of examples in the Curity GitHub repositories, such as the Slack authenticator.
It is even possible to use the same technique to redirect and perform a bespoke login in a custom application. The Redirect Action Example provides an example solution.
Use Links
In some cases, a plugin must hand control to another system and complete. For example, a forgot password flow must present a wait screen if a user will proceed by clicking an email link:
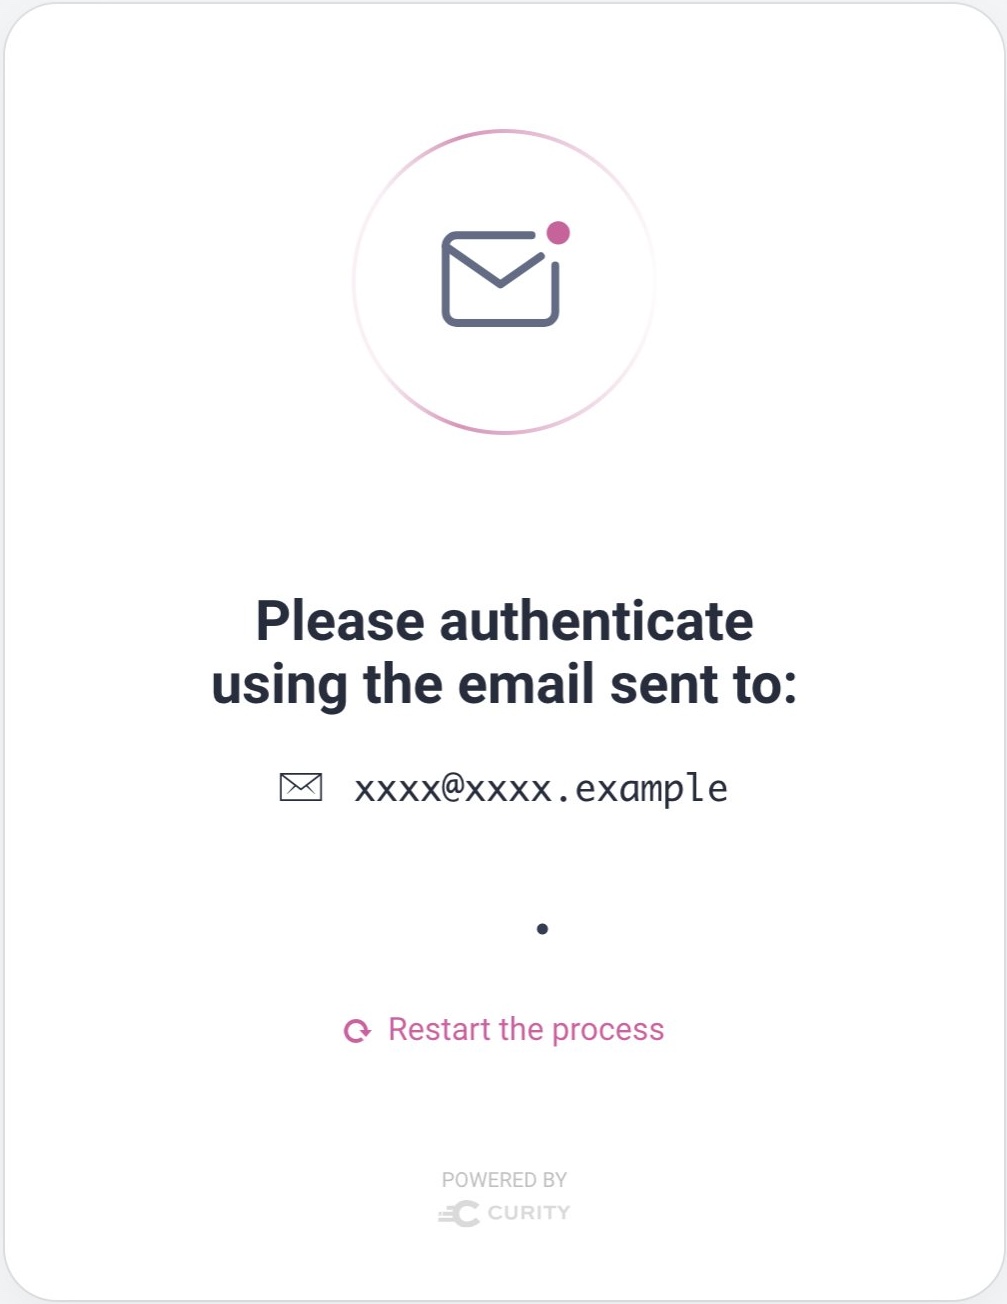
To manage this type of flow you use links. The following HTML link points to the base URL of the authenticator, but links can also point to a different handler:
<a href="$_authUrl">#message("authenticator.username-password-authenticator.forgot-password.view.success.return-to-login")</a>
For a native form, the following example HAAPI representation could be used to produce the form. The link includes a descriptive link relation that the client receives in its API response.
public Representation apply(RepresentationModel model, RepresentationFactory factory){return factory.newAuthenticationStep(builder -> {builder.addMessage(MSG_HEADING, HaapiContract.MessageClasses.HEADING);builder.addMessage(MSG_PARAGRAPH);builder.addLink(URI.create(model.getString("_authUrl")),HaapiContract.Links.Relations.RESTART,MSG_CONTINUE);});}
Use Polling
In other cases, your plugin needs to poll a server to see if an external authentication operation has completed. In such a case, you need to initiate web service calls to poll a server until the operation completes or times out. This requires a more advanced type of authenticator plugin.
You can study the example Net iD Access Authenticator to see an implementation. The WaitRequestHandler has a post handler that is freqently called from the wait HTML form, where each invocation results in a web service call to the Net iD Access server:
@Overridepublic Optional<AuthenticationResult> post(WaitRequestModel requestModel, Response response){@Nullable AuthenticationResult result = _webservicePoller.getAuthenticationResult(requestModel.getPostRequestModel().isPollingDone(), response);return Optional.ofNullable(result);}
Server-side polling logic is implemented by the request handler and used by both HTML and native forms. Yet HAAPI representations must also return forms to the client that trigger polling. You can study some example API responses in the developer guide. In code, a HAAPI polling implementation might be returned to the client using the following code. The SDK provides the common scaffolding and you must provide forms and the routes that they call:
public Representation apply(RepresentationModel representationModel, RepresentationFactory factory){AuthenticatePollerResponseModel model = new AuthenticatePollerResponseModel(representationModel.getViewData());if (model.isPollingDone()){return factory.newPollingStep().completed(true, poll -> poll.setRedirectAction(URI.create(model.getActionUrl()), HttpMethod.POST, MediaType.X_WWW_FORM_URLENCODED,fields -> fields.addHiddenField("moveOn", "true")));}else{return factory.newPollingStep().pending(poll -> {poll.setPollFormAction(URI.create(model.getActionUrl()));poll.setCancelFormAction(URI.create(model.getCancelUrl()), HttpMethod.GET, MediaType.X_WWW_FORM_URLENCODED,MSG_CANCEL,MSG_CANCEL,fields -> {});poll.addMessage(MSG_WAITING);});}}
Conclusion
You can use the plugin SDK to implement any form of custom authentication. The getting started tutorial explains the basics and this tutorial provides some more advanced tips and techniques. With this knowledge you can combine built-in features, the plugin SDK objects and your own custom logic and presentation to take complete control over user authentication.

Join our Newsletter
Get the latest on identity management, API Security and authentication straight to your inbox.

Start Free Trial
Try the Curity Identity Server for Free. Get up and running in 10 minutes.
Start Free TrialWas this helpful?