
On this page
This tutorial summarizes the behavior of an iOS Swift app that implements OAuth 2.0 and OpenID Connect using the Hypermedia Authentication API (HAAPI). The flow is API-driven and enables a pure native login user experience, after which the app receives a correct access token with which to call APIs.
Overview
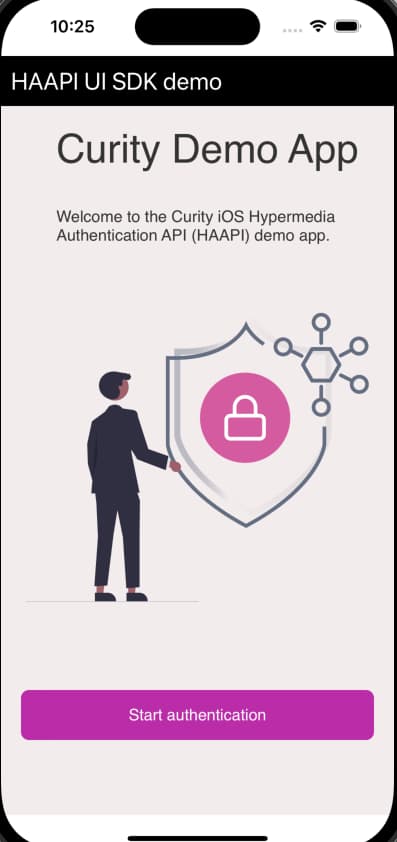
The code example provides a basic iOS implementation that runs a HAAPI authentication flow. The app uses the HAAPI UI SDK to handle the authentication flow with a low-code solution. The app initially presents a view to start the authentication process.
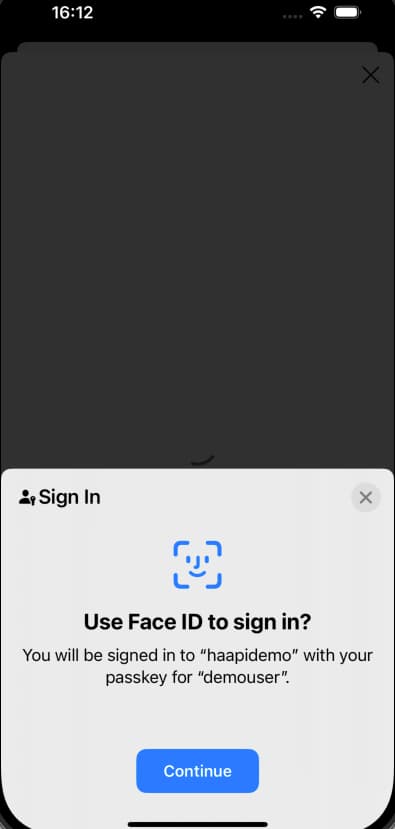
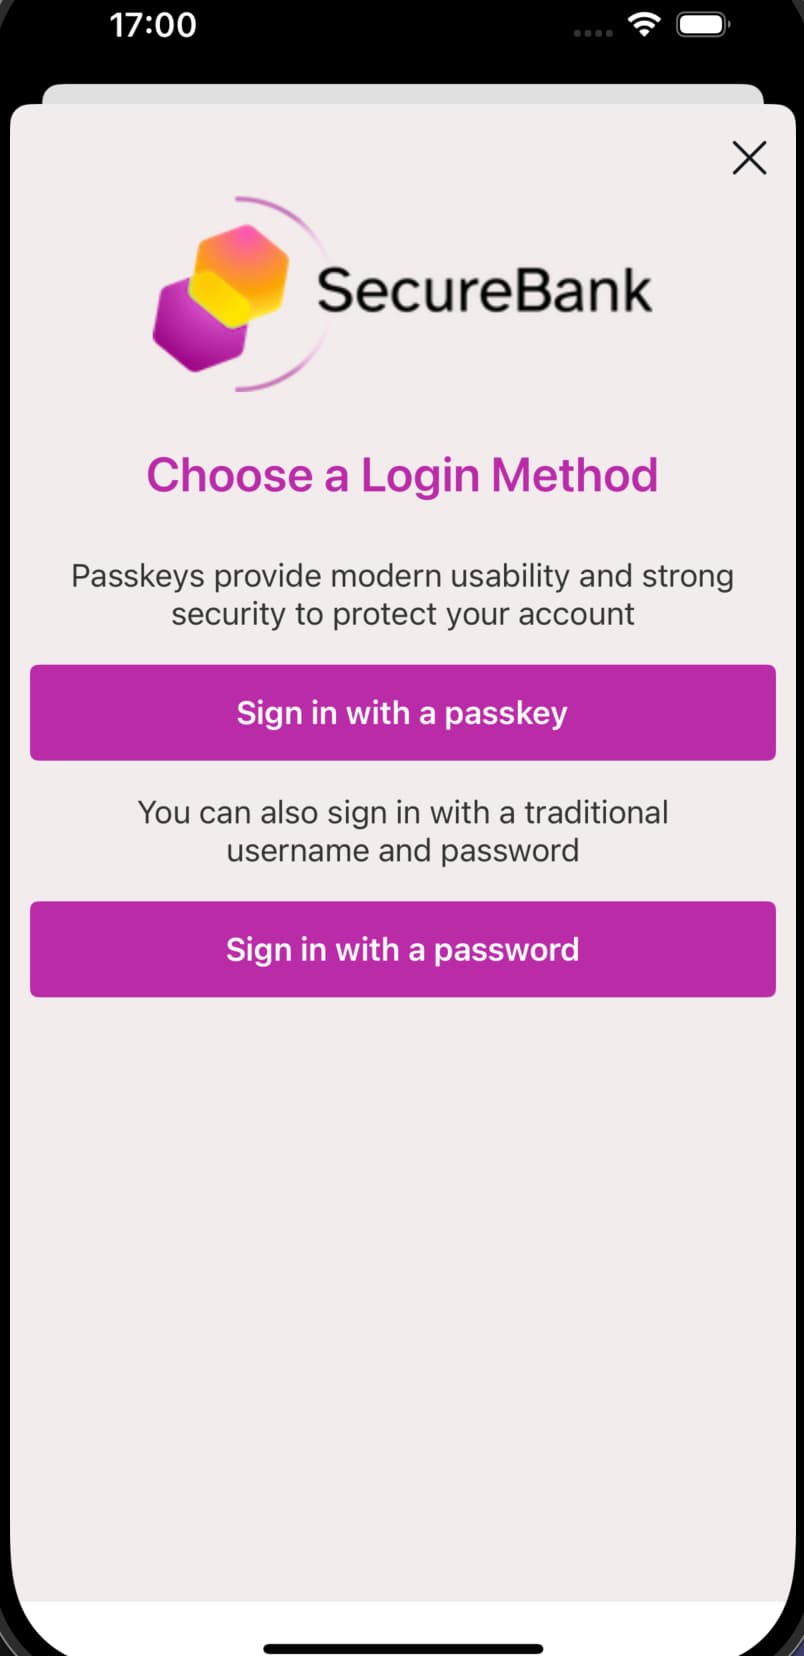
The authentication workflow then runs as a series of fast API requests that return JSON responses. The SDK processes each API response to perform various actions including rendering of forms. The following screenshot shows the login experience with native passkeys.
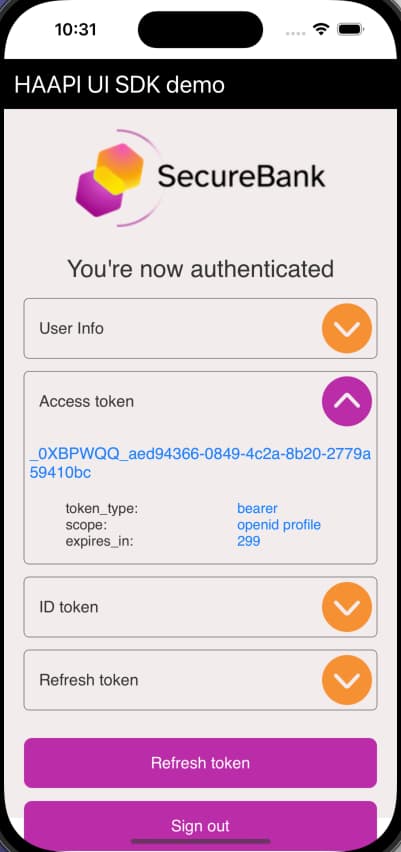
Once authentication completes, the app presents its Authenticated View, to simulate a mobile app that works with access tokens to call APIs. The app can then easily perform other OAuth operations such as refreshing tokens and ending the authenticated session.
Quick Start
First, clone the GitHub repository at the top of this page and open it in an up-to-date version of Xcode. The repository includes a Docker deployment of the Curity Identity Server, to provide backend Hypermedia Authentication API endpoints. See the README file for instructions on how to run the deployment. The deployed system includes an Admin UI which you can connect to with the following details.
| Property | Value |
|---|---|
| URL | https://localhost:6749/admin |
| User | admin |
| Password | Password1 |
The quick start enables you to run a HAAPI flow with a test account and either of the following login methods:
- The HTML form authenticator, with a pre-shipped username of
demouserand a password ofPassword1. - The passkeys authenticator, with the pre-shipped user account named
demouser.
Application Configuration
The code example uses the following client settings, including the haapi and code capabilities. For further details on HAAPI specific settings refer to the iOS HAAPI Client Setup tutorial. Include the issue-token-bound-authorization-code setting if using version 9.0 or later of the Curity Identity Server.
<config xmlns="http://tail-f.com/ns/config/1.0"><profiles xmlns="https://curity.se/ns/conf/base"><profile><id>token-service</id><type xmlns:as="https://curity.se/ns/conf/profile/oauth">as:oauth-service</type><settings><authorization-server xmlns="https://curity.se/ns/conf/profile/oauth"><client-store><config-backed><client><id>haapi-ios-client</id><client-name>haapi-ios-client</client-name><no-authentication>true</no-authentication><redirect-uris>haapi:start</redirect-uris><proof-key><require-proof-key>false</require-proof-key></proof-key><refresh-token-ttl>3600</refresh-token-ttl><scope>openid</scope><scope>profile</scope><capabilities><code></code><haapi><issue-token-bound-authorization-code>true</issue-token-bound-authorization-code></haapi></capabilities><validate-port-on-loopback-interfaces>true</validate-port-on-loopback-interfaces><attestation><disable-attestation-validation>true</disable-attestation-validation><ios><app-id>io.curity.haapidemo</app-id><ios-policy>ios-haapi-dev</ios-policy></ios></attestation></client></config-backed></client-store></authorization-server></settings></profile></profiles></config>
The demo app uses configuration settings from its Configuration object. When running the quick start, the configuration gets updated with working values. To run against a different instance of the Curity Identity Server, update the configuration details to match those of the deployed system.
struct Configuration {static let clientId = "haapi-ios-client"static let redirectUri = "haapi://callback"static let scopes = ["openid", "profile"]static let baseURL = URL(string: "https://localhost:8443")!static let tokenEndpointURL = URL(string: "/oauth/v2/oauth-token", relativeTo: baseURL)!static let authorizationEndpointURL = URL(string: "/oauth/v2/oauth-authorize", relativeTo: baseURL)!static let userInfoEndpointURL = URL(string: "/oauth/v2/oauth-userinfo", relativeTo: baseURL)!}
HAAPI UI SDK Integration
To understand how the app integrates the HAAPI UI SDK, see the iOS integration guide. In the application code, study the following main integration points.
- The application's package manager references the HAAPI UI SDK as a dependency.
- The
DemoAppDelegateobject implements theUIApplicationDelegateprotocol to configure the app. - The
UnauthenticatedViewimplements theHaapiFlowResultprotocol, to start the login and receive a token response. - The
AuthenticatedActivitythen runs and works with OAuth tokens.
After a HAAPI flow authenticates the user, the mobile client adds access tokens to the HTTP Authorization header when it calls APIs. When the access token expires, the OAuthLifecycle.refreshToken helper method gets a new access token. To implement logout, the app discards its tokens and moves back to the unauthenticated view.
Application Customization
The UI SDK allows you to customize the look and feel of login screens. Have a look at the application's asset catalog and the Resources/CustomTheme.plist file, to see the theming techniques the demo app uses. Note that the custom theme is applied to the HaapiUIKitApplication object in the DemoAppDelegate object.
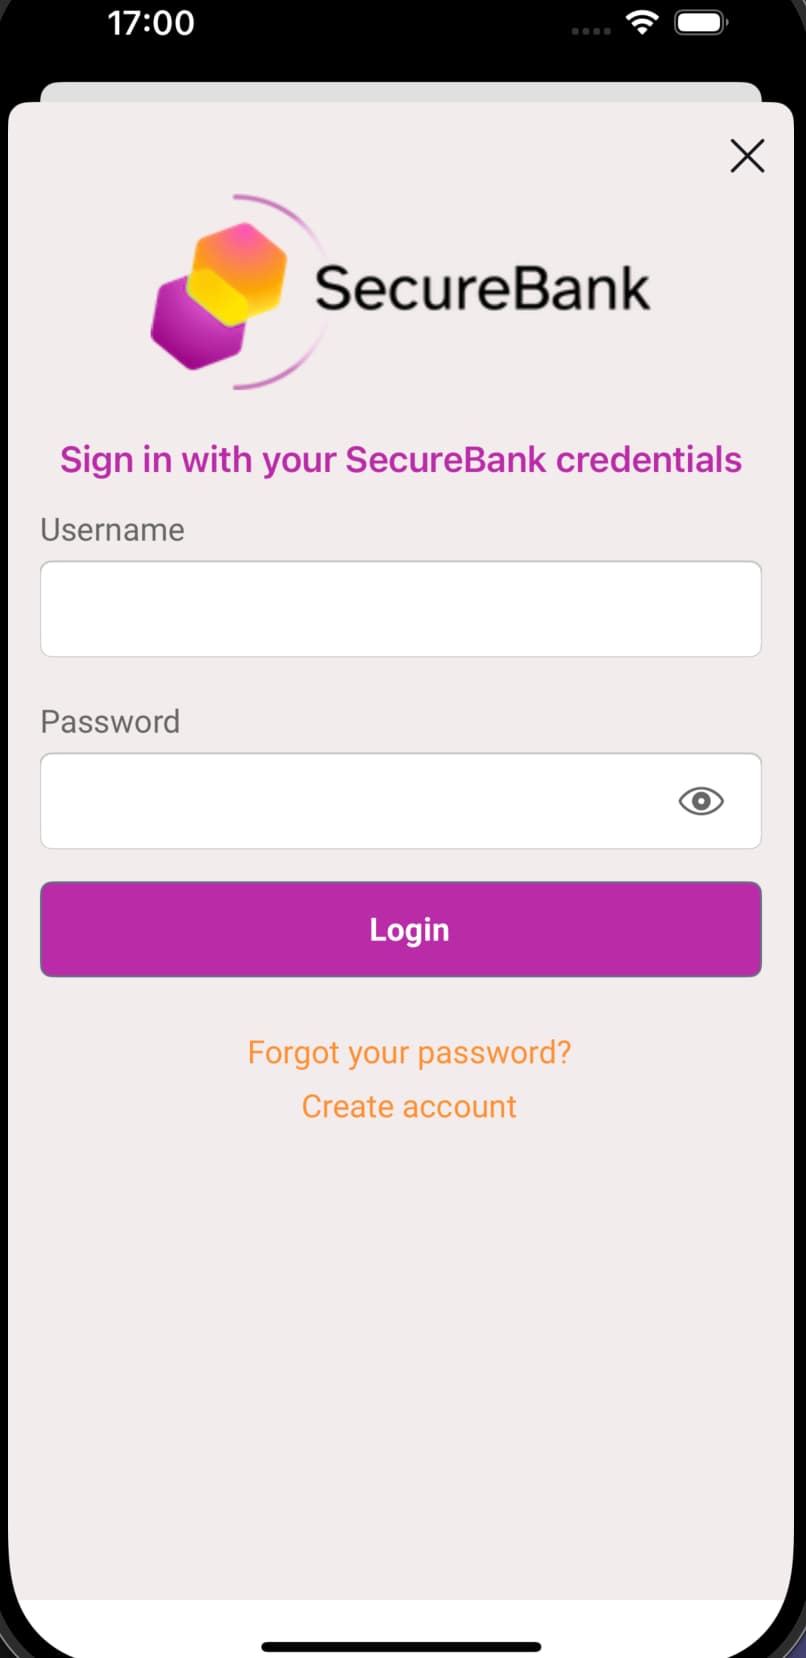
The app also makes some more complex modifications that the Advanced Login Customization tutorial explains. The app makes minor changes to its HTML login screen, to replace the Login title with a header banner and to remove the Forgot Username link. The app also completely replaces the authentication selection screen, to show the passkeys option first, and to represent each authenticator as descriptive text followed by a themed button.
Non-Compliant Devices
The HAAPI SDK uses hardware-backed attestation features to perform secure client authentication. Some iOS devices may not support the recommended method for client attestation. In these cases use a fallback method of proving the client identity before authentication. Have a look at the Implementing HAAPI Fallback tutorial to learn more.
Model SDK Code Example
HAAPI SDKs
This section is only relevant if you are using the older model SDK and want to run the model SDK code example. All new HAAPI secured mobile apps should instead integrate the UI SDK.
The UI SDK is implemented using the lower level iOS Model SDK, which uses raw API responses. The iOS HAAPI Model SDK Code Example demonstrates an alternative approach, where the model SDK is used directly, but considerably more plumbing code is needed.
To use the code example, follow the README instructions and then run the app from Xcode. First, locate the OAuth configuration settings in the Classes/Settings/Profiles.swift module and update them if required:
private enum Constants {static let defaultName = "Default"static let scopes = ["openid", "profile"]static let baseUrl = Bundle.main.object(forInfoDictionaryKey: "CURITY_BASE_URL") as? String ?? "localhost:8443"static let defaultAuthorizationEndpointURI = "\(defaultBaseURLString)/oauth/v2/oauth-authorize"static let defaultTokenEndpointURI = "\(defaultBaseURLString)/oauth/v2/oauth-token"static let defaultUserinfoEndpointURI = "\(defaultBaseURLString)/oauth/v2/oauth-userinfo"static let defaultClientId = "haapi-ios-dev-client"static let defaultBaseURLString = "https://\(baseUrl)"static let defaultMetaBaseURLString = "\(defaultBaseURLString)/oauth/v2/oauth-anonymous"}
Study the code example's main classes to understand the logic. The DemoApplication object creates a HaapiAccessor factory class, which instantiates a HaapiManager. A HaapiController provides the user interface for login screens. A FlowViewModel starts the flow and processes each API response until authentication completes. The start and end of the authentication flow are shown in the following simplified code snippet.
func start() {haapiManager?.start(completionHandler: {haapiResult inself.processHaapiResult(haapiResult)completionHandler()})}private func processHaapiResult(haapiResult: HaapiResult) {switch haapiResult {case ...case let oAuthStep as OAuthAuthorizationResponseStep:let code = oAuthStep.oauthAuthorizationResponseProperties.codeself.fetchAccessToken(code: code)}}
Conclusion
The Hypermedia Authentication API provides a number of benefits to mobile apps, in terms of hardened security and login usability.
- Users of the app get a pure native login user experience.
- You can customize login screens without depending on a central identity team.
- There is hardened security to prevent impersonation threats and to protect refresh tokens.
- The Curity Identity Server and the HAAPI UI SDK deal with the security, to enable low code integration.

Join our Newsletter
Get the latest on identity management, API Security and authentication straight to your inbox.

Start Free Trial
Try the Curity Identity Server for Free. Get up and running in 10 minutes.
Start Free TrialWas this helpful?