OpenID Connect Client with Python
On this page
Overview
This tutorial provides a basic demo application created using Python 3, which shows how to implement an OpenID Connect flow to obtain access and ID tokens from an OpenID Provider.
Note
The example uses the Curity Identity Server, but you can run the code against any standards-based authorization server.
Configure the Curity Identity Server
In the Admin UI, create an OAuth Client with the following properties. Also ensure that at least one working authenticator is used, so that you are able to perform a user login once the sample is running.
- Client ID:
client-python - Capabilities: Code Flow
- Authentication Method:
Secret - Client Secret:
Password1 - Redirect URI:
https://localhost:5443/callback - Post Logout Redirect URI:
https://localhost:5443 - scope:
openid profile email address phone
Configure the Code Sample
Next download the code sample and view its configuration in the settings.json file:
{"issuer": "https://localhost:8443/oauth/v2/oauth-anonymous","api_endpoint": "https://localhost:3000","verify_ssl_server": false,"debug": true,"scope": "openid profile email address phone","send_parameters_via": "query","client_id": "python-client","client_secret": "Password1"}
The sample uses the following base URLs by default, and these can be updated to suit your own environment:
| Component | Base URL |
|---|---|
| Web Application | https://localhost:5443 |
| Curity Identity Server | https://localhost:8443 |
| API | https://localhost:3000 |
Running the Example
Use the following commands to install Python dependencies and to start listening for web requests on port 5443:
- pip install -r requirements.txt
- python app.py
When the code sample starts, the client.py file uses the discovery endpoint of the Curity Identity Server to load metadata describing all of the standard endpoints:
def __init_config(self):if 'issuer' in self.config:meta_data_url = self.config['issuer'] + '/.well-known/openid-configuration'print('Fetching config from: %s' % meta_data_url)meta_data = urlopen(meta_data_url, context=self.ctx)if meta_data:self.config.update(json.load(meta_data))
Test Logins
Then browse to https://localhost:5443 to see the home page of the website, in which the user chooses to sign in:
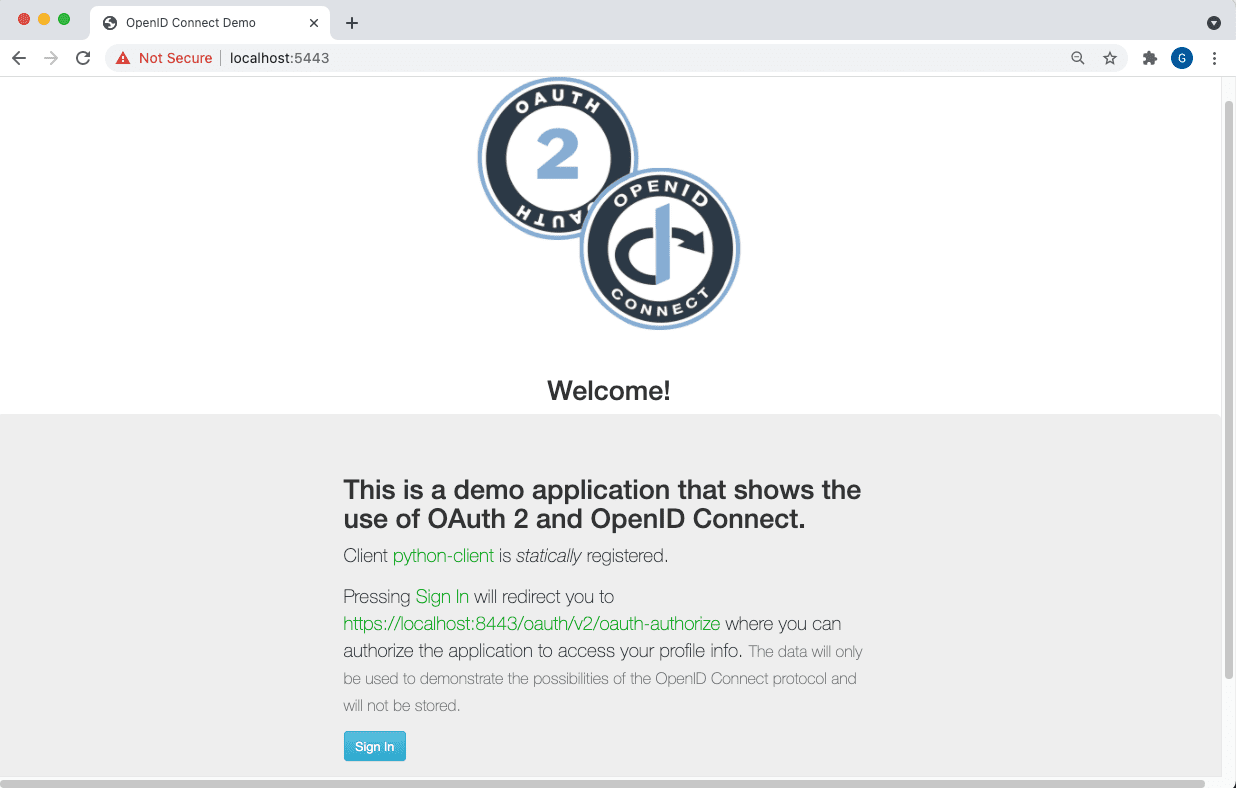
The code implements OpenID Connect standard authentication redirect functionality by first forming a request URL with the standard parameters and redirecting the browser:
def get_authn_req_url(self, session, acr, forceAuthN, scope, forceConsent, allowConsentOptionDeselection,response_type, ui_locales, max_age, claims, send_parameters_via):state = tools.generate_random_string()session['state'] = statesession['code_verifier'] = code_verifier = tools.generate_random_string(100)session["flow"] = response_typecode_challenge = tools.base64_urlencode(hashlib.sha256(code_verifier).digest())request_args = {'scope': scope,'response_type': response_type,'client_id': self.config['client_id'],'state': state,'code_challenge': code_challenge,'code_challenge_method': "S256",'redirect_uri': self.config.get('redirect_uri', "")}
Upon return, the app receives an authorization code and swaps it for tokens using an authorization code grant message:
def get_token(self, code, code_verifier):data = {'client_id': self.config['client_id'], "client_secret": self.config['client_secret'],'code': code,"code_verifier": code_verifier,'redirect_uri': self.config['redirect_uri'],'grant_type': 'authorization_code'}try:token_response = self.__urlopen(self.config['token_endpoint'], urlencode(data), context=self.ctx)
Use Access Tokens
The web back end then receives opaque access and refresh tokens, and operations on them can be tested from within the web app:
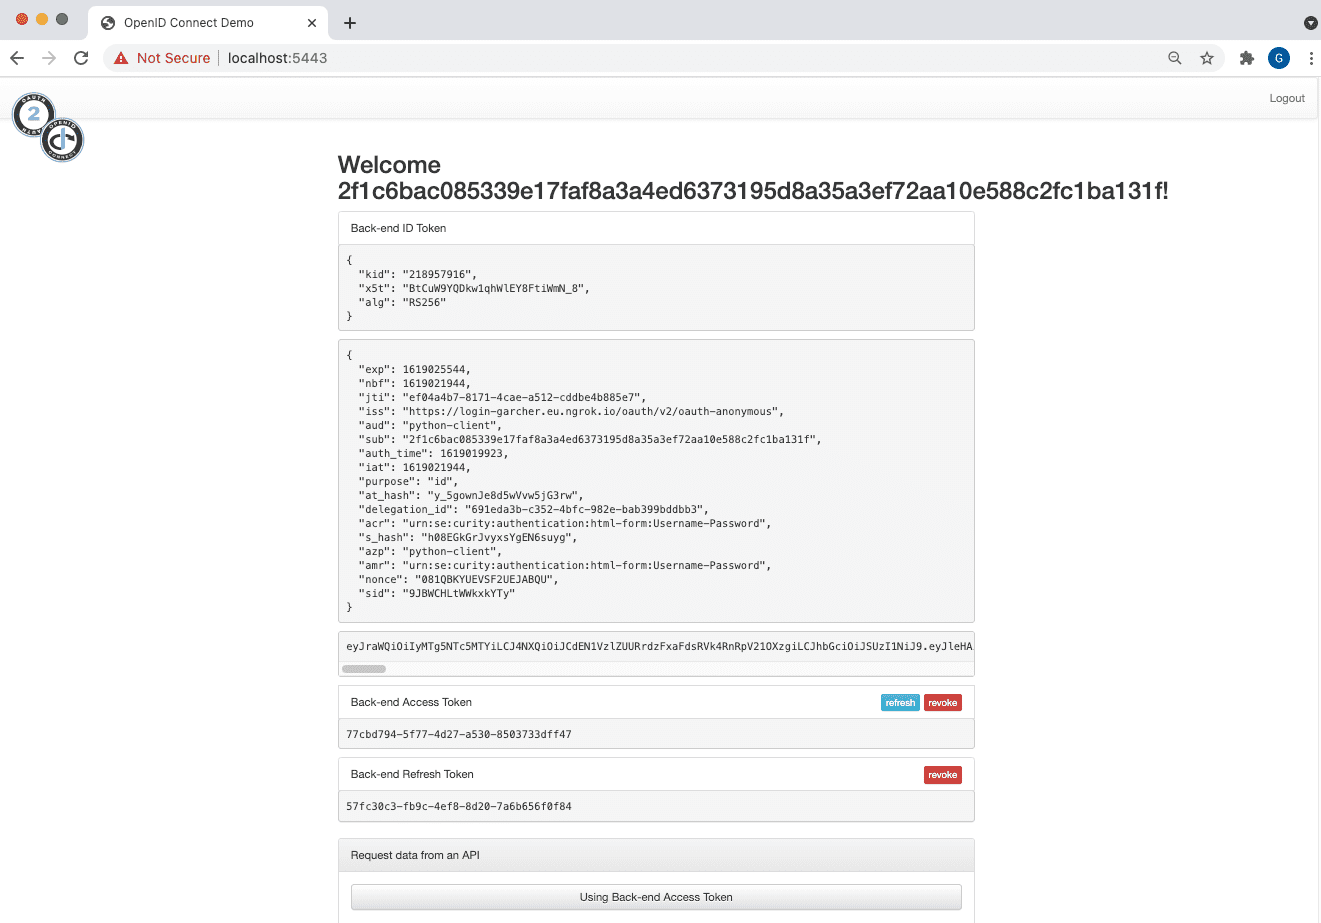
The Python application could verify received tokens and return data directly, though it is more common these days for a web back end to call APIs instead. No API is provided with the sample, but the app.py file demonstrates how to make an outgoing call, by adding a bearer token to the HTTP Authorization Header:
def call_api():try:req = Request(_config['api_endpoint'])req.add_header('User-Agent', 'CurityExample/1.0')req.add_header("Authorization", "Bearer %s" % access_token)req.add_header("Accept", 'application/json')if 'subscription_key' in _config:req.add_header('Ocp-Apim-Subscription-Key', _config['subscription_key'])req.add_header('Ocp-Apim-Trace', 'true')response = urlopen(req, context=tools.get_ssl_context(_config))user.api_response = {'code': response.code, 'data': response.read()}
To work with a real API you could adapt the Python API Code Sample. For a full end to end solution an API Gateway should also be integrated, using the Phantom Token Pattern.
Logout
Finally the sample can be used to perform a logout operation, and to revoke tokens if required. A post_logout_redirect_uri value is supplied to ensure that the user is returned to the home page when the logout operation completes.
def logout():if 'session_id' in session:del _session_store[session['session_id']]session.clear()print("Logging out at ", _config['end_session_endpoint'])logout_request = _config['end_session_endpoint'] + '?client_id=' + _config['client_id'] + '&post_logout_redirect_uri=' + _config['base_url']return redirect(logout_request)
Conclusion
We demonstrated the basics of an OpenID Connect flow in Python, resulting in a web application that uses a number of standards based endpoints. This enables features for login, logout and working with tokens, including calls to OAuth secured APIs.
Customer Stories
Learn how organizations run identity and API security at scale.
Read customer storiesWas this helpful?