React Native App using HAAPI


On this page
This tutorial shows how to run a code example that implements mobile OpenID Connect in a React Native App using the Hypermedia Authentication API (HAAPI). The app uses Hardened Mobile Security and a pure native login user experience, without the need for a system browser.
The code example uses TypeScript to integrate with the React Native HAAPI SDK, which provides a React Native bridge to HAAPI. The example includes a set of React components, that you can copy into your own app, to manage tasks like dynamic rendering of login forms from hypermedia API responses.
React Native SDK
To integrate the SDK, first install it as a dependency, after which you can use its objects, to represent conceepts like configuration settings, client authentication settings, HAAPI models and errors.
npm install @curity/identityserver-haapi-react-native-sdk
Application Configuration
The example application produces two built apps, for Android and iOS. The app uses configuration settings that reference OAuth client values registered in the Curity Identity Server, like client_id, redirect_uri and scope.
Start with the Demo/src/config/defaults.ts file, which provides shared settings like the OAuth scope and redirect_uri parameters. You can use distinct OAuth clients for Android and iOS, since the underlying HAAPI SDKs have platform-specific configuration requirements.
const BASE_URL = 'https://192.168.1.100:8443';export const DEFAULT_SETTINGS: AppSettings = {settingsVersion: 2,server: {baseUrl: BASE_URL,authorizationEndpointUrl: `${BASE_URL}/oauth/v2/oauth-authorize`,tokenEndpointUrl: `${BASE_URL}/oauth/v2/oauth-token`,revocationEndpointUrl: `${BASE_URL}/oauth/v2/oauth-revoke`,appRedirect: 'app://haapi',scopes: ['openid', 'profile'],},ios: {clientId: 'haapi-ios-client',name: 'haapi-ios-client',urlSessionOption: 'custom',useAttestation: false,attestationMaxRetries: 3,auth: { kind: 'secret', secret: 'foo' },},android: {clientId: 'haapi-android-client',keyStoreAlias: 'haapi-android-client',useAttestation: false,httpUrlConnectionProviderOption: 'custom',auth: { kind: 'secret', secret: 'foo' },},};
Ultimately, the app provides a function that returns a RNHaapiConfiguration object with all of its settings. For further details on the meaning of these settings, see the React Native Quick Start.
export function createAppHaapiConfiguration(server: ServerSettings,iosConfig?: IOSConfiguration,androidConfig?: AndroidConfiguration): RNHaapiConfiguration {const authorizationParameters: OAuthAuthorizationParameters | undefined =server.scopes.length > 0 ? { scope: server.scopes } : undefined;return createHaapiConfiguration({baseUrl: server.baseUrl,authorizationEndpointUrl: server.authorizationEndpointUrl,tokenEndpointUrl: server.tokenEndpointUrl,revocationEndpointUrl: server.revocationEndpointUrl,iosConfig,androidConfig,isAutoRedirect: false,minTokenTtl: server.minTokenTtl,authorizationParameters,});}
Application Startup
Next, copy the Demo/src/SettingsProvider.ts and Demo/src/HaapiProvider.ts components from the code example into your own app. Then, integrate the components using the React provider pattern. The code example's App.tsx entry point demonstrates the approach.
export default function App() {return (<SafeAreaProvider><ThemeProvider><ErrorBoundary><SettingsProvider><HaapiProvider><ThemedApp /></HaapiProvider></SettingsProvider></ErrorBoundary></ThemeProvider></SafeAreaProvider>);}
User Authentication Flows
The code example includes a Demo/src/components folder that you should copy into your own app, to get up and running, and then adapt as required. Within the Demo/src/components folder, the HomeLanding component renders an initial view with a Start Authentication button.
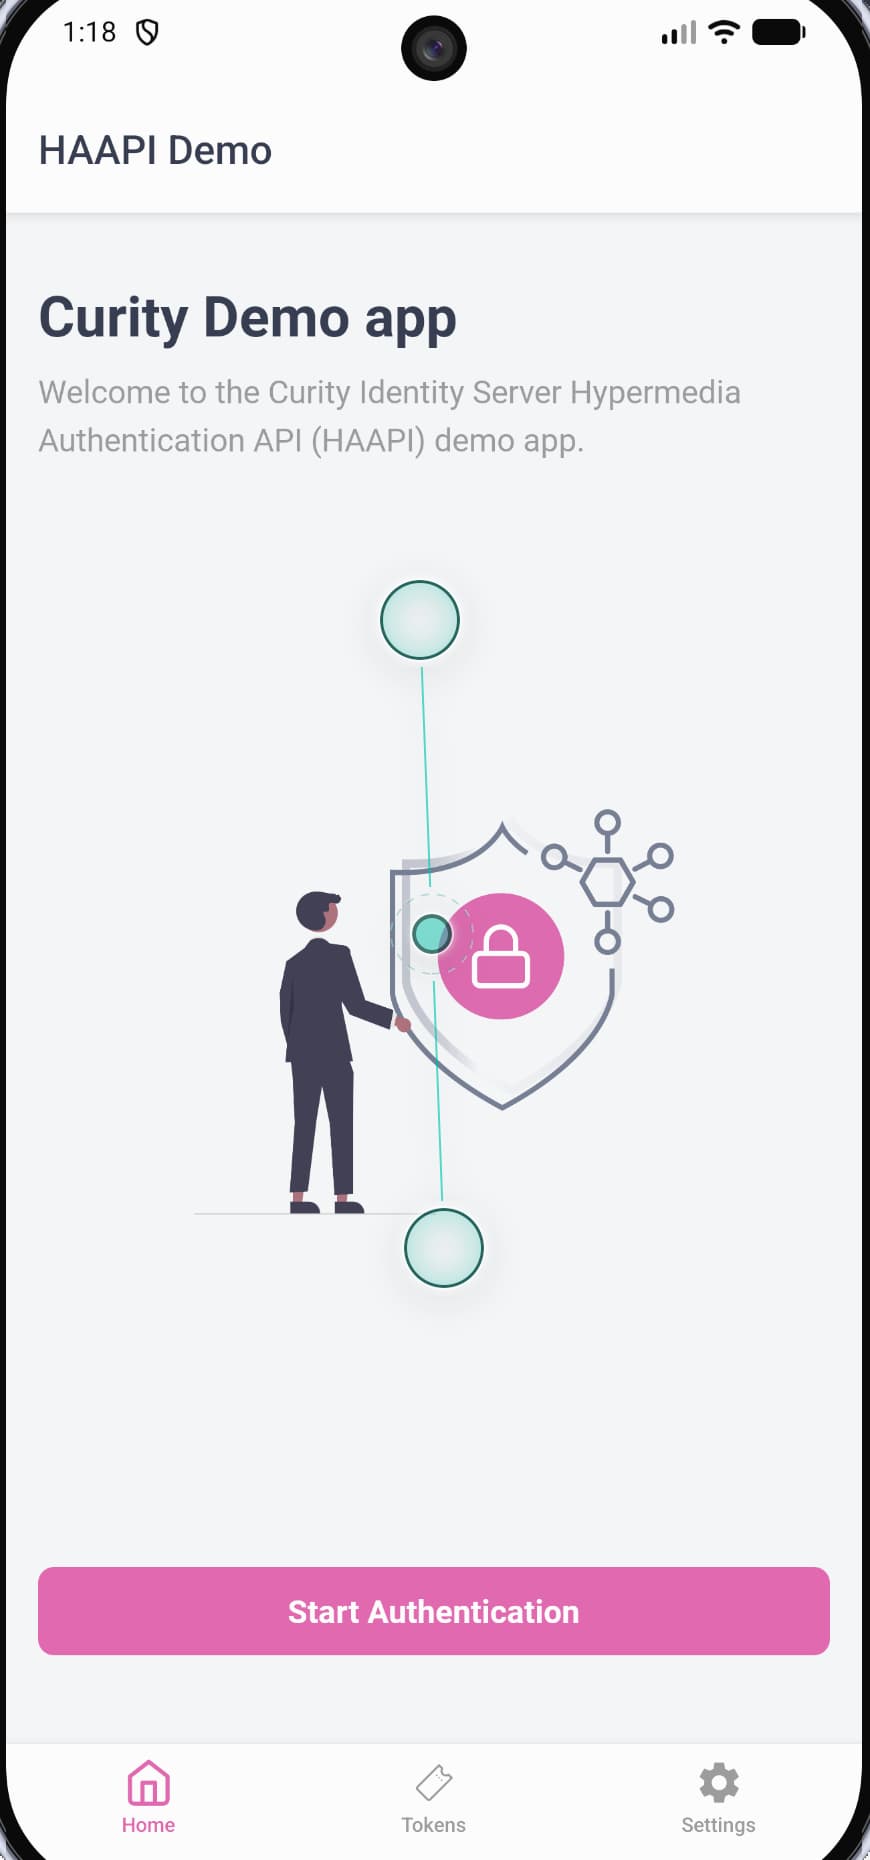
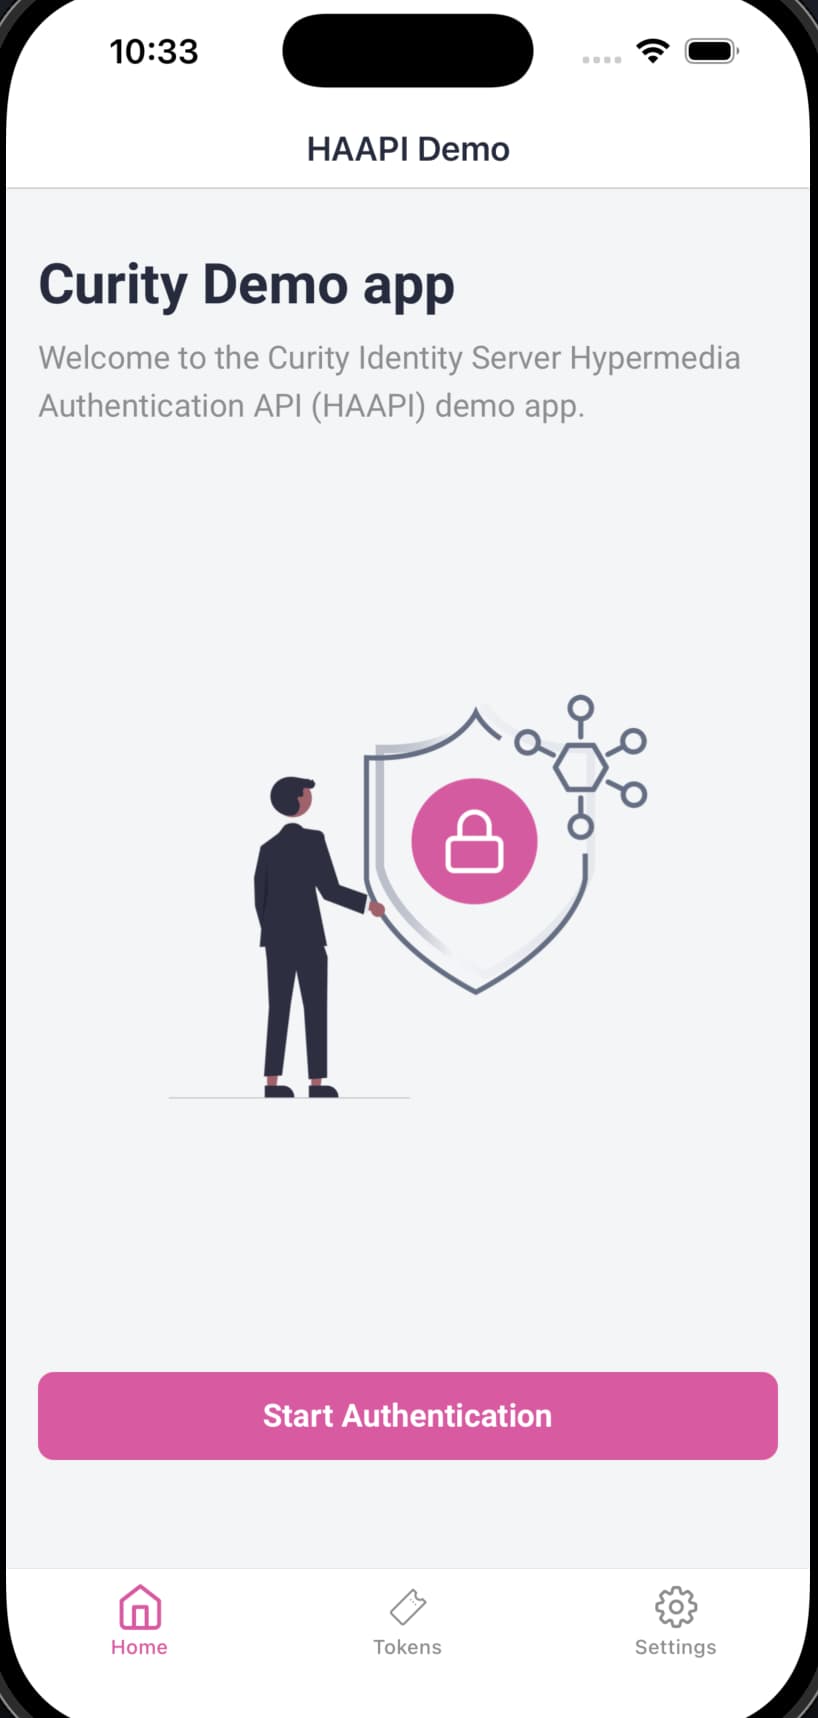
When the user clicks Start Authentication, the main logic in the FlowScreen.ts component executes. Ultimately, this invokes the start method of the HaapiProvider object. Integrate equivalent code into your own app, to authenticate users with one or more forms, according to the client's configuration settings in the Curity Identity Server.
export const FlowScreen: React.FC = () => {const { state, commands } = useHaapi();const { hydrated } = useSettings();const styles = useThemedStyles(makeStyles);const navigation = useNavigation<BottomTabNavigationProp<RootTabParamList, 'Home'>>();if (state.kind === 'uninitialized' || state.kind === 'closed') {return (<SafeAreaView edges={['bottom']} style={styles.screen}><HomeLanding onStart={() => void commands.start()} disabled={!hydrated} /></SafeAreaView>);}const active =state.kind === 'idle' ? state.response : state.kind === 'submitting' ? state.previous : null;return (<SafeAreaView edges={['bottom']} style={styles.screen}><ScrollView contentContainerStyle={styles.scroll}><View style={styles.brand}><CurityLogo /></View><StatusBar />{active && active.responseCategory === 'representation' && (<RenderRepresentation representation={active.representation} />)}{active && active.responseCategory === 'problem' && (<ProblemView problem={active.problem} />)}{state.kind === 'completed' && (<Card title="Flow complete"><Text style={styles.tipText}>Tokens are ready. Open the Tokens tab to view and manage them.</Text><Button title="Open Tokens" variant="spot" onPress={() => navigation.navigate('Tokens')} /></Card>)}</ScrollView></SafeAreaView>);};
The React components implement an entire HAAPI flow, to dynamically render login screens from hypermedia API responses, using the app's theme. Components also implement navigation techniques, like moving to the next form or polling for completion.
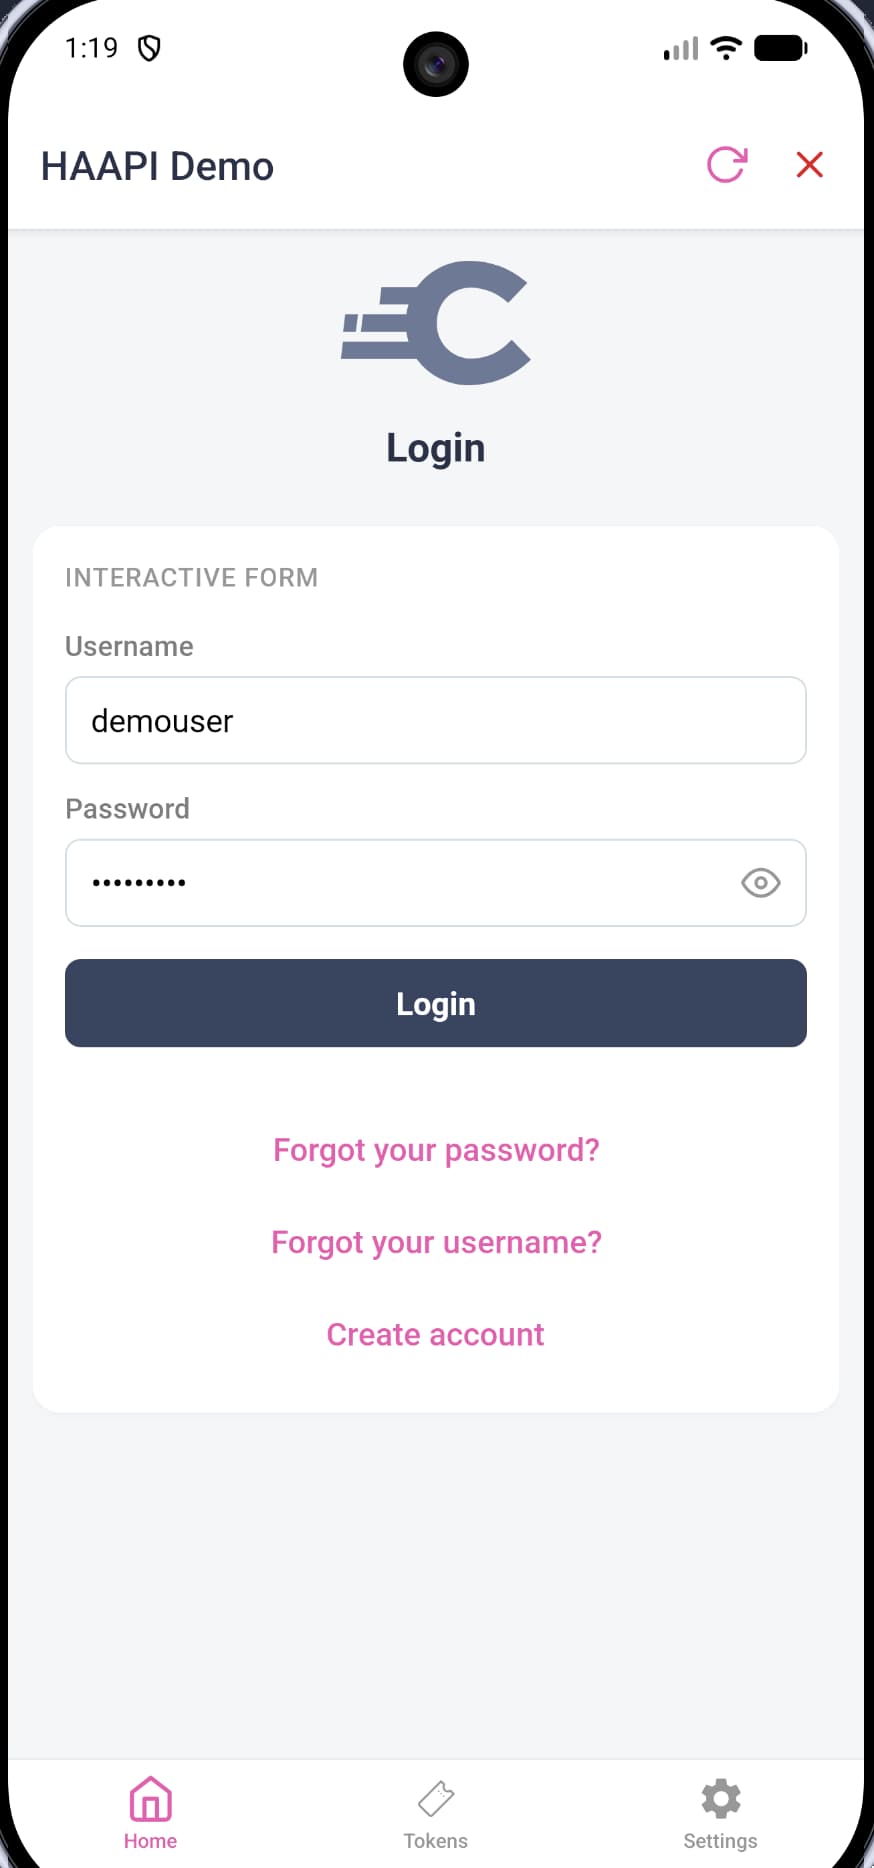
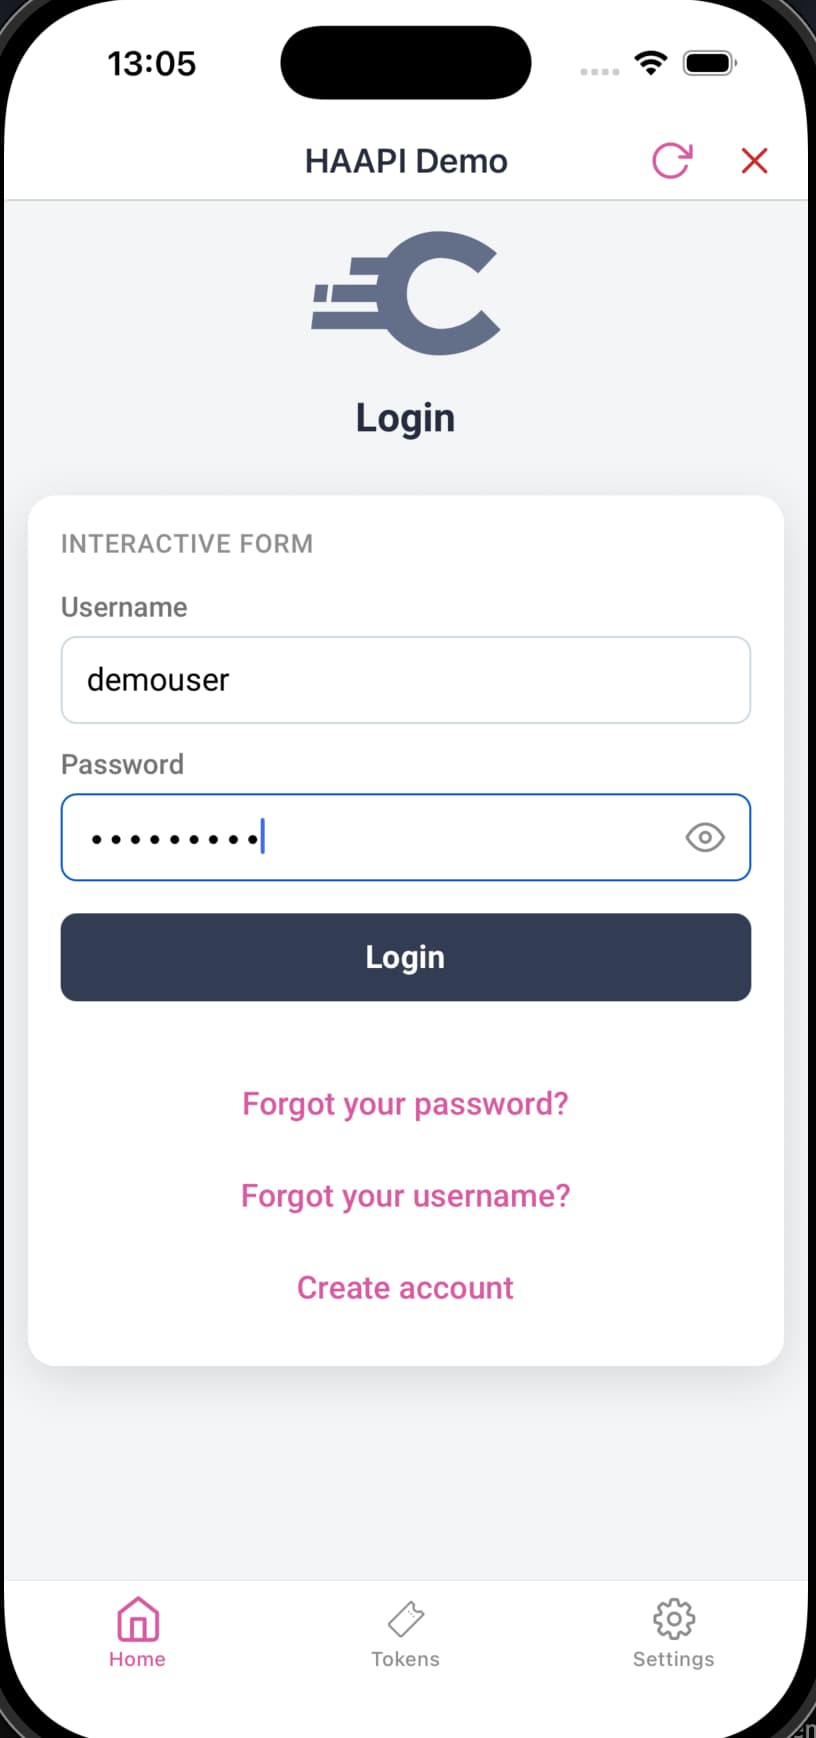
The React Native Representations guide explains how the SDK provides view models for hypermedia API responses. The HaapiProvider component receives hypermedia API responses as HaapiResponse objects. The FlowScreen component uses a RenderRepresenation function to process each step of the authentication workflow, and perform actions like rendering interactive forms.
User Authentication Themes
The app provides example light and dark themes in the Demo/src/themes folder. For example, adjust the following code to switch between light and dark themes and use React Native's support for live reloading to see changes.
export function buildTheme(scheme: ColorScheme): Theme {return {scheme,dark: scheme === 'dark',colors: scheme === 'dark' ? darkColors : lightColors,spacing,radii,fonts,fontSizes,lineHeight,};}
When you use HAAPI in a React App, you have full control over the frontend code for login screens, and their look and feel. Mobile developers do not need to rely on a central identity team that deploys changes to the Curity Identity Server's login screens.
OAuth Tokens
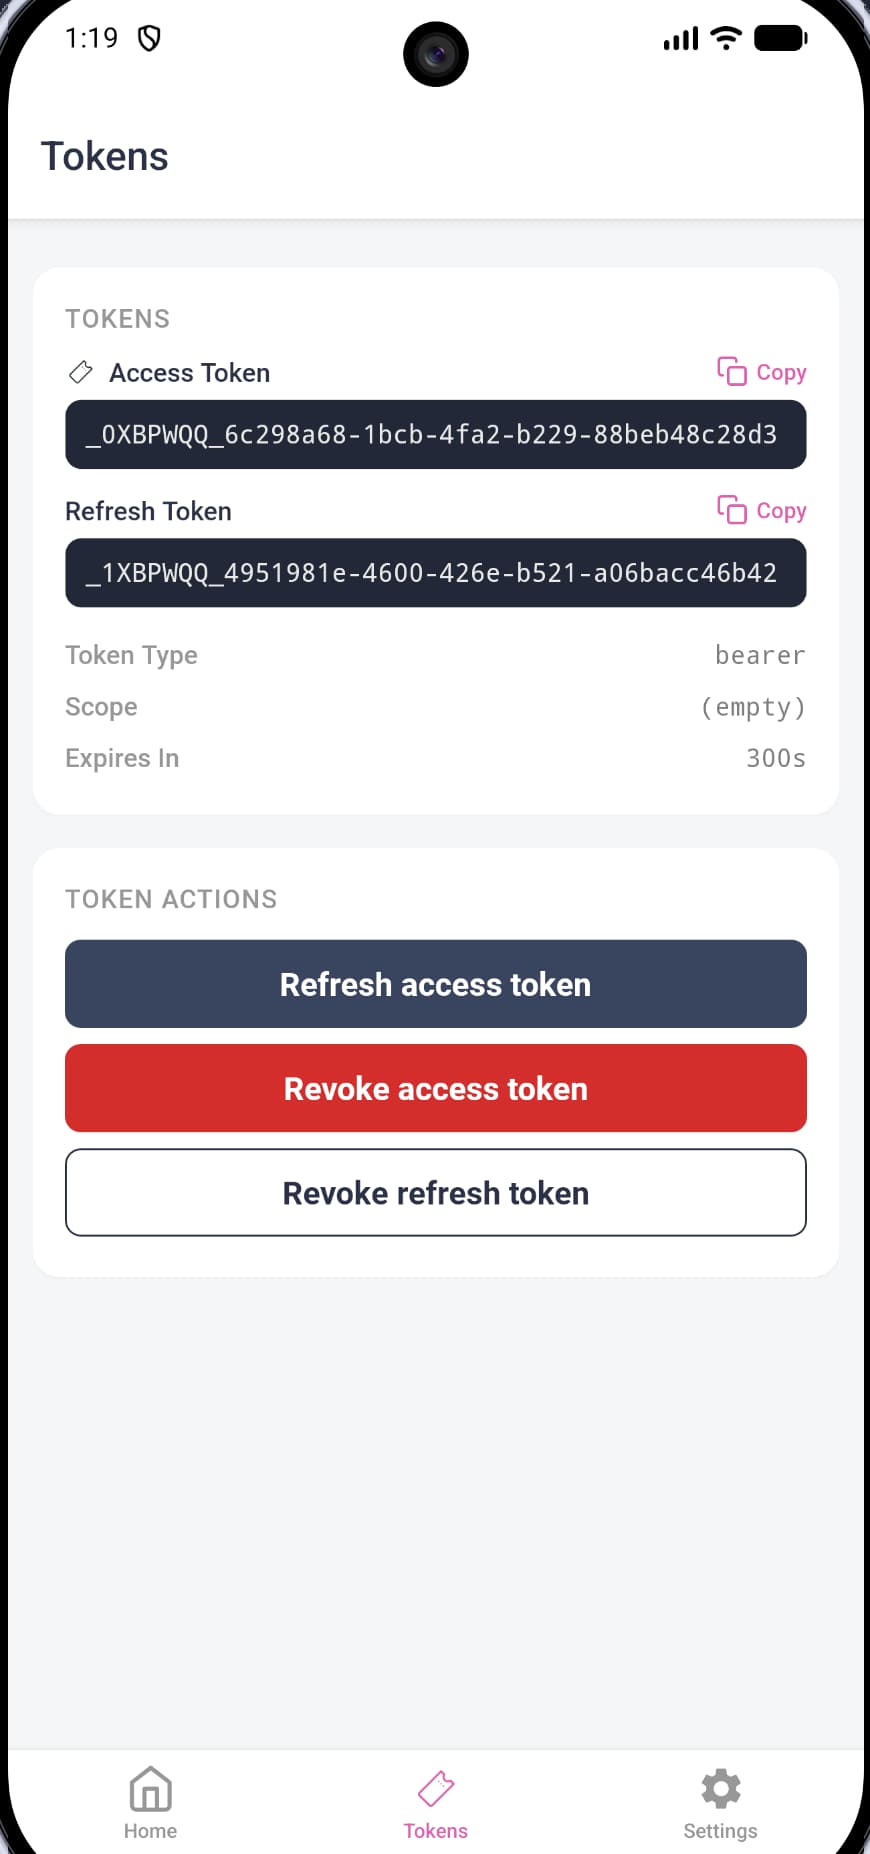
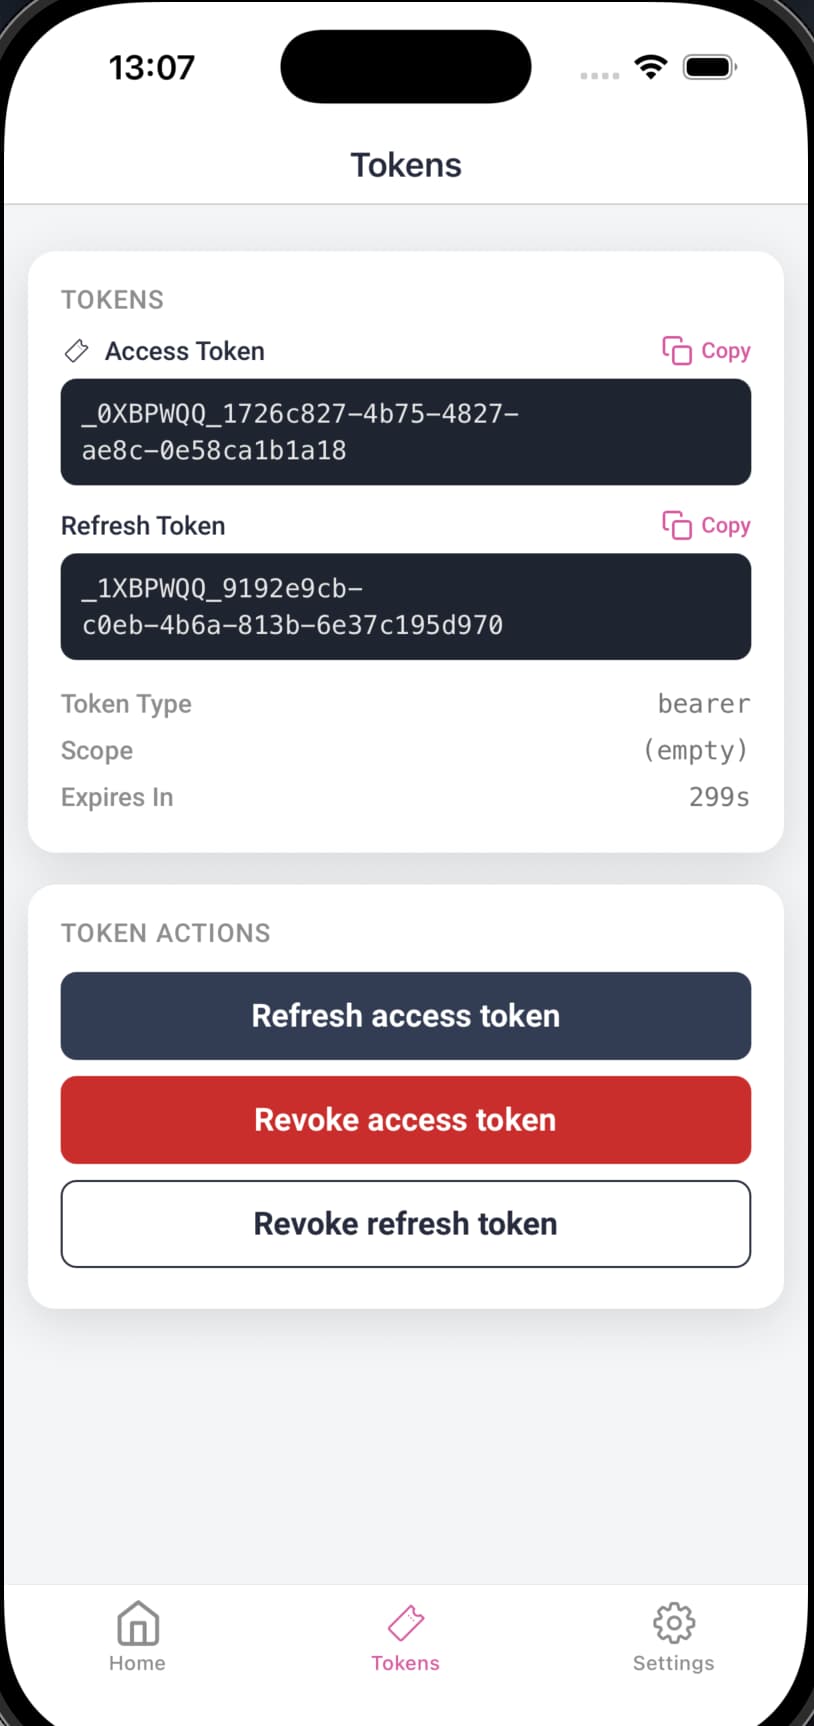
Once user authentication completes, the app renders a TokenScreen component that enables developers to operate on tokens. In a real app, developers would use access tokens to call APIs. The code example shows how to use the OAuth Token Manager> object to work with tokens during the app's lifecycle. The example also shows how to implement token refresh and token revocation.
Example Deployment
Before you can successfully run the React Native code example, you must have a correctly configured instance of the Curity Identity Server. Start with the automated deployment in the GitHub repository. First, copy a license.json file for the Curity Identity Server to the root folder of the project. Then, follow the README instructions to run the deployment. For example, run the following commands on macOS.
export IDSVR_HOST_NAME="$(ipconfig getifaddr en0)"./start-idsvr.sh
You can run the deployment in various ways. One productive option is to use ngrok mobile setup so that the Curity Identity Server runs at a trusted internet HTTPS URL. You can then view all HAAPI responses using a local inspect URL such as http://127.0.0.1:4040/inspect/http.
The example deployment includes Curity Identity Server configuration settings that match those of the app. The following XML shows the structure of deployed OAuth client settings.
<config xmlns="http://tail-f.com/ns/config/1.0"><profiles xmlns="https://curity.se/ns/conf/base"><profile><id>token-service</id><type xmlns:as="https://curity.se/ns/conf/profile/oauth">as:oauth-service</type><settings><authorization-server xmlns="https://curity.se/ns/conf/profile/oauth"><client-store><config-backed><client><id>haapi-ios-client</id><client-name>HAAPI iOS Demo Client</client-name><secret>foo</secret><redirect-uris>app://haapi</redirect-uris><audience>haapi-client</audience><scope>address</scope><scope>email</scope><scope>openid</scope><scope>phone</scope><scope>profile</scope><capabilities><code></code><haapi><allow-without-attestation>true</allow-without-attestation></haapi></capabilities></client><client><id>haapi-android-client</id><client-name>HAAPI Android Demo Client</client-name><secret>foo</secret><redirect-uris>app://haapi</redirect-uris><audience>haapi-client</audience><scope>address</scope><scope>email</scope><scope>openid</scope><scope>phone</scope><scope>profile</scope><capabilities><code/><haapi><allow-without-attestation>true</allow-without-attestation></haapi></capabilities></client></config-backed></client-store></authorization-server></settings></profile></profiles></config>
To run the example app, use the standard React Native commands from the README file. Check prerequisites carefully, e.g. to install the JDK version for Android builds that the README recommends. Run npm install to install React Native dependencies. Then, configure the app to use the correct BASE_URL value, in the Demo/src/config/defaults.ts file. The following example shows one possible value.
const BASE_URL = 'https://192.168.1.100:8443';
Then, run npx expo prebuild to generate native application assets for Android and iOS. Finally, run npm expo run:android or npm expo run:ios to run the app, which will connect to deployed endpoints of the Curity Identity Server.
Errors and Troubleshooting
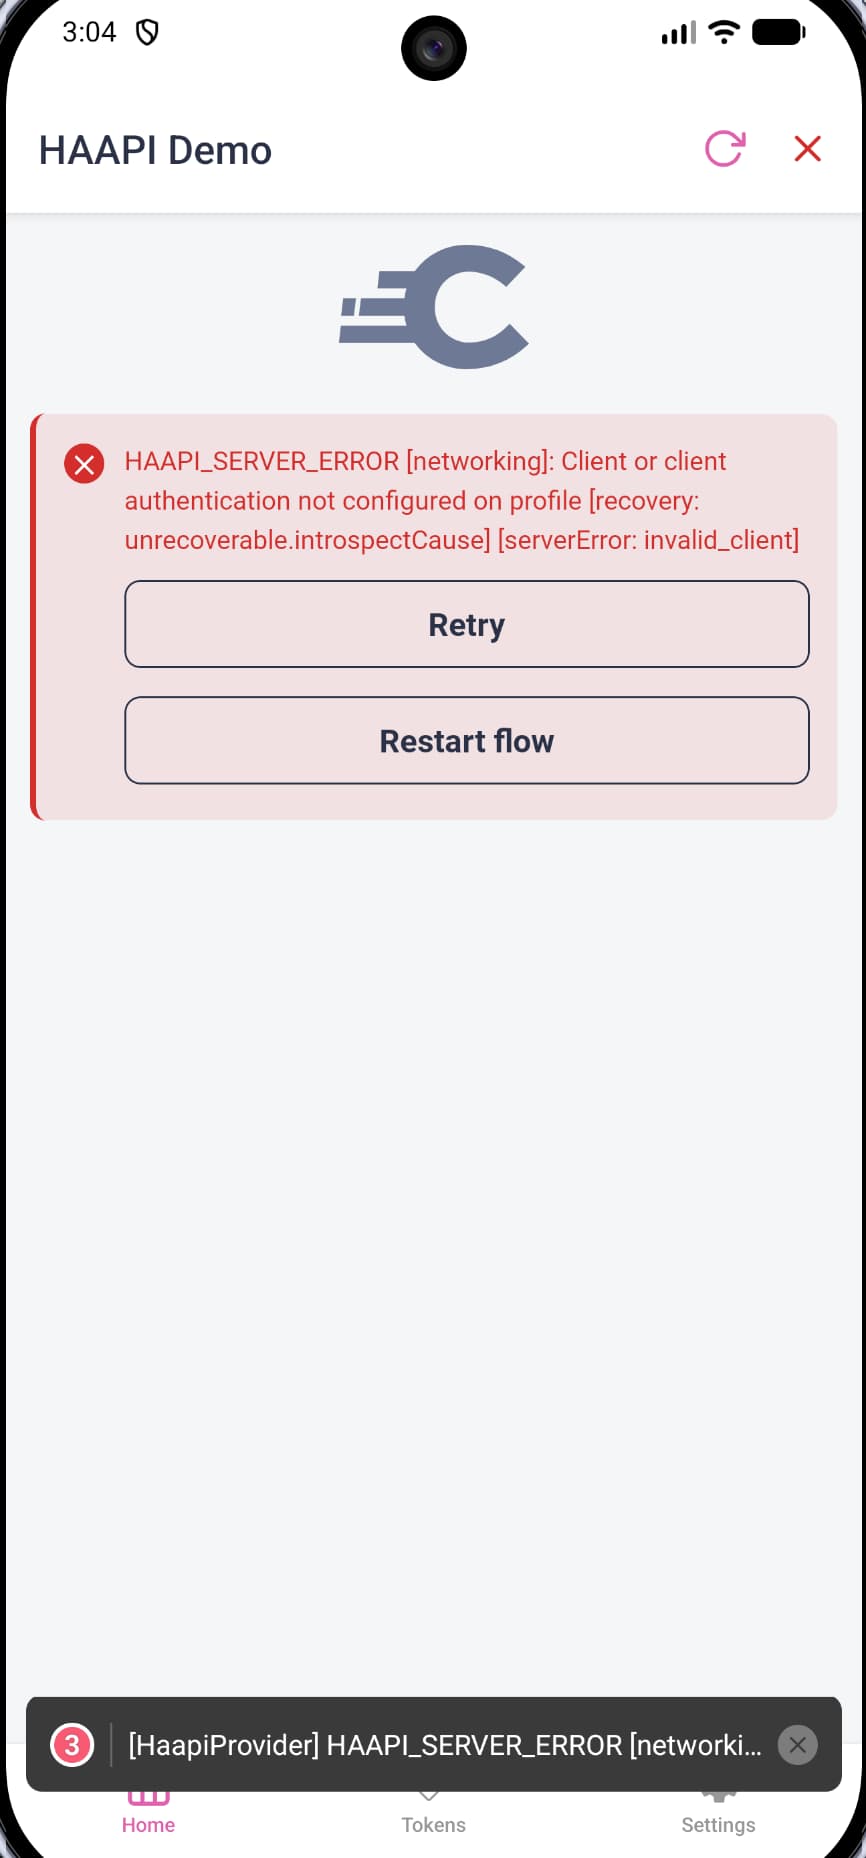
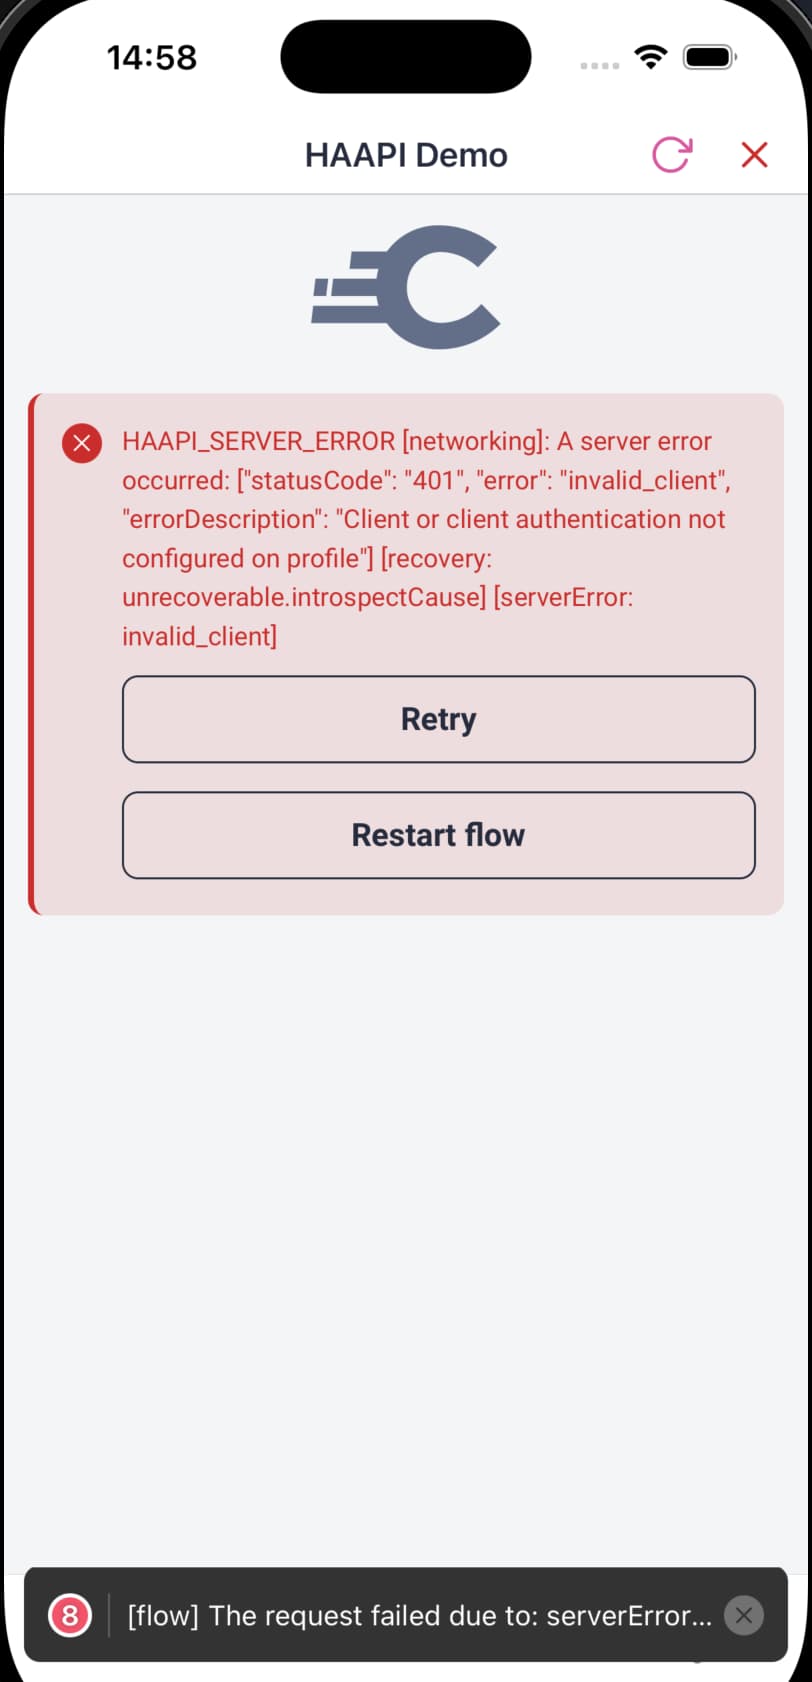
As the application runs, the Metro bundler renders output from the HAAPI SDKs. The output can help to understand flows or troubleshoot when required. For example, if you edit the app configuration to use an invalid client ID, you will see output similar to the following.
ERROR [http] ... request HAAPI Access Token using Client Authentication Method. failed due to: serverError("invalid_client", errorDescription: "Client or client authentication not configured on profile", statusCode: 401) The operation couldn’t be completed. (IdsvrHaapiSdk.HaapiError error 1.)INFO [flow] Trying to handle HaapiFlow error.ERROR [flow] HAAPI setup for request has failed due to: serverError("invalid_client", errorDescription: "Client or client authentication not configured on profile", statusCode: 401)ERROR [flow] The request failed due to: serverError("invalid_client", errorDescription: "Client or client authentication not configured on profile", statusCode: 401)
The code example uses the Demo/src/components/StatusBar component to render errors as shown in the following screenshots. To learn more about the types of error and how they might durface, see the Error Handling guide.
Non-Compliant Devices
The HAAPI SDK uses hardware-backed attestation features to perform secure client authentication. One potential cause of errors in a HAAPI React Native App is if a small minority of Android and iOS devices lack the hardware support needed for client attestation. By default, that leads to errors when users begin logins on those devices. In such cases, use a fallback method of proving the client identity before authentication. Have a look at the Implementing HAAPI Fallback tutorial to learn more.
Conclusion
A HAAPI mobile client can use any authentication method(s) configured in the Curity Identity Server and then receive access tokens once login completes, to enable API access. The app gets hardened mobile security with a pure native login user experience. The React Native SDK provides the client-side support to integrate HAAPI into a React Native app.
Customer Stories
Learn how organizations run identity and API security at scale.
Read customer storiesWas this helpful?