Hypermedia Authentication API React Demo
On this page
What is the Hypermedia Authentication API
The Hypermedia Authentication API (HAAPI) is a way of conducting the authentication process via a series of hypermedia API requests and responses. You can read more about the concept and the security implications in this overview article.
This tutorial shows how to run a demo React application that implements HAAPI.
Prerequisites
To run the demo application, make sure of the following:
- Have Docker and npm installed on the machine where the demo will be run.
- Prepare a
license.jsonfile that contains a license for the Curity Identity Server. If you don't have one yet, you can request an evaluation license through the Curity website.
Running the Demo
To run the demo application, follow these steps:
- Download the code using the Download on GitHub button.
- Copy the
license.jsonfile to theidsvrfolder. - Copy
/idsvr/idsvr.env-templateto/idsvr/idsvr.env. You need to fill the proper configuration options only if you want to use the Google authenticator. See the section below for details. - Run
./idsvr/deploy.shto start the necessary containers. This will start two containers: one with a Postgres database and one with the Curity Identity Server. - Install dependencies of the application with
npm i. - Run the demo app with
npm start.
The application will start listening on http://localhost:3000 and a browser will be opened automatically.
Accept the Self-Signed Certificate
Before starting the authentication flow make sure that your browser trusts the self-signed certificates used by the instance of the Curity Identity Server. Navigate to https://localhost:8443 in a separate tab. Then, depending on the browser you use, either add an exception for the certificates, or download the certificate (through the menu under the padlock sign) and add it to your system keychain.
You can also download the certificate from the admin UI of the Curity Identity Server:
- Navigate to
https://localhost:6749/adminand log in asadmin/Password1. - Open the Facilities menu in the top right corner.
- Find the Keys and Cryptography → TLS → Server SSL Keys section and click on the
default-admin-ssl-key. - Click on the Download PEM button to download the certificate file. This can be then added to your system keychain.
Start Authorization
Click on the Login button to start authentication.

The instance of the Curity Identity Server is configured with three authenticators:
- the username authenticator — you can log in with any username
- the username-password authenticator — log in with
demouser/Password1 - the Google authenticator — this one needs additional configuration. See the section below.
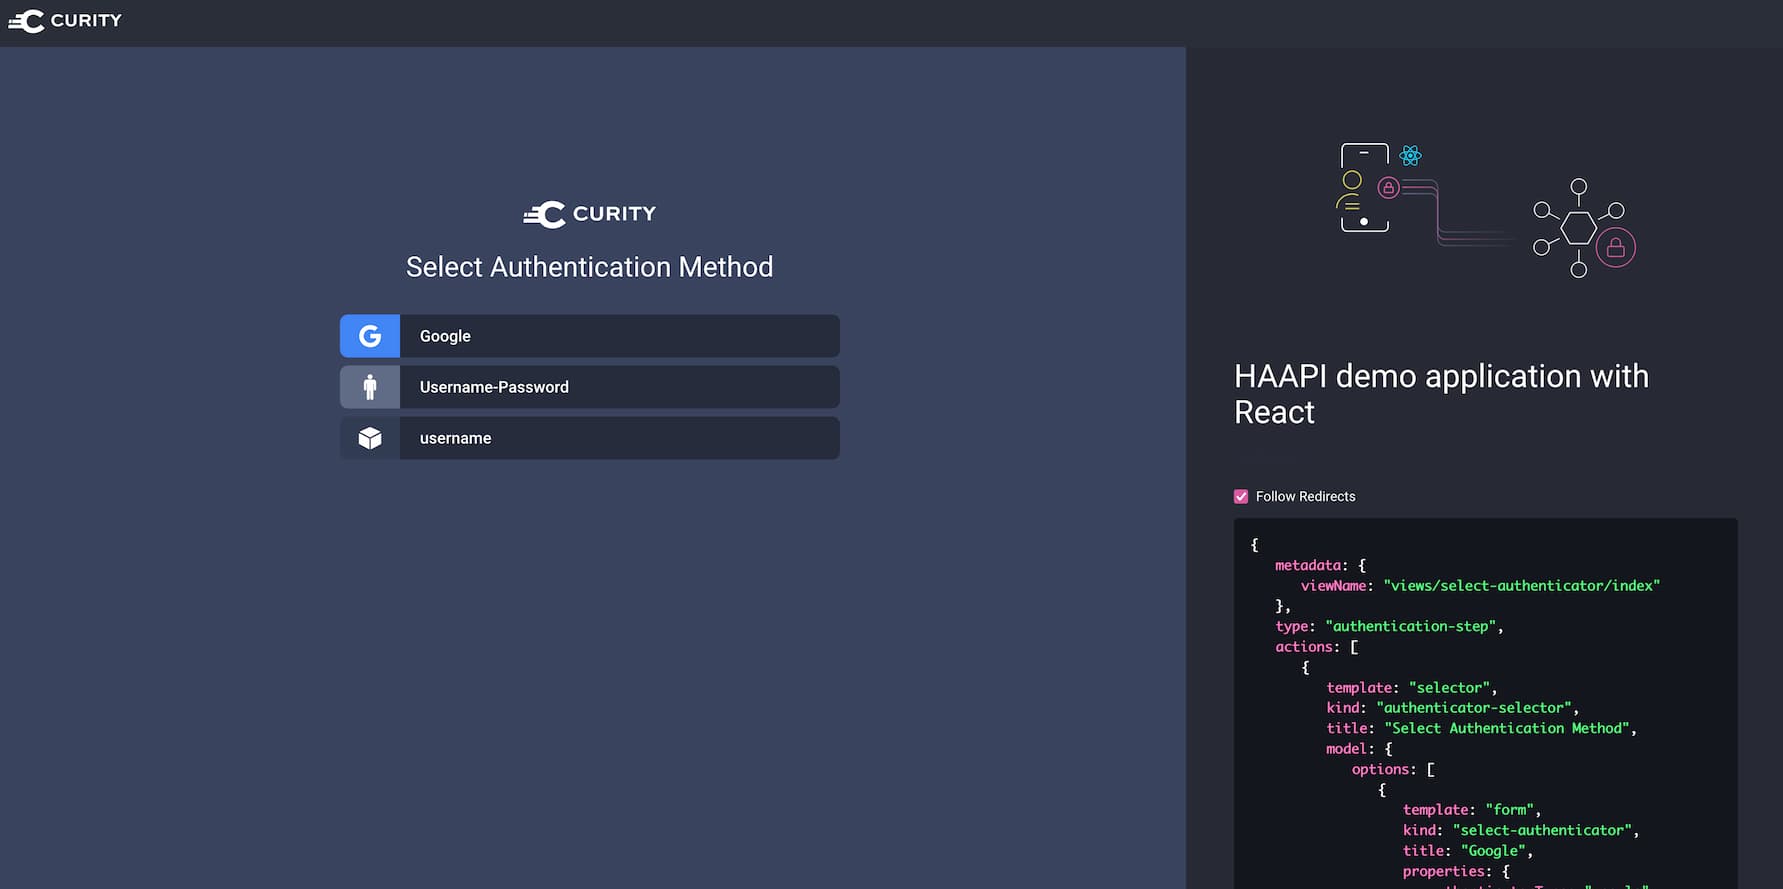
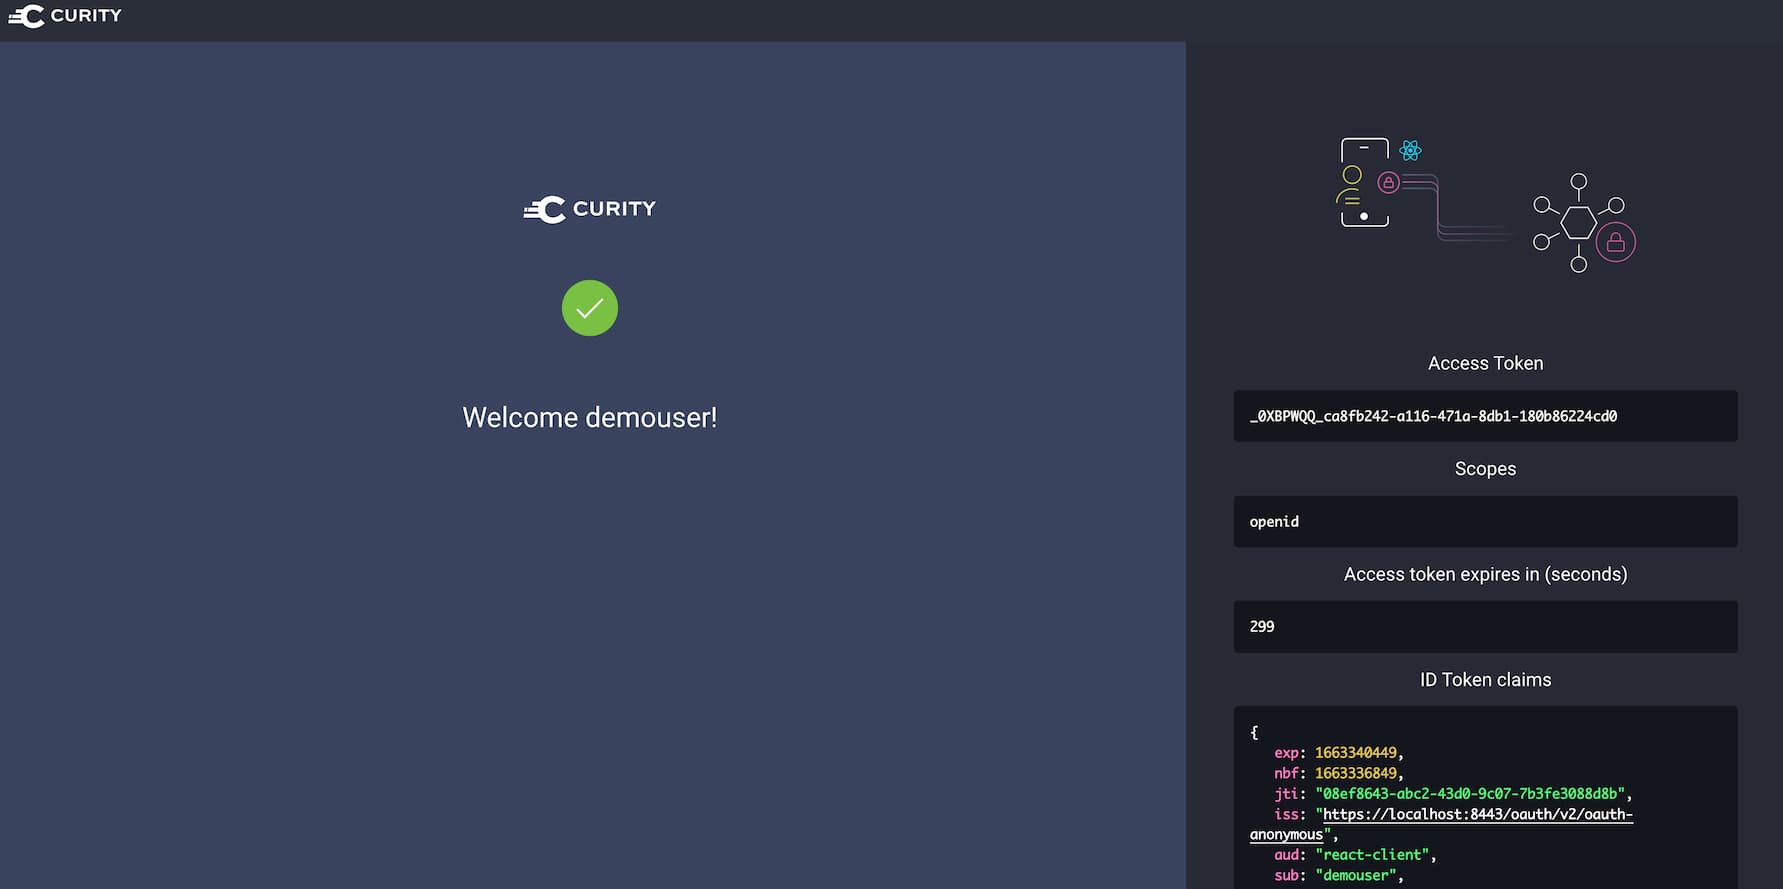
The panel on the right hand side shows the raw JSON response from the API. There is also a toggle for following redirects. When the toggle is switched off then the application will show intermediary steps, that are normally automatically handled by the code.
After a successful authentication, the application obtains access and ID tokens from the authorization server.
Configure the Google Authenticator
The provided instance of the Curity Identity Server has the Google authenticator enabled. This is to show how the Hypermedia
Authentication API deals with authenticators that redirect the user to an external page. In order for the authenticator
to work properly, you need to configure it with the client ID and client secret that will be used to perform the OIDC flow
at Google. Have a look at this documentation to learn how to
register an OAuth client in the Google console. Once you've obtained an ID and secret, paste them in the /idsvr/idsvr.env file.
Have a look at the authenticator's documentation to learn what other options can be configured for this method.
Modifying the Application
Should you want to base your work off of this demo application, below are some useful information.
Configuration
The src/config.js file contains the configuration used to call the Curity Identity Server. Modify it if you want to call your own instance of the Curity Identity Server, or if you want to change the client used to run the flows. Remember that the client needs to have the HAAPI Capability enabled, and a Browser attestation policy needs to be configured for it.
HAAPI Processor
All the work of calling and processing HAAPI responses is done in src/components/HAAPIProcessor.js. The processor keeps a step variable in its state, that consists of the following fields:
| Field | Description |
|---|---|
| name | The name of the step to process. |
| haapiResponse | The object representation of the HAAPI JSON response. |
| inputProblem | The response from HAAPI that contains details of problems with concrete input fields from a form. |
| problem | The response from HAAPI that contains details of a general problem. |
The step state informs the processor on how to behave next — whether to make another call to the HAAPI endpoint, render a form component, or render an authenticator selector screen, etc. Once the authentication is complete, the control is given to the OIDC client, which is responsible for finishing the authorization flow.
OIDC Client
The src/OidcClient.js component is responsible for handling the OIDC flow. It constructs the authorization URI, that is then used to call HAAPI. After authentication, this component takes part in completing the OIDC flow — exchanging the authorization code for tokens. The OIDC client also handles Proof Key for Code Exchange (PKCE).
UI Components
The src/ui-kit contains the UI components used to render elements of the authentication forms and selectors. The src/scss folder contains all the relevant stylesheets. Have a look at these folders if you need to tailor the look and feel of the authentication views.
Conclusion
The demo React HAAPI application shows one possible way of implementing the API-driven authentication in a React app. You can use the code as a base for your solution, or as an inspiration. The provided configuration of the Curity Identity Server lets you quickly start up the environment and check out the features of HAAPI.
Should you have any questions or comments on the API-driven authentication, don't hesitate to contact us.
Customer Stories
Learn how organizations run identity and API security at scale.
Read customer storiesWas this helpful?