
First Configuration
On this page
Once the Curity Identity Server has been installed, it is time to configure it for the first time. The following video tutorial shows how to set up the basic configuration so that the Curity Identity Server has the required elements for running OAuth and OpenID Connect flows.
By default the first configuration uses an in-memory HSQLDB Database, as a getting started convenience. Storage is not usable in a cluster and is lost when you restart the Docker container. For real deployments you instead need to integrate a durable data source.
The Basic Setup Wizard
Open a browser and navigate to https://localhost:6749/admin (or the host where the machine is deployed) to sign in to the Admin UI. If you use a default Docker deployment, it generates a localhost HTTPS certificate as a getting started convenience. You may therefore receive a browser security warning and need to select an option like Proceed to localhost.
Enter the username admin and the password you set during the installation. Click on Run Basic Setup. If the system is not yet configured, you will see the basic setup wizard. When getting started, you can select all default options to complete the wizard. The following sections explain more about the options.

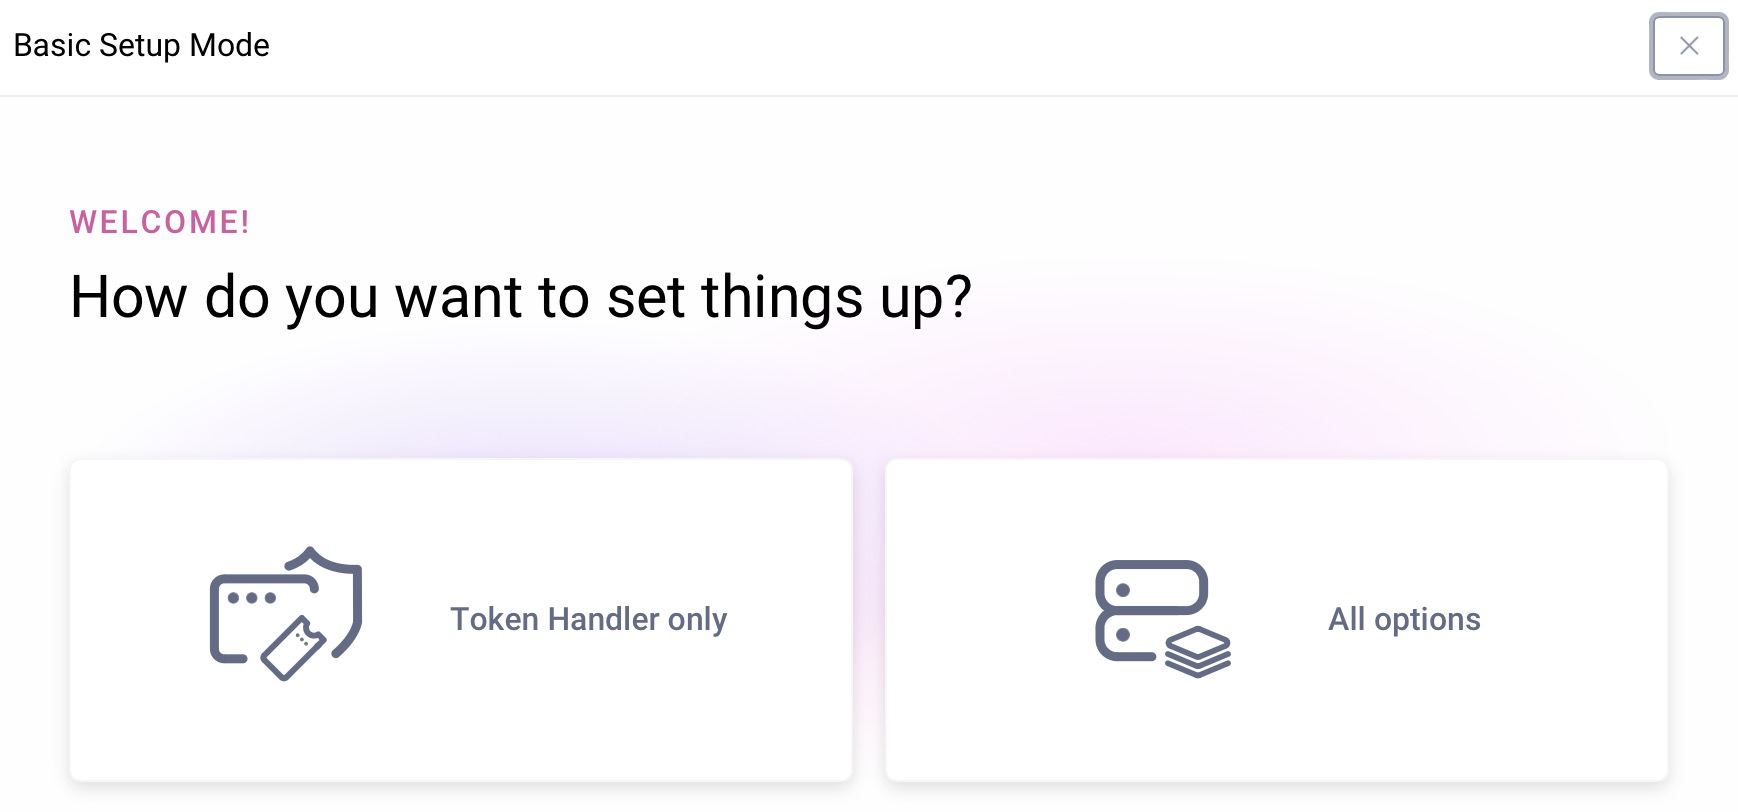
The wizard sets up the system in a working state. It first prompts you to select the system type. Select All options to use the full Curity Identity Server product or Token Handler only if you are only using the Standalone Token Handler.
License Key
First, add a license by uploading an existing license file or import it directly from the Curity Developer Portal. If you do not have a license currently, you can add it later.

Token and Session Data Source
The second screen sets up the data source to store tokens and sessions. It can connect to a number of backends, but to get started quickly, just click Next to use a local test database. The local test database is an HSQLDB data source for tokens and sessions called default-datasource. It cannot be used in production and will not work with clusters.

User Data Source
The users can be stored in different data stores such as SQL, LDAP, SCIM, REST APIs etc. If you do not have any user stores yet, you can use the same test database as in the previous step and just click Next. The hashing algorithm will be used when storing user passwords. The default is ok for a new system.

Email Provider
If the system should be able to send emails for authentication or registration, configure an SMTP service here, otherwise just click Next. You can add an email provider via the Facilities menu later at any time.

SMS Provider
If the system should be able to send SMS messages for authentication, configure an SMS service here, otherwise just click Next. You can add an SMS provider via the Facilities menu later at any time.

SSL Certificates
The Curity Identity Server needs keys for securing endpoints with TLS/SSL. During installation, the server created self–signed keys. For a fast setup choose Use Existing SSL Keys and then select default-admin-ssl-keys. Alternatively, upload existing keys or generate new keys with self-signed certificates for testing. To generate keys click on Generate New and enter the required parameters. Then click Next.

Token Service Capabilities
Next, you can restrict which flows should be available at your instance of the Curity Identity Server. The wizard suggests enabling most of the flows, but you can disable those that you know you won't use (e.g., it is not recommended to use the Resource Owner Password Credentials flow). You can change which flows and features are enabled later on. For now, leave the default settings, then click Next.

Commit changes
Whenever changes are made in the UI, they are not deployed to the server until the admin commits them. They are kept in a transaction, that will be validated when committed. This ensures that all new configuration states are correct and that no config is invalid. The wizard now lets you commit these directly. If you are happy with the new setup, simply click Commit. If you decide to commit changes later, click on Later. Navigate to the Changes menu and select Commit to commit changes without the wizard.

The basic setup wizard configures a working system with the following components:
- An Authentication Profile for user authentication
- A Token Service profile for OAuth and OpenID Connect
- A deployment (
service-role): The runtime configuration needed by the runtime nodes - One or two data-sources: one for tokens and optionally a second one for users
- An Email provider (if selected)
- An SMS provider (if selected)
- SSL certificates and signing keys
Access OAuth Endpoints
You can now navigate to System → Deployments to view details of the default deployment and its exposed OAuth endpoints. By default, these do not use the generated certificate, to make it easy to connect an OAuth client without HTTPS trust problems.
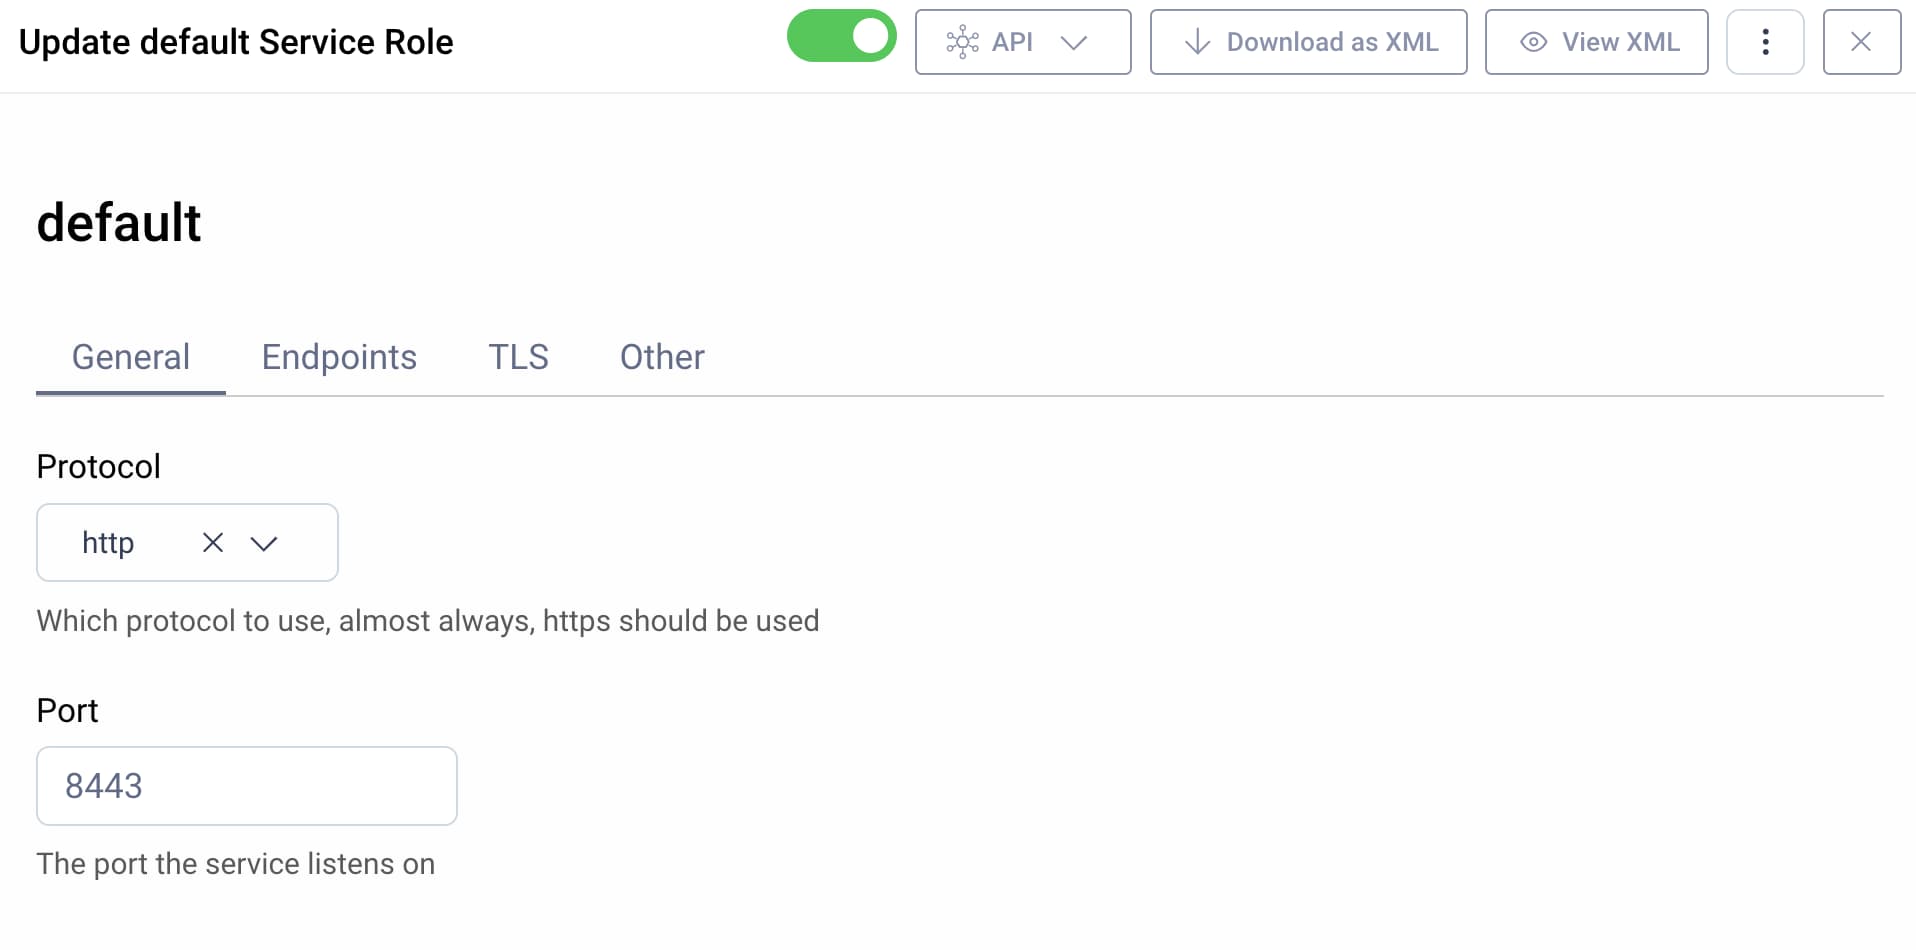
You can connect to the endpoints under a base URL of http://localhost:8443. For example, the following URL is the default location of the OpenID Connect metadata endpoint, that provides endpoints and other information to OAuth clients.
http://localhost:8443/oauth/v2/oauth-anonymous/.well-known/openid-configuration
Normal v Expert Mode
Use the dropdown at the top of the page to switch to the Normal mode.

This is how the dashboard looks like when you're in the Normal mode.

- The System menu takes you to system-wide settings such as deployment properties.
- The Authentication and OAuth & OpenID Connect sections contain views that are used to control the core functions of the Curity Identity Server.
- The Endpoints view lists all the endpoints exposed by the Curity Identity Server (e.g., the OAuth authorization or token endpoints), as well as gives you the current value for the issuer.
- The Changes menu includes options for applying, viewing or cancelling configuration changes. Use it also for uploading configuration in XML format.
- The admin menu allows you to log out.
- The Help menu provides helpful links.
- The Facilities menu contains all helper services such as data sources, certificates and email or sms services.
Feel free to switch between the modes and compare the Normal mode with the Expert mode by changing the value in the dropdown.
Next Steps
The system is now ready for OAuth and OpenID Connect. However, before you can start making OAuth calls you must set up user authentication. Follow the next tutorial to configure a username/password authenticator using the same data source as in this tutorial.

Join our Newsletter
Get the latest on identity management, API Security and authentication straight to your inbox.

Start Free Trial
Try the Curity Identity Server for Free. Get up and running in 10 minutes.
Start Free TrialWas this helpful?