
Configure a Client
On this page
You can configure different clients with different capabilities in the Curity Identity Server. This tutorial shows how to configure a client suitable for the popular code flow. You can follow the same approach to create clients that enable other flows.
Be aware of your testing tool
This tutorial will show you how to configure your first client in the Curity Identity Server. Some configuration will depend on the tool you will choose for testing. Whenever this is the case you will be presented with tabs for the different options. Be sure to use the appropriate configuration variation.
Setup in the Curity Identity Server
From the sidebar menu select OAuth & OpenID Connect -> Clients to go to the client management view. Click on + New Client.
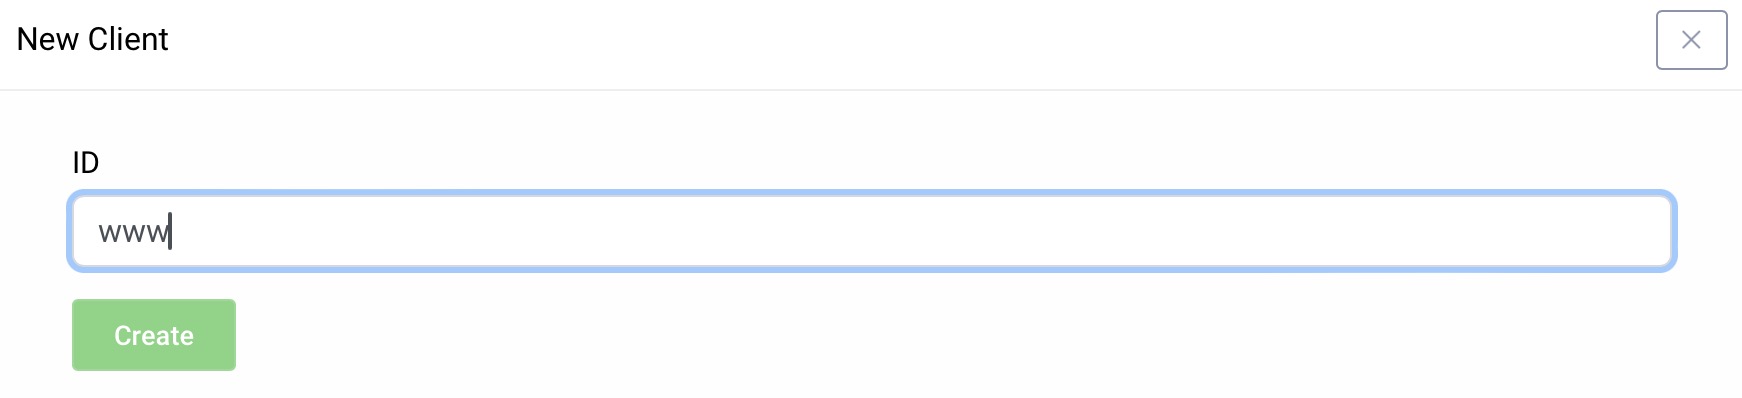
New Client
Give the client an ID, e.g., www for a website client.
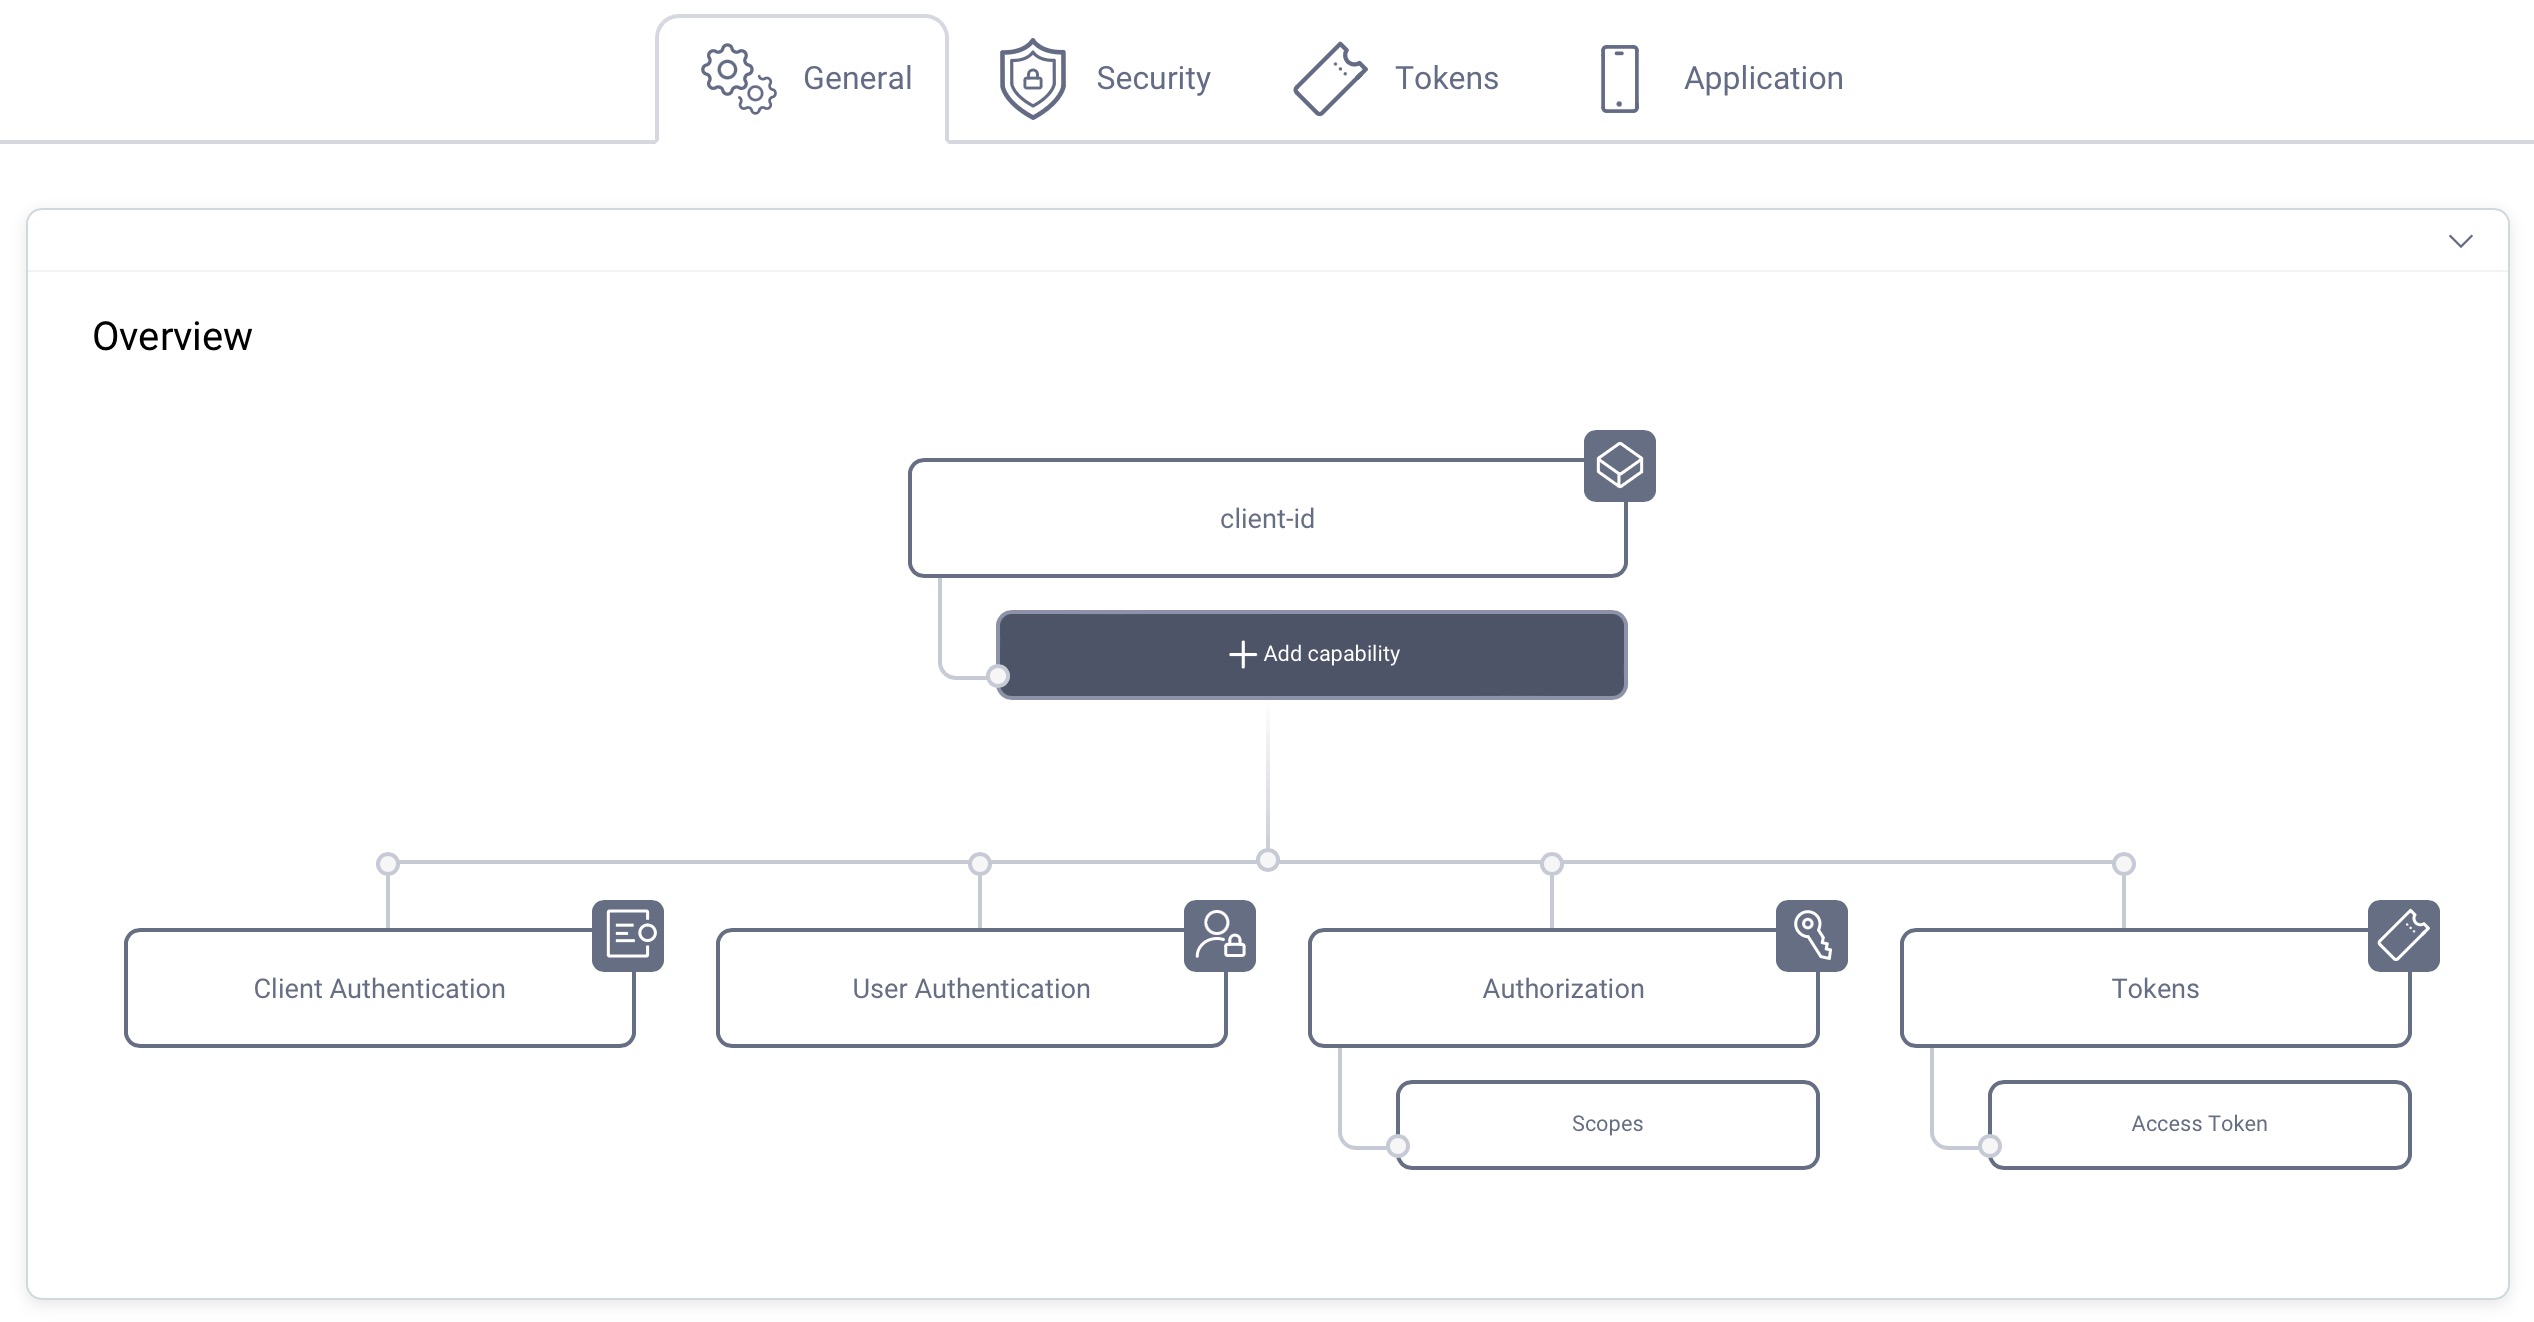
Capabilities
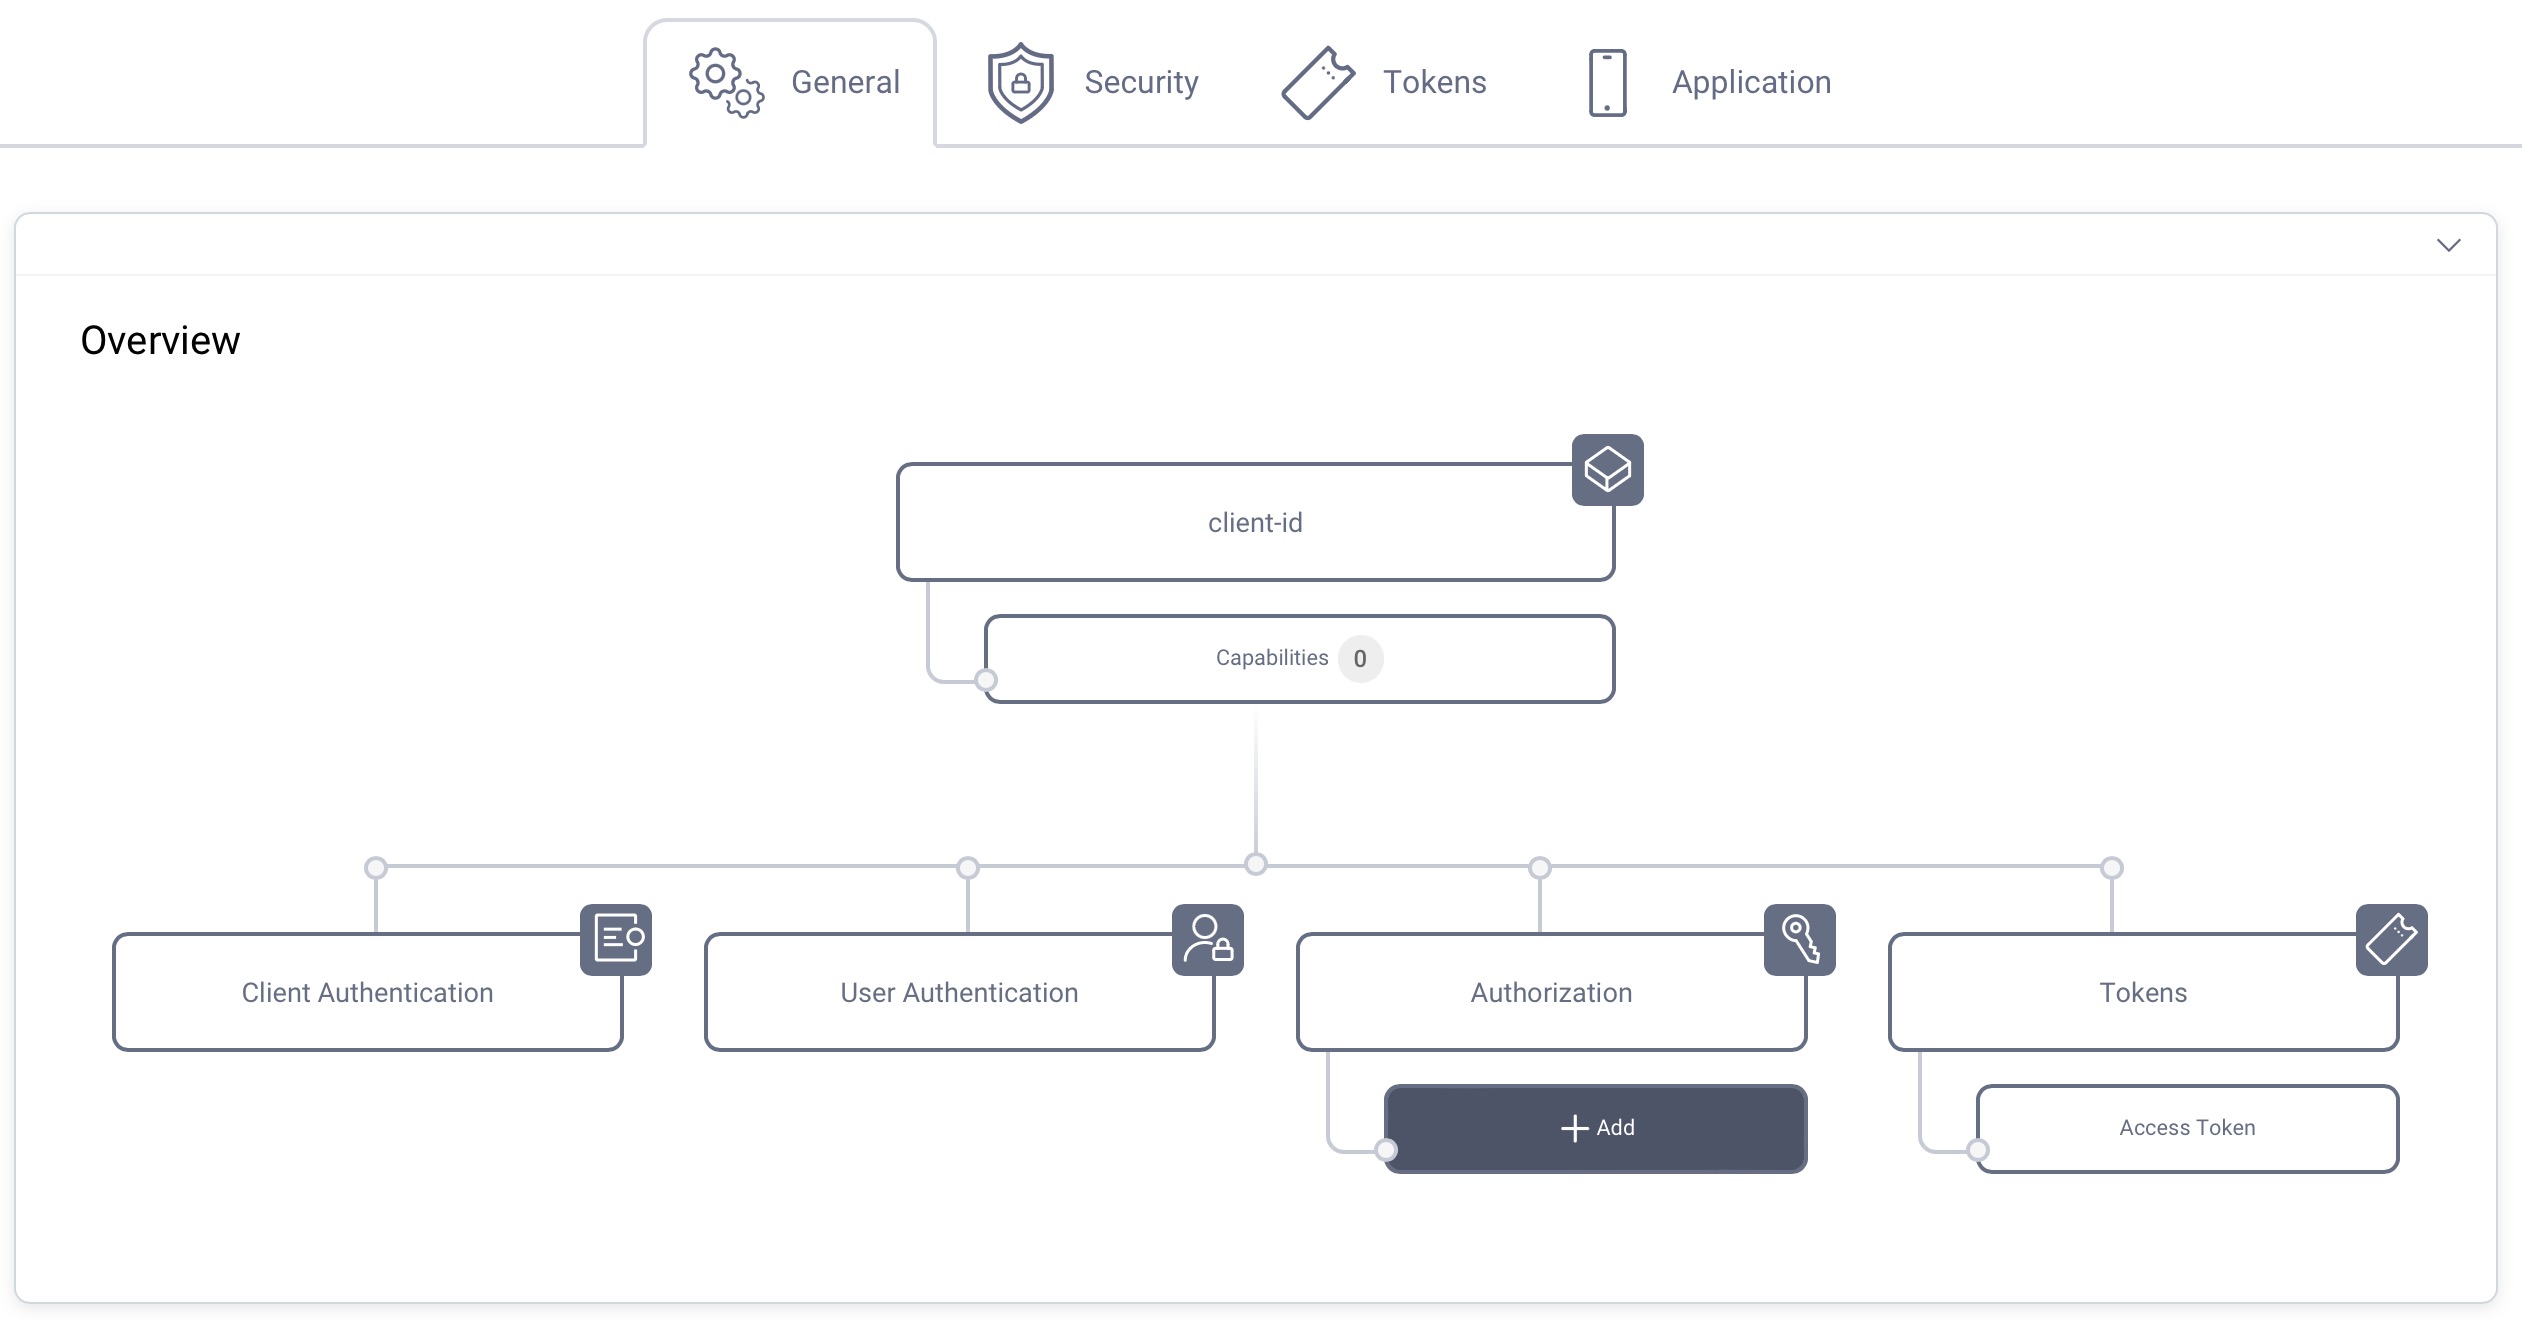
In the Overview panel click on the Capabilities box to add a new capability.
Select the Code Flow capability and click Next.

Redirect URI
The redirect URI is an endpoint at the client. If you do not know what you will use, just enter https://localhost/callback for now. The value can be changed later if needed. The tabs below outline settings for a couple of different approaches for testing the client configuration.
Add the callback URI for OAuth Tools by selecting Add for Web from the OAuth.tools drop-down menu.
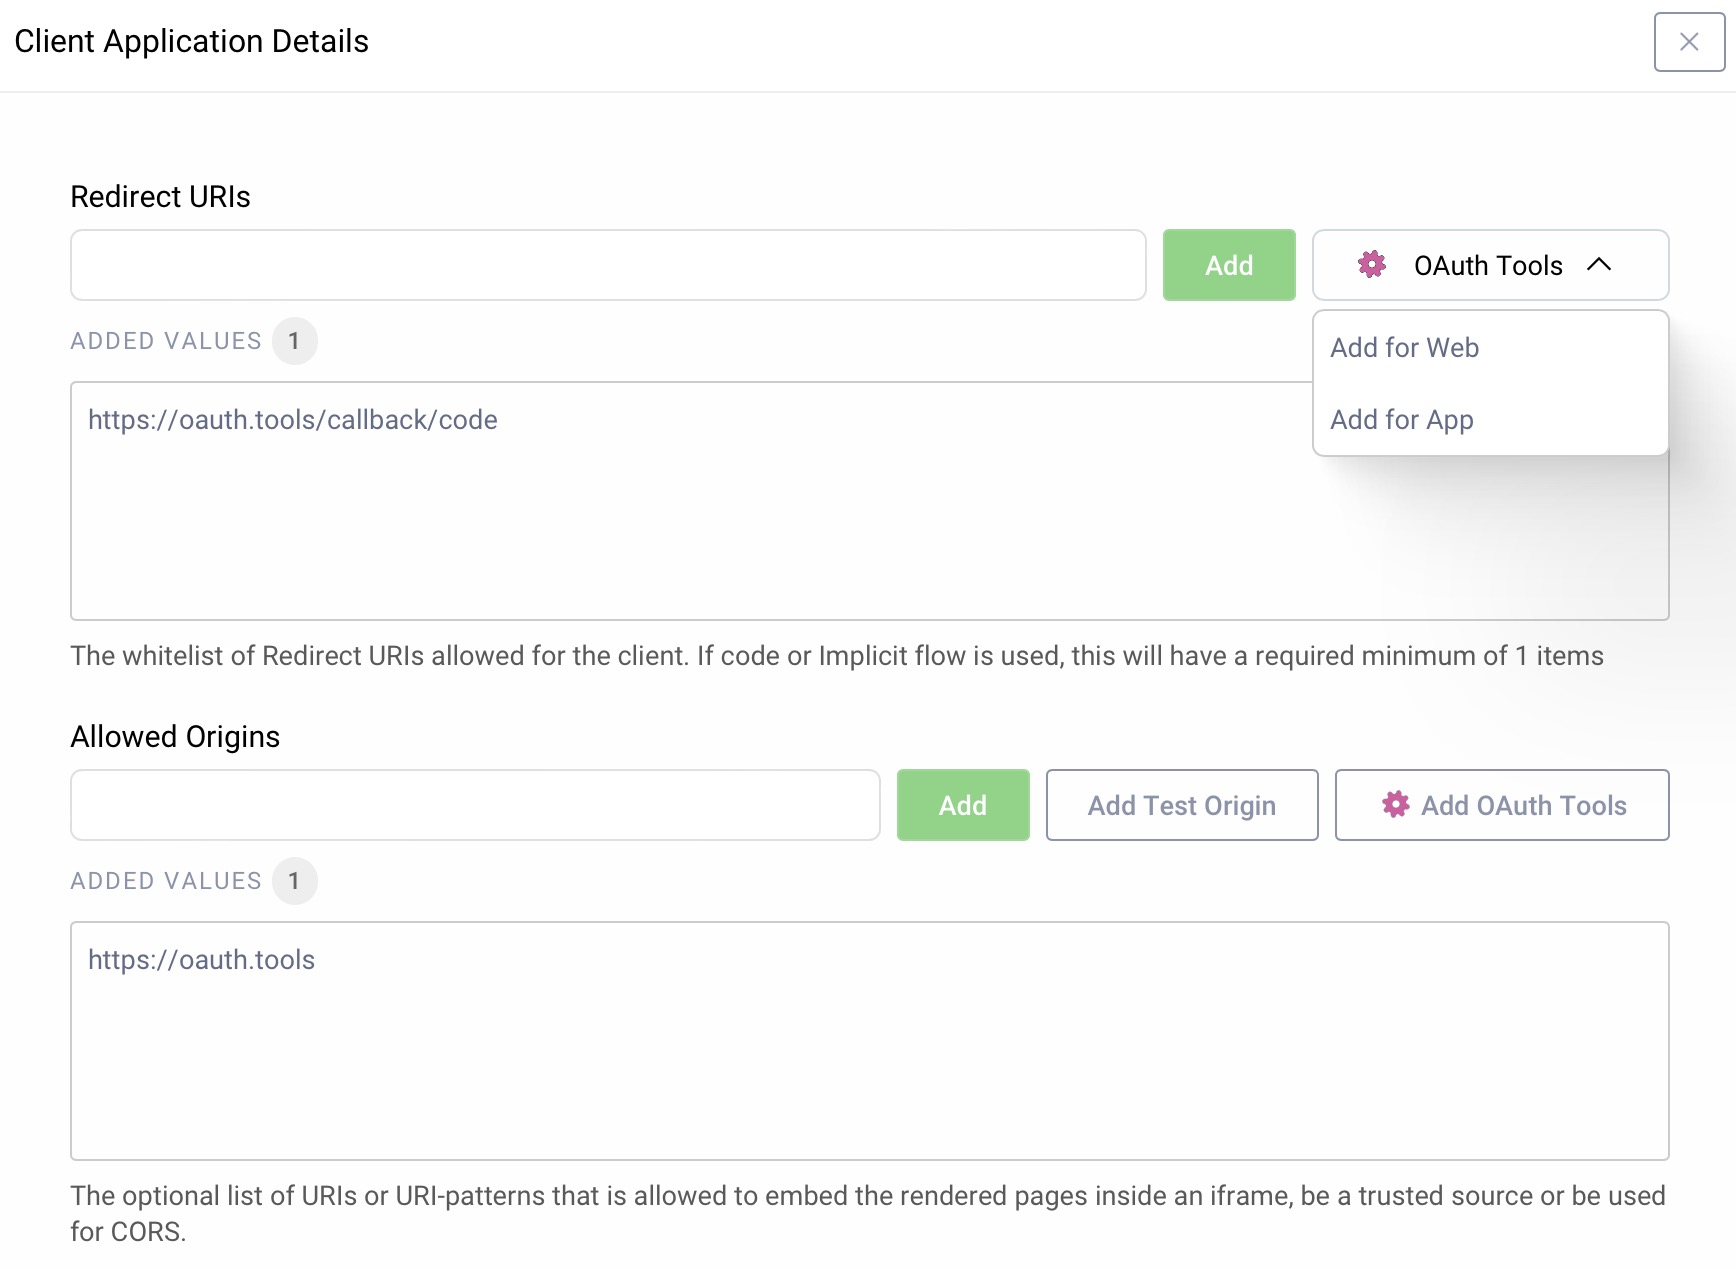
If you run OAuth Tools from the app, choose Add for App instead.
Click Next to continue configuring the client's capabilities.
Client Authentication
For client authentication select secret and enter or generate a secret value. Make sure to remember the value since it cannot be retrieved later, though you can reset it if required.
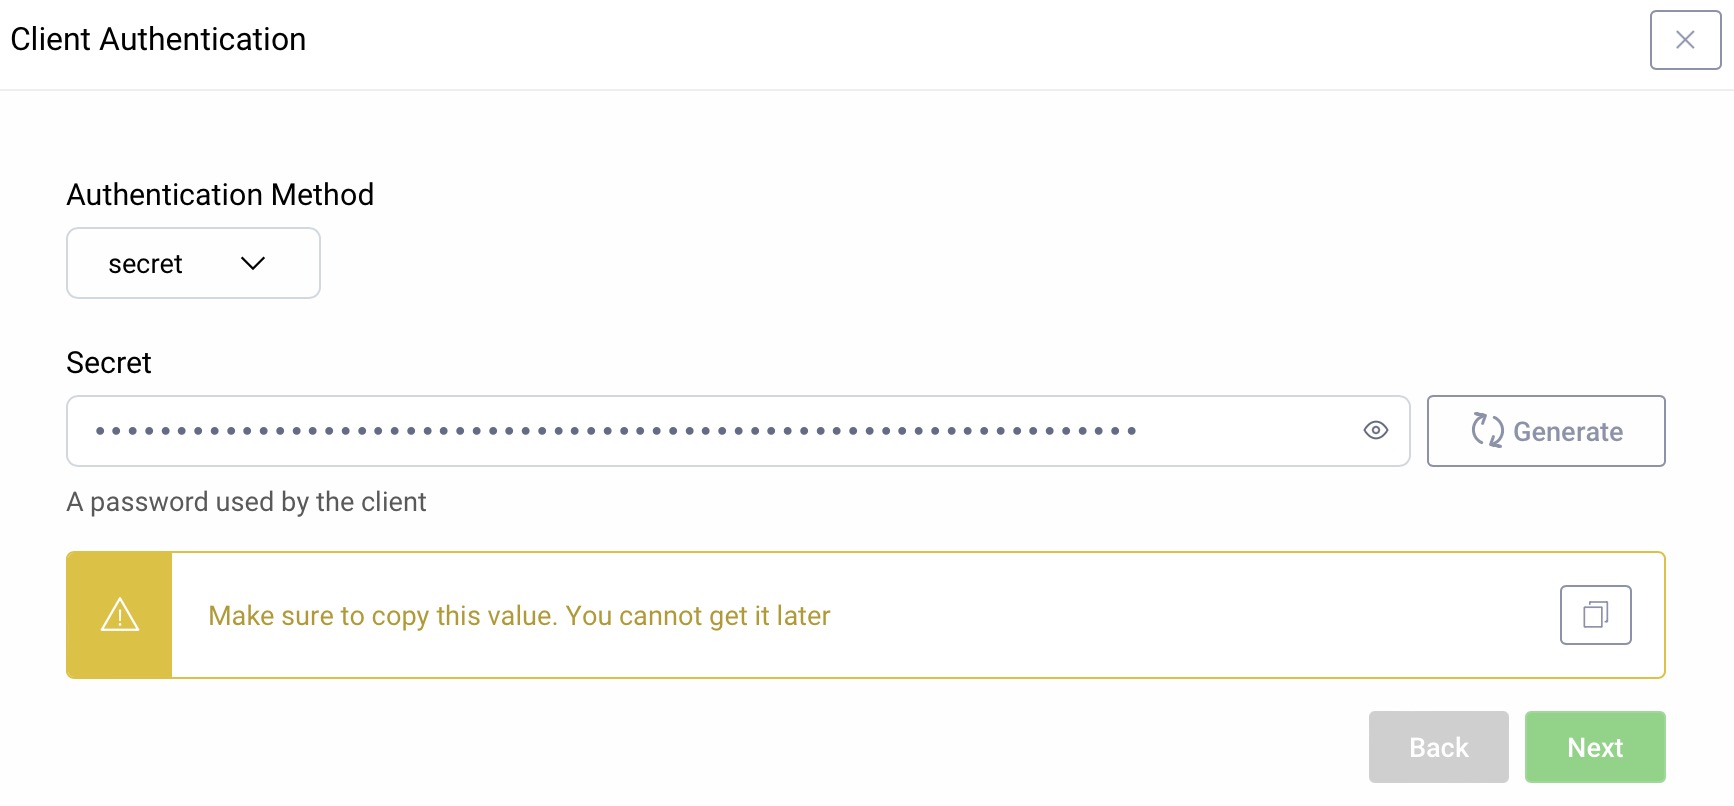
Click Next to continue configuring the client.
User Authentication
For user authentication select the authenticator created in the authenticator tutorial.
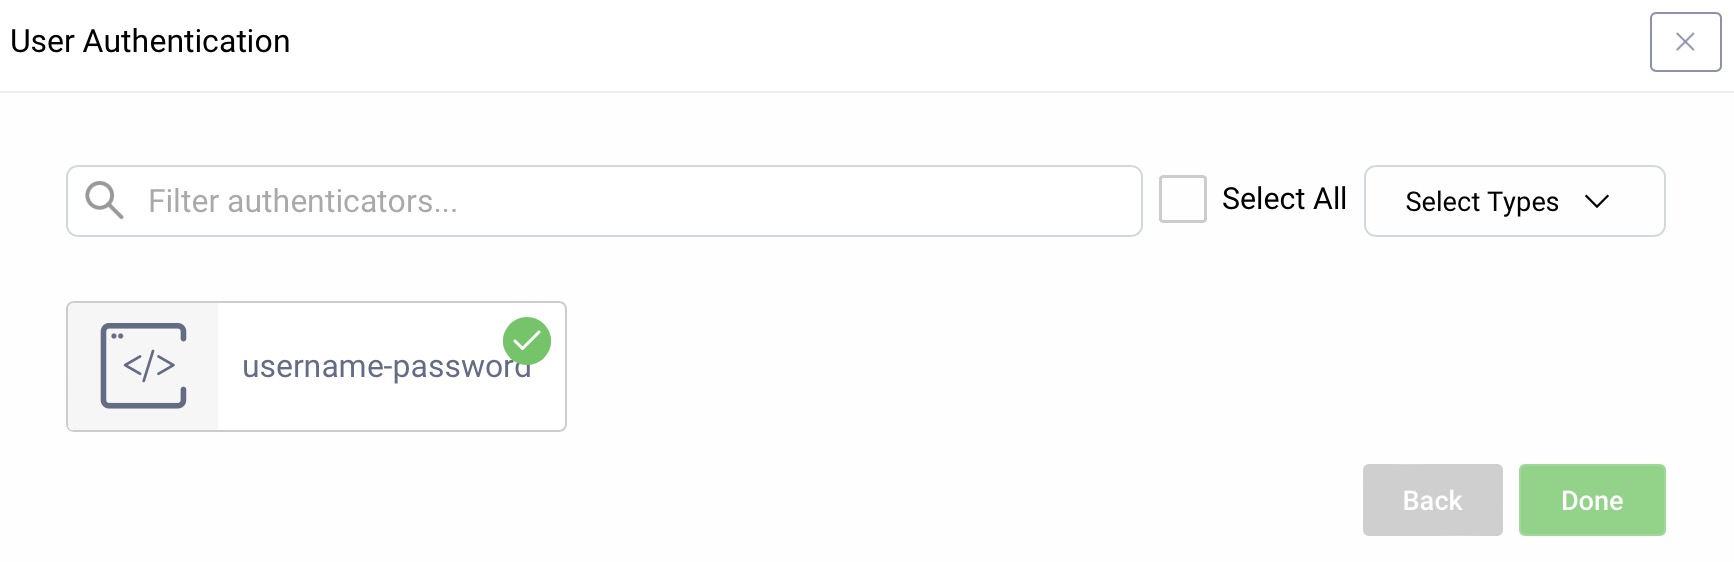
Click Done to finish configuring the client's capabilities.
Add Scope
In the Overview panel locate the Authorization box and click on Scopes:
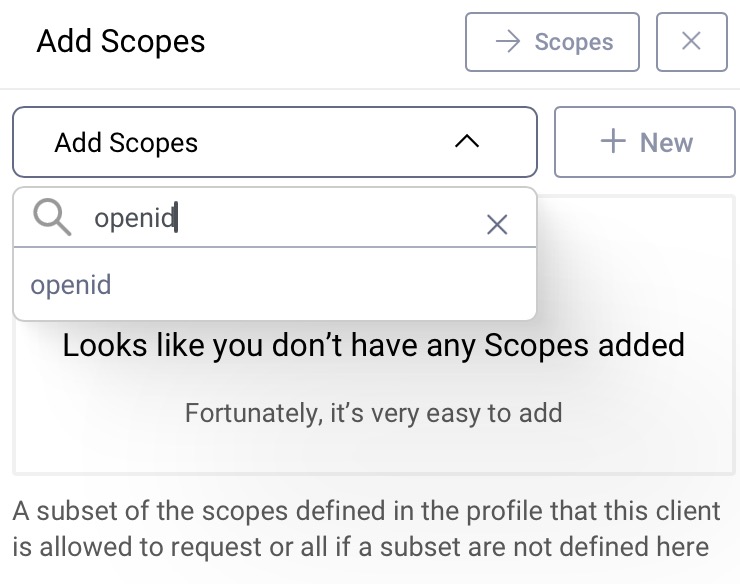
Select openid from the list of scopes in the dropdown menu to add that scope to the client. The client can then run an OpenID Connect code flow and receive an ID token with information about how and when the user authenticated.
Commit
Make sure to commit the changes. Go to the Changes menu and select Commit.
Next Steps
At this point the system should be configured with a working client. The next step would be to test the configuration. There are several ways to test and the approach depends on where the Curity Identity Server is running. Here are a few options that should cover most scenarios.

Join our Newsletter
Get the latest on identity management, API Security and authentication straight to your inbox.

Start Free Trial
Try the Curity Identity Server for Free. Get up and running in 10 minutes.
Start Free TrialWas this helpful?