Token Handler First Configuration
On this page
After completing the Installation of the Curity Token Handler, use the Admin UI to first perform a basic setup and create the initial configuration. Then, create crypto keys for cookie encryption. Finally, configure the OAuth Agent with the SPA's OAuth confidential client settings and the authorization server's endpoints.
Run the Basic Setup Wizard
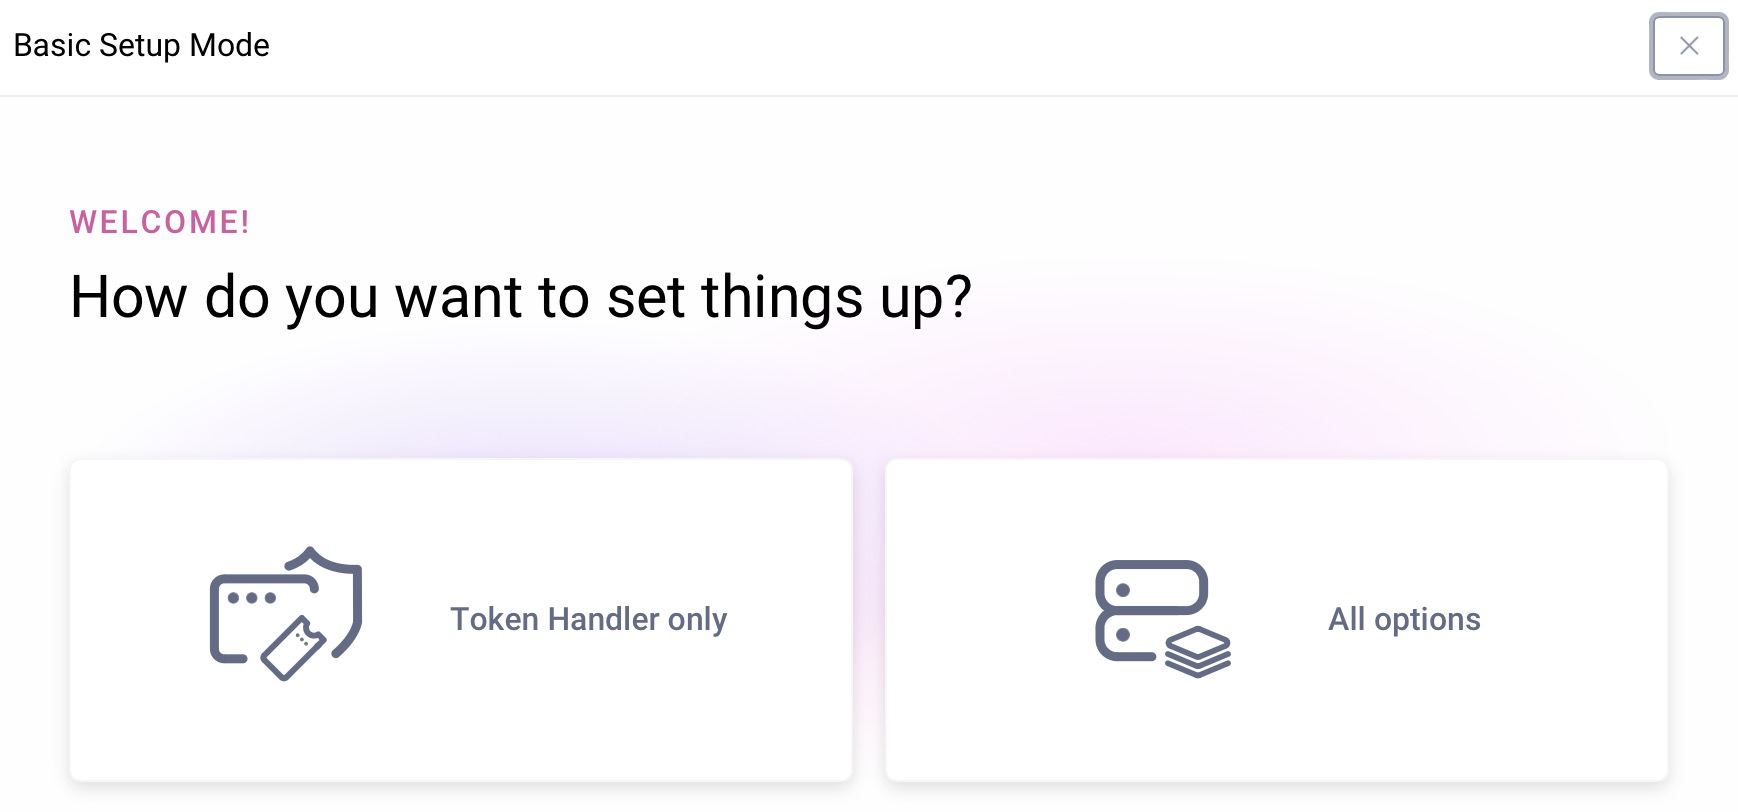
Log in to the Admin UI using the admin user and the password from the installation. For a Docker deployment, browse to the Admin UI at https://localhost:6749/admin. Otherwise use the deployed host name and URL. Then run the basic setup wizard to complete the First Configuration. Select the Token Handler only option and upload a license file:

Accept all other defaults to complete the wizard. The token handler consists only of stateless API components so there is no need to configure any backend data storage. Use the Changes -> Commit menu option to save your settings.
Create Cryptographic Keys
Next, create cryptographic keys that token handler components use for cookie encryption and decryption. Use the OpenSSL tool and run the following commands to create crypto keys. Enter an encryption password when prompted.
openssl ecparam -name prime256v1 -genkey -noout -out private-key.pemopenssl ec -in private-key.pem -pubout -out public-key.pemopenssl pkcs8 -topk8 -in private-key.pem -out private-key.pkcs8
Configure the OAuth Agent
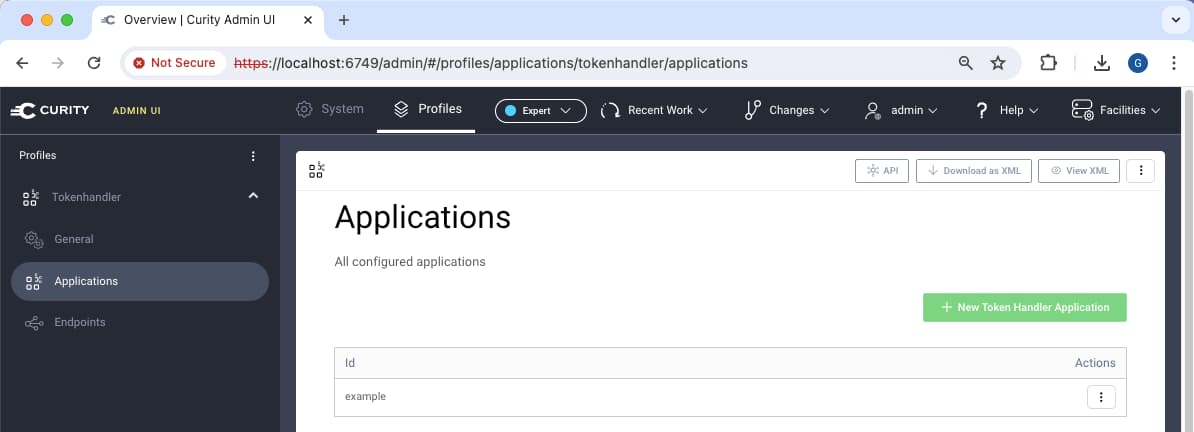
Next, use the Admin UI to create a token handler application that uses the cryptographic keys. Navigate to Profiles -> Applications and click on New Token Handler Application. Assign an ID to describe the SPA which becomes part of the base URL of the OAuth Agent.

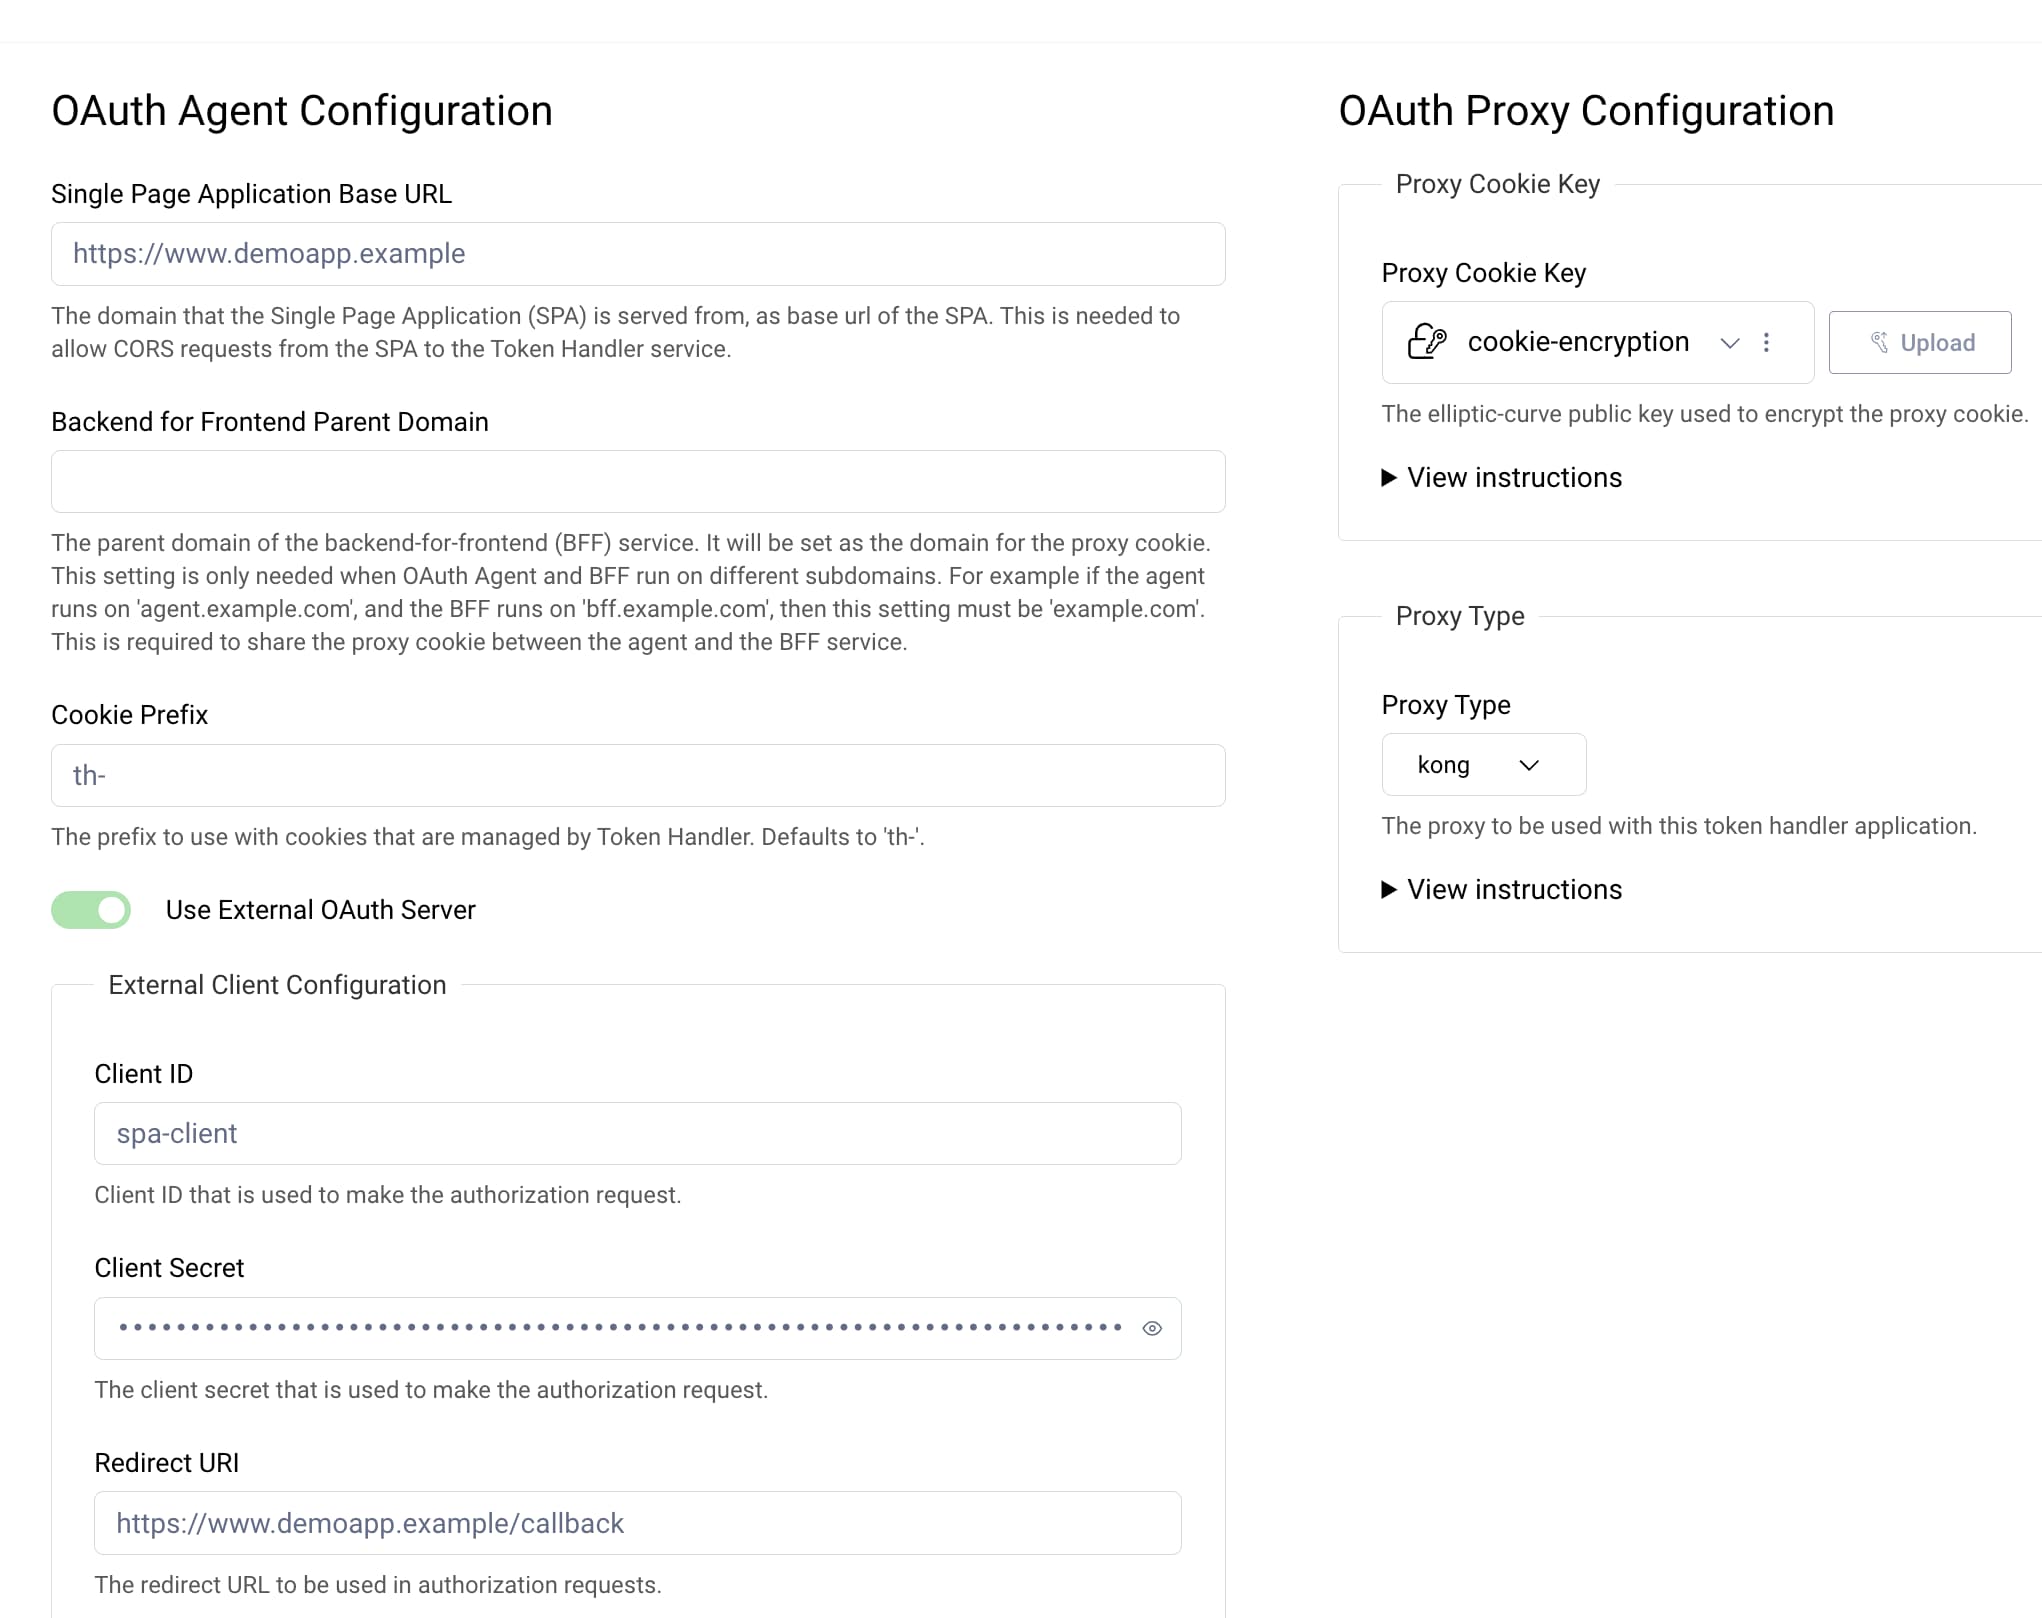
Next, edit the token handler application settings. The left hand side shows OAuth Agent settings and the right hand side shows OAuth Proxy settings. If you have an existing authorization server, select the Use External OAuth Server option.

The OAuth Agent acts a confidential client for the SPA. Therefore, configure the OAuth Agent with client settings and the endpoints of the authorization server. Enter values similar to those in the following table. The configuration used during development might use HTTP URLs and include a port number in redirect URIs. Learn more about ways to configure the OAuth Agent in the Create a Token Handler tutorial.
| Field | Value |
|---|---|
| Client ID | spa-client |
| Client Secret | m8v7y0JH1SC |
| Redirect URI | https://www.demoapp.example/callback |
| Authorization Endpoint | https://login.example.com.com/oauth/v2/authorization |
| Token Endpoint | https://login.example.com.com/oauth/v2/token |
| Token Issuer | https://login.example.com |
| Scopes | openid |
| Use PKCE | On |
| Logout | On |
| Logout Endpoint | https://login.example.com.com/oauth/v2/logout |
| Post Logout Redirect URI | https://www.demoapp.example |
Next, on the right hand side, use the Upload button to save the public-key.pem file from the generated crypto keys. The OAuth Agent uses this key when it encrypts the cookie that the SPA sends to APIs. Select the Changes -> Commit button to save the configuration.
Test the OAuth Agent
After installation and configuration, you can call OAuth Agent endpoints using a path of the form /apps/example, where example is the name of the token handler application created earlier. After a default Docker installation with the example configuration settings from the above table, you can run the following command to call the OAuth Agent and start a flow:
curl -i -X POST http://localhost:8443/apps/example/login/start \-H 'origin: https://www.demoapp.example' \-H 'token-handler-version: 1'
The response from the OAuth Agent includes an authorization request URL. An SPA uses this URL to initiate a login:
{"authorization_url": "https://login.example.com/oauth/v2/authorization?client_id=myclient&response_type=code ..."}
Integrate with the API Gateway
The final deployment related task is to make the token handler's endpoints available at a domain based URL that the SPA can call. To enable that, you Integrate with the API Gateway.

Join our Newsletter
Get the latest on identity management, API Security and authentication straight to your inbox.

Start Free Trial
Try the Curity Identity Server for Free. Get up and running in 10 minutes.
Start Free TrialWas this helpful?


