On this page
The OAuth Assistant is a JavaScript library provided by Curity to help you integrate with OAuth and OpenID Connect (OIDC). This tutorial uses an open source example app, which you can clone from this tutorial's GitHub repository link. If you want to have a deeper look into the library, check out the OAuth Assistant tutorial.
Configuring the Curity Identity Server
The OAuth Assistant uses the OIDC metadata to automatically set up necessary settings, like endpoints or keys. You need to configure the Curity Identity Server with a base URL, so that it generates a correct metadata document. The base URL is the external URL that the runtime responds to. In the admin UI, navigate to System → General. This tutorial assumes that the Curity Identity Server runs locally, thus enter https://localhost:8443 in the Base URL field.
Get Started With OAuth Assistant
Install the example application and its dependencies using the following steps:
git clone git@github.com:curityio/oauth-assistant-example.gitcd oauth-assistant-examplenpm install
Update the configuration to match the setup of the Curity Identity Server. Open defaultAuthorizeSettings.js in an editor to update two attributes:
- set the
client_idto the pre-configured client —www, - set the
issuerto"https://localhost:8443/oauth/v2/oauth-anonymous", to match the setup of this tutorial.
Find the issuer URL
You can find the issuer URL in the Admin UI. Navigate to Profiles → Token Service → General, then click on the ? Info button in the upper right corner.
After the edits, the defaultAuthorizeSettings should look similar to this:
const defaultAuthorizeSettings = {base_url : "https://localhost:8443",client_id : "www",issuer : "https://localhost:8443/oauth/v2/oauth-anonymous",redirect_uri : window.origin + "/assisted.html",for_origin : window.origin,flow_type : "code",iframe : {targetElement: 'body',width : null, // take default valueheight : null, // take default valuebackdrop : {visible : true, // default is truestyle : null, // take default valuebackdropClass: "backdrop-class"}},allowed_origins: ["https://localhost:8443", "http://localhost:8080"], // default is [window.origin]check_session_iframe : null,session_polling_interval: 5, // polling interval in seconds, default is 5allowed_jwt_algorithms : ['RS256'],jwt_sig_public_key : { // allowed formats are jwk | jwks_uri | pem | issuer | metadata_url | rawformat: 'issuer', // in case of issuer, the issuer value will be taken from jwt payloadvalue : null},debug : false,//check_session_iframe_events: checkSessionIframeEvents};
Run OAuth Assistant
Save the file, and start the example app by running:
npm start
This should open the browser and navigate to http://localhost:8080.
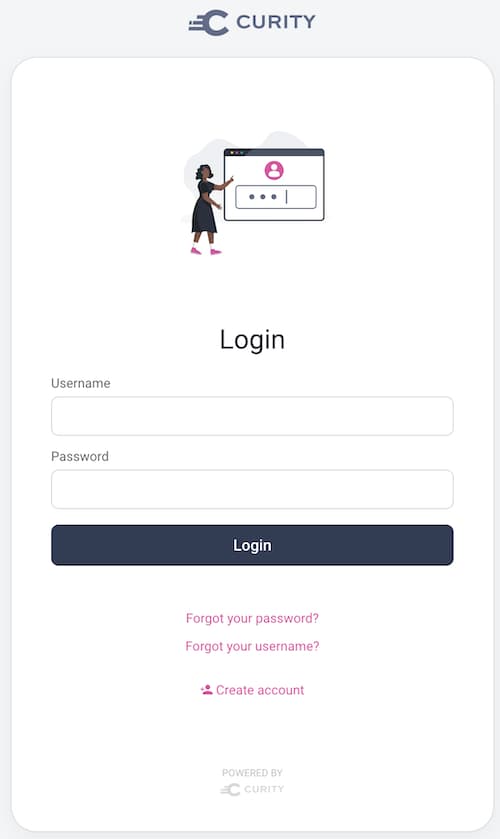
You can use the application to test various flows and options. First, authenticate using a regular code flow. Click on Login with Redirect. If you already have an account, use it to log in. Otherwise, create a new account.
To create a user with the HTML Form Authenticator, click the Create account link on the form:

Fill out the information for the new account. Username, email and password are mandatory fields. Submit the form and finish account creation by clicking the Create account button under the form. After successful account creation you have the option to Return to login.
Self-signed certificate
If nothing happens when you click on the Login with Redirect it might be that your browser doesn't allow the example app to download the configuration in the background. To enable that, you have to accept the self-signed certificate. Open a new tab, navigate to the issuer URL (http://localhost:8443/oauth/v2/oauth-anonymous, in the default case), and accept the certificate. Then reload the app.
Once you authenticate, you will see an access token and an ID token. You can now try to log in again to see the SSO session in action — the app will get new tokens without any user interaction. To try out other flows and features you will have to adapt the configuration in the Curity Identity Server. See the OAuth Assistant tutorial for details.
Next Steps
This concludes the basic "Getting started" track. Head over to the summary article that also covers further suggested reading on additional advanced configuration and integration options.

Join our Newsletter
Get the latest on identity management, API Security and authentication straight to your inbox.

Start Free Trial
Try the Curity Identity Server for Free. Get up and running in 10 minutes.
Start Free TrialWas this helpful?


