
On this page
Note
Curity Identity Server is used in this example, but other OAuth servers can also be used.
Overview
The role of the OAuth Agent in the below diagram is to handle the OpenID Connect flow for Single Page Applications (SPA). This includes issuing of secure cookies for the browser and managing follow-on operations for token refresh, retrieving user info and signing out:

This implementation is implemented using Next.js, and is the preferred choice of OAuth agent for companies who use that platform for their microservices. If you need to make minor changes, for whatever reason, you can fork the repo and adapt the code.
The SPA security then uses the Code Flow in the most mainstream way, with response_type=code, PKCE, and a client secret. Only the strongest HTTP Only, SameSite=strict cookies are used in the browser. In addition, microservices only need to work with JWT access tokens, and do not need to deal with any web security concerns.
OAuth Agent Operations
The following operations represent the OAuth Agent's API interface, and all of these are designed to serve SPAs via Ajax requests from the browser. This enables the SPA to fully control behavior such as when redirects occur:
| Endpoint | Description |
|---|---|
| POST /login/start | Start a login by providing the request URL to the SPA and setting temporary cookies. |
| POST /login/end | Validate the request, complete the login and return HTTP only encrypted cookies to the browser. |
| GET /userInfo | Return Personally Identifiable Information (PII), such as the user name, to the SPA. |
| GET /claims | Return claims from the ID token to the SPA, containing authentication related information. |
| POST /refresh | Refresh the current access token and rewrite secure cookies. |
| POST /logout | Clear secure cookies and return an end session request URL. |
An OAuth Agent is a tricky API to develop, since its main focus is on browser and OAuth infrastructure:
| Behavior | Description |
|---|---|
| Authorization Codes | The API needs to receive real authorization codes in order to get tokens. |
| HTTP Redirects | The SPA client therefore needs to perform real HTTP redirects and user logins. |
| Cross Origin Requests | The API and its SPA client may need to deal with Cross Origin Request Sharing (CORS). |
| Cookies | The API operations need to frequently read, write and update encrypted cookies containing tokens. |
Get the Code
First get the code, which is a standard Next.js API. The repository contains both code and test resources. The logic for the OAuth Agent can be studied and adapted if needed. The controller source files provide an outline of processing, including cookie issuing. To understand the main interaction with the Authorization Server, see the authorizationUrl and getToken modules within the src/lib folder.
Run the OAuth Agent
This is done in the standard Node.js manner, after which the API's HTTP endpoints are available for a client to call:
npm installnpm run dev
You can then simulate a request from the SPA via the following test command, to ensure that connectivity is working:
curl -X POST http://localhost:3000/api/login/start \-H "origin: http://www.example.local" | jq
Run Integration Tests
When working on the OAuth Agent as an API it is useful to initially avoid a browser and use a test driven approach. Integration tests use Wiremock to mock the endpoints of the Curity Identity Server. Run all integration tests with these commands, to start the API and wiremock, then make HTTP requests:
npm run devnpm run wiremocknpm test
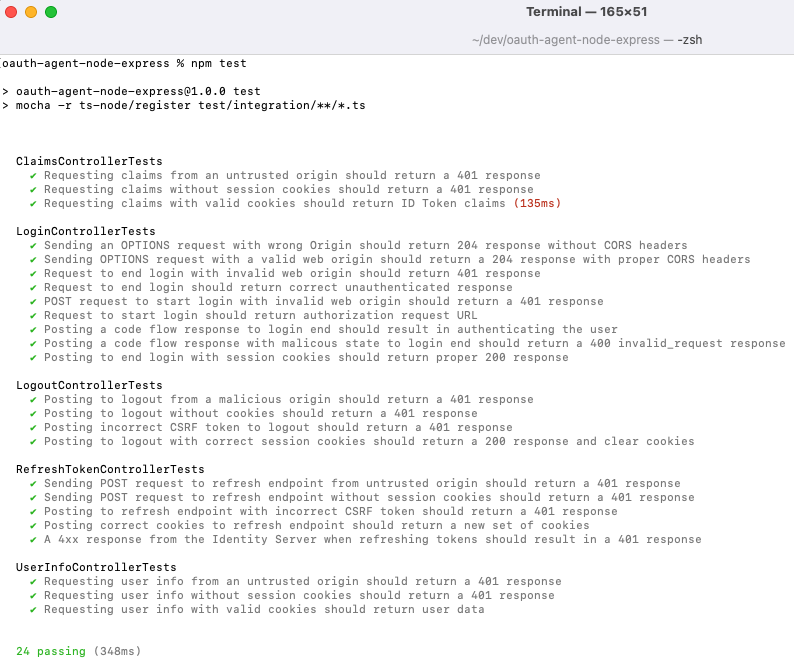
The OAuth Agent's endpoints are then called, and a number of success and failure scenarios are verified. This includes running an entire OAuth lifecycle, from login through to session expiry and logout:
Deploying to Vercel
A simple way for deploying a Next.js app is to use the Vercel platform. All you need to do is to connect your repository to the Vercel dashboard and set proper environment variables. These are the variables used in the src/config.ts file. The app can then be deployed and is ready for use.
Remember that the OAuth Agent needs to be deployed to the same parent domain as the SPA, so that cookies can be properly recognized as first-party. This means that you need to either configure your own domain in Vercel, or put the OAuth Agent behind a reverse proxy.
Further Resources
If you want to read more about testing using a real instance of the Curity Identity Server, have a look at the Express OAuth Agent tutorial.
The Token Handler Pattern article gives an overview of the Token Handler concept and its components.
These two tutorials show how to configure and deploy a complete solution with all the elements required by the Token Handler pattern:
They use either the Express or the Kotlin implementation of the OAuth Agent, but can be easily tailored to work with the Next.js implementation:
- Update the gateway configuration so that it points to the Next.js implementation (either deployed locally or remotely).
- In case of a remote deployment of the OAuth Agent, make the Curity Identity Server accessible remotely as well, as the Agent calls the server. Either deploy the server remotely (e.g., to AWS, Azure, or GKE) or expose the local instance through a tool like Ngrok. Any configurations that point to the Curity Identity Server need to be updated with the final URL (as well as the server's configuration).
Join our Newsletter
Get the latest on identity management, API Security and authentication straight to your inbox.
Start Free Trial
Try the Curity Identity Server for Free. Get up and running in 10 minutes.
Start Free Trial


