
On this page
Note
Curity Identity Server is used in this example, but other OAuth servers can also be used.
Overview
The role of the OAuth Agent in the below diagram is to handle the OpenID Connect flow for Single Page Applications (SPA). This includes issuing of secure cookies for the browser and managing follow-on operations for token refresh, retrieving user info and signing out:

The following components provide the most mainstream OpenID Connect implementation, with response_type=code, PKCE and a client secret, in line with many website technology stacks:
This financial-grade OAuth Agent extends the default behavior, to implement the following cutting edge security features. This approach can be adopted by forking any of the above repos and applying similar changes.
- Mutual TLS Client Authentication (MTLS)
- Pushed Authorization Requests (PAR)
- JWT Secured Authorization Response Mode (JARM)
OAuth Agent Operations
The following operations represent the OAuth Agent's API interface, and all of these are designed to serve SPAs via Ajax requests from the browser. This enables the SPA to fully control behavior such as when redirects occur:
| Endpoint | Description |
|---|---|
| POST /login/start | Start a login by providing the request URL to the SPA and setting temporary cookies. |
| POST /login/end | Validate the request, complete the login and return HTTP only encrypted cookies to the browser. |
| GET /userInfo | Return Personally Identifiable Information (PII), such as the user name, to the SPA. |
| GET /claims | Return claims from the ID token to the SPA, containing authentication related information. |
| POST /refresh | Refresh the current access token and rewrite secure cookies. |
| POST /logout | Clear secure cookies and return an end session request URL. |
An OAuth Agent is a tricky API to develop, since its main focus is on browser and OAuth infrastructure:
| Behavior | Description |
|---|---|
| Authorization Codes | The API needs to receive real authorization codes in order to get tokens. |
| HTTP Redirects | The SPA client therefore needs to perform real HTTP redirects and user logins. |
| Cross Origin Requests | The API and its SPA client may need to deal with Cross Origin Request Sharing (CORS). |
| Cookies | The API operations need to frequently read, write and update encrypted cookies containing tokens. |
Get the Code
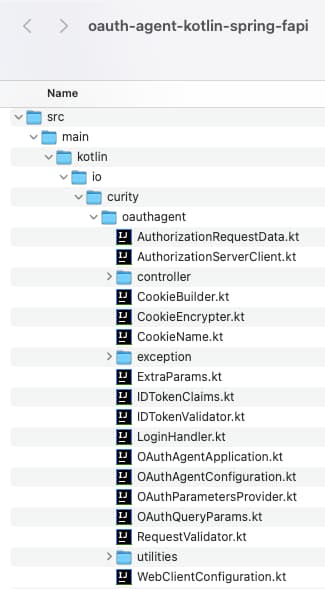
First get the code, which is a standard Kotlin API that uses Spring Boot's HTTP server, and the repository contains both code and test resources:
Front Channel Customization
The example implements PAR and JARM flows, to add stronger protection to front channel requests to the authorization server and the resulting responses. This only required changes to the LoginHandler class, and no other logic needed to change. To apply these flows to your own OAuth Agent, regardless of technology, you can follow the same approach.
Back Channel Customization
The repo uses transport level security (TLS) for all components, and uses a client certificate as a mutual TLS client secret (mTLS), for back channel requests to the authorization server. This adds considerable infrastructure complexity to the project, compared to the default Kotlin OAuth Agent. Code changes are trivial though, and simply required removing the string client secret from HTTP requests made by the AuthorizationServerClient class.
Prerequisites
To run the advanced flows, first ensure that the following components are installed. You can run the OAuth Agent with only Java and OpenSSL, but to run a full system you will also need a license file for the Curity Identity Server with support for financial-grade features. This will be the case if you have a trial license.
Configure Development URLs
When running on a development computer, the OAuth Agent is configured to use these base URLs:
| Component | Base URL |
|---|---|
| Token Handler | https://api.example.local:8080/oauth-agent |
| Curity Identity Server Endpoints | https://login.example.local:8443 |
| Curity Identity Server Admin UI | https://localhost:6749/admin |
For this to work you must first add the following entries to the local computer's hosts file:
127.0.0.1 api.example.local login.example.local:1 localhost
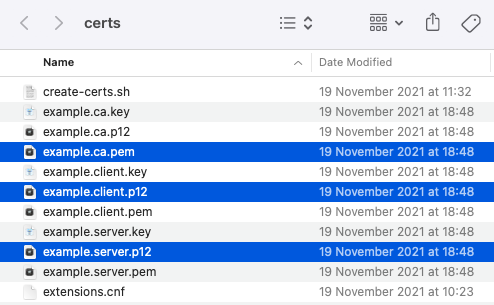
Next run the following command, which executes a script that uses OpenSSL to generate local development certificates:
cd certs./create-certs.sh
The following client and server certificates are then created, along with a root certificate authority, and they will be used by the token handler components and the Curity Identity Server:
Finally, configure the Java runtime to trust the root certificate authority, via a command that points to your Java SDK:
sudo "$JAVA_HOME/bin/keytool" -import -alias example.ca -cacerts -file ./certs/example.ca.pem -storepass changeit -noprompt
Run the OAuth Agent
Run the API from the command line via gradle, or use your preferred Java IDE:
./gradlew bootRun
You can then simulate a request from the SPA via the following test command, to ensure that connectivity is working:
curl -X POST https://api.example.local:8080/oauth-agent/login/start \-H "origin: https://www.example.local" | jq
Run Integration Tests
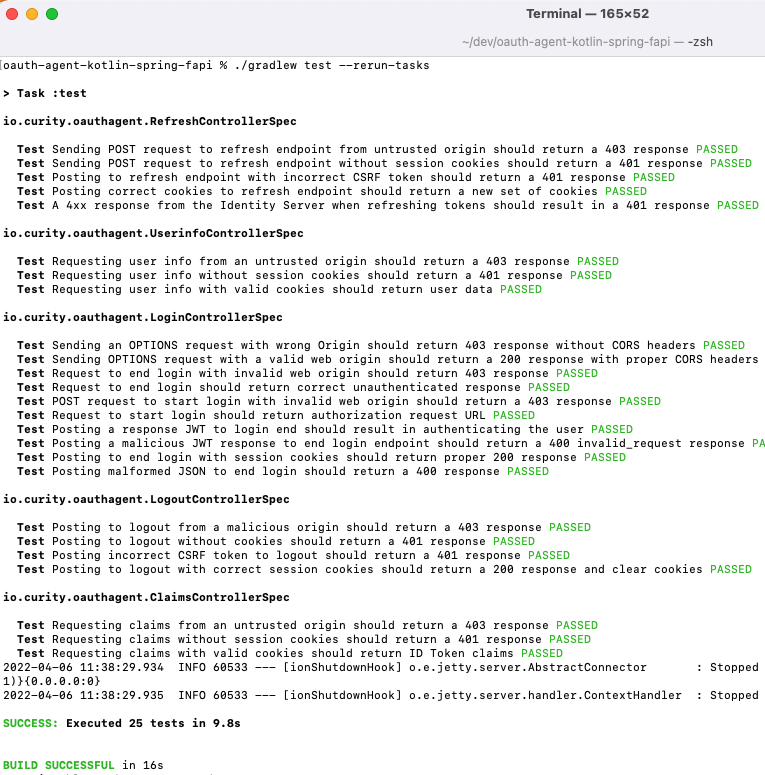
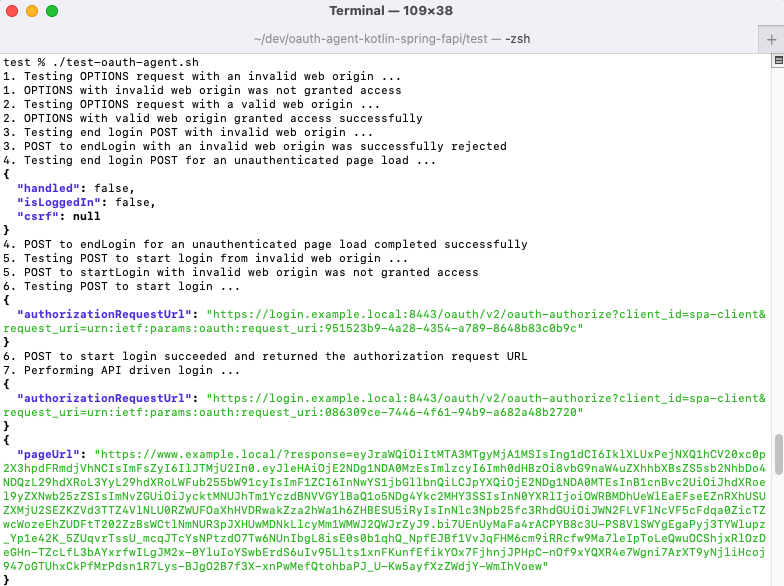
When working on the OAuth Agent as an API it is useful to initially avoid a browser and use a test driven approach. The OAuth Agent comes with a suite of Spock integration tests which act as an SPA that calls the OAuth Agent. These tests use Wiremock to mock the endpoints of the Curity Identity Server. Integration tests are then run with gradle or from an IDE, and result in the following output:
./gradlew test --rerun-tasks
Run End-to-End Tests
First, copy a license file into the test/idsvr folder. Ensure that the OAuth Agent is running, then execute the deploy script, which will spin up and instance of the Curity Identity Server in a Docker container:
./test/idsvr/deploy.sh
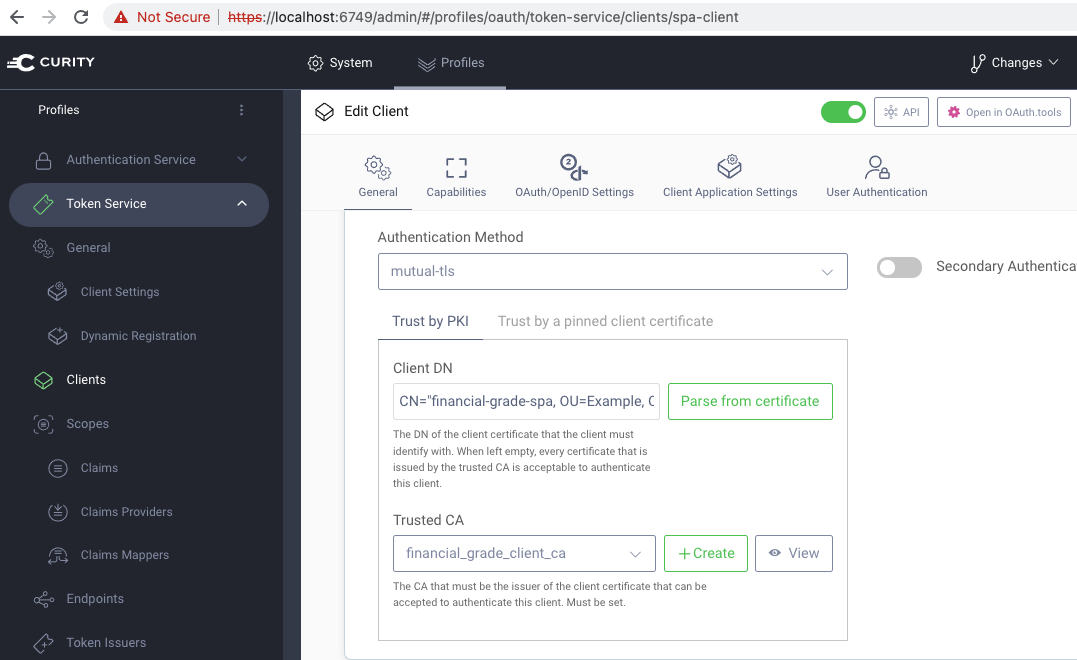
You can then log in to the Admin UI with credentials admin / Password1 to view client configuration details. OAuth requests on behalf of the SPA are initiated from the OAuth Agent, which uses Mutual TLS client authentication when it calls the Authorization Server:
Later, when you have finished with the OAuth Agent, free all Docker resources by running this script:
./test/idsvr/teardown.sh
Next run the following script based client, which sends the same HTTP requests as an SPA, but avoids the need to continually switch to a browser and extract values such as authorization codes. This scripted client uses the popular curl and jq tools:
./test/test-oauth-agent.sh
The script runs a complete financial-grade SPA workflow, using a preconfigured user account shipped with the Docker deployment. This begins with a login, then continues with refresh and user info requests, finishing with a logout:
OpenID Connect Messages
The OAuth Agent provides front channel requests to the SPA by creating and returning a URL. The OAuth Agent gets the authorization request URL by posting a pushed authorization request to the Authorization Server, containing the standard OpenID Connect parameters:
POST /oauth/v2/oauth-authorize/par HTTP/1.1Host: login.example.local:8443Content-Type: application/x-www-form-urlencodedclient_id=spa-client&redirect_uri=http%3A%2F%2Fwww.example.com%2F&scope=openid%20profile&response_type=code&response_mode=jwt&code_challenge=l9QIPE4TFgW2y7STZDSWQ4Y4CQpO8W6VtELopzYHdNg&code_challenge_method=S256&state=NlAoISfdL1DxPdNGFBljlVuB1GDjgGARmqDcxtHhV8iKNYu6ECS2KOavDHpI3eLN
The result is a URL of the following form, where PAR protects against potential request tampering in the browser. This URL is returned to the SPA client, which has no knowledge of OAuth security details, and simply redirects on the request URL it is given:
GET /oauth/v2/oauth-authorize HTTP/1.1Host: login.example.local:8443Content-Type: application/x-www-form-urlencodedclient_id=spa-client&request_uri=urn:ietf:params:oauth:request_uri:7d353fc8-9b94-488f-8c61-cf7cc1dfef9e
When a login completes, the SPA receives a JWT query parameter containing the code and state. Use of JARM protects against potential response tampering in the browser. The SPA then posts its response URL containing the JWT to the OAuth Agent:
{"exp": 1637593781,"iss": "https://login.example.local:8443/oauth/v2/oauth-anonymous","aud": "spa-client","iat": 1637593761,"purpose": "authz_response","code": "dLjNJphJveReaQflxvl2oUTxCxxeDguk","state": "kl9kbxyMFnzXpgzgDsVYqiYZ7YC1sHwpkSzrEbE7ygfTqmXAUwLeb9mq7BO5QqsI","session_state": "/pE6l/goEZJOawote6lqdYUjNZTKI4lNMFnPJNOM4XU=.LmJ6oN371McY"}
The OAuth Agent deals with validating the response JWT and extracting the code and state parameters. After validation checks the flow continues in the standard way, by redeeming the code for tokens. This is done via a back channel request to the Authorization Server, which again uses Mutual TLS to authenticate the client:
POST /oauth/v2/oauth-token HTTP/1.1Host: login.example.local:8443Content-Type: application/x-www-form-urlencodedgrant_type=authorization_code&client_id=spa-client&redirect_uri=http://www.example.com/&code=YFFX2HmFNnrMS8alWIZH83oim9ZHgwRh&code_verifier=ItJtBXUGtHs-3FpUHB8qW9uJ00XcwTfeiZdLGquawMg
Tokens returned in the response are then stored in HTTP Only encrypted secure cookies that are returned to the browser but not accessible from Javascript code. AES256 symmetric encryption is used to encrypt the cookies, with a key only known to the OAuth Agent.
End-to-End Integration
The OAuth Agent can also be used in an end-to-end setup, and called by the Example SPA, using commands such as these to select this component. For further details on deployment, see the Deployment Example.
./build.sh FINANCIAL NGINX./deploy.sh FINANCIAL NGINX
Conclusion
This code example showed how the token handler pattern can be used to extend an SPA with financial-grade website security features. If required companies can further adapt Curity's token handler implementation for their own purposes, by following the API development steps in this tutorial.
Join our Newsletter
Get the latest on identity management, API Security and authentication straight to your inbox.
Start Free Trial
Try the Curity Identity Server for Free. Get up and running in 10 minutes.
Start Free Trial


